Projects let you group transactions by job or engagement. Once enabled, you can assign a project to any invoice and have it print on the PDF using Detail Fields.
What You'll Need
Before you start: You need to enable the Projects feature in Settings. If you already see a Project field when editing invoices, skip straight to Part 2.
Part 1 — Enable Projects
-
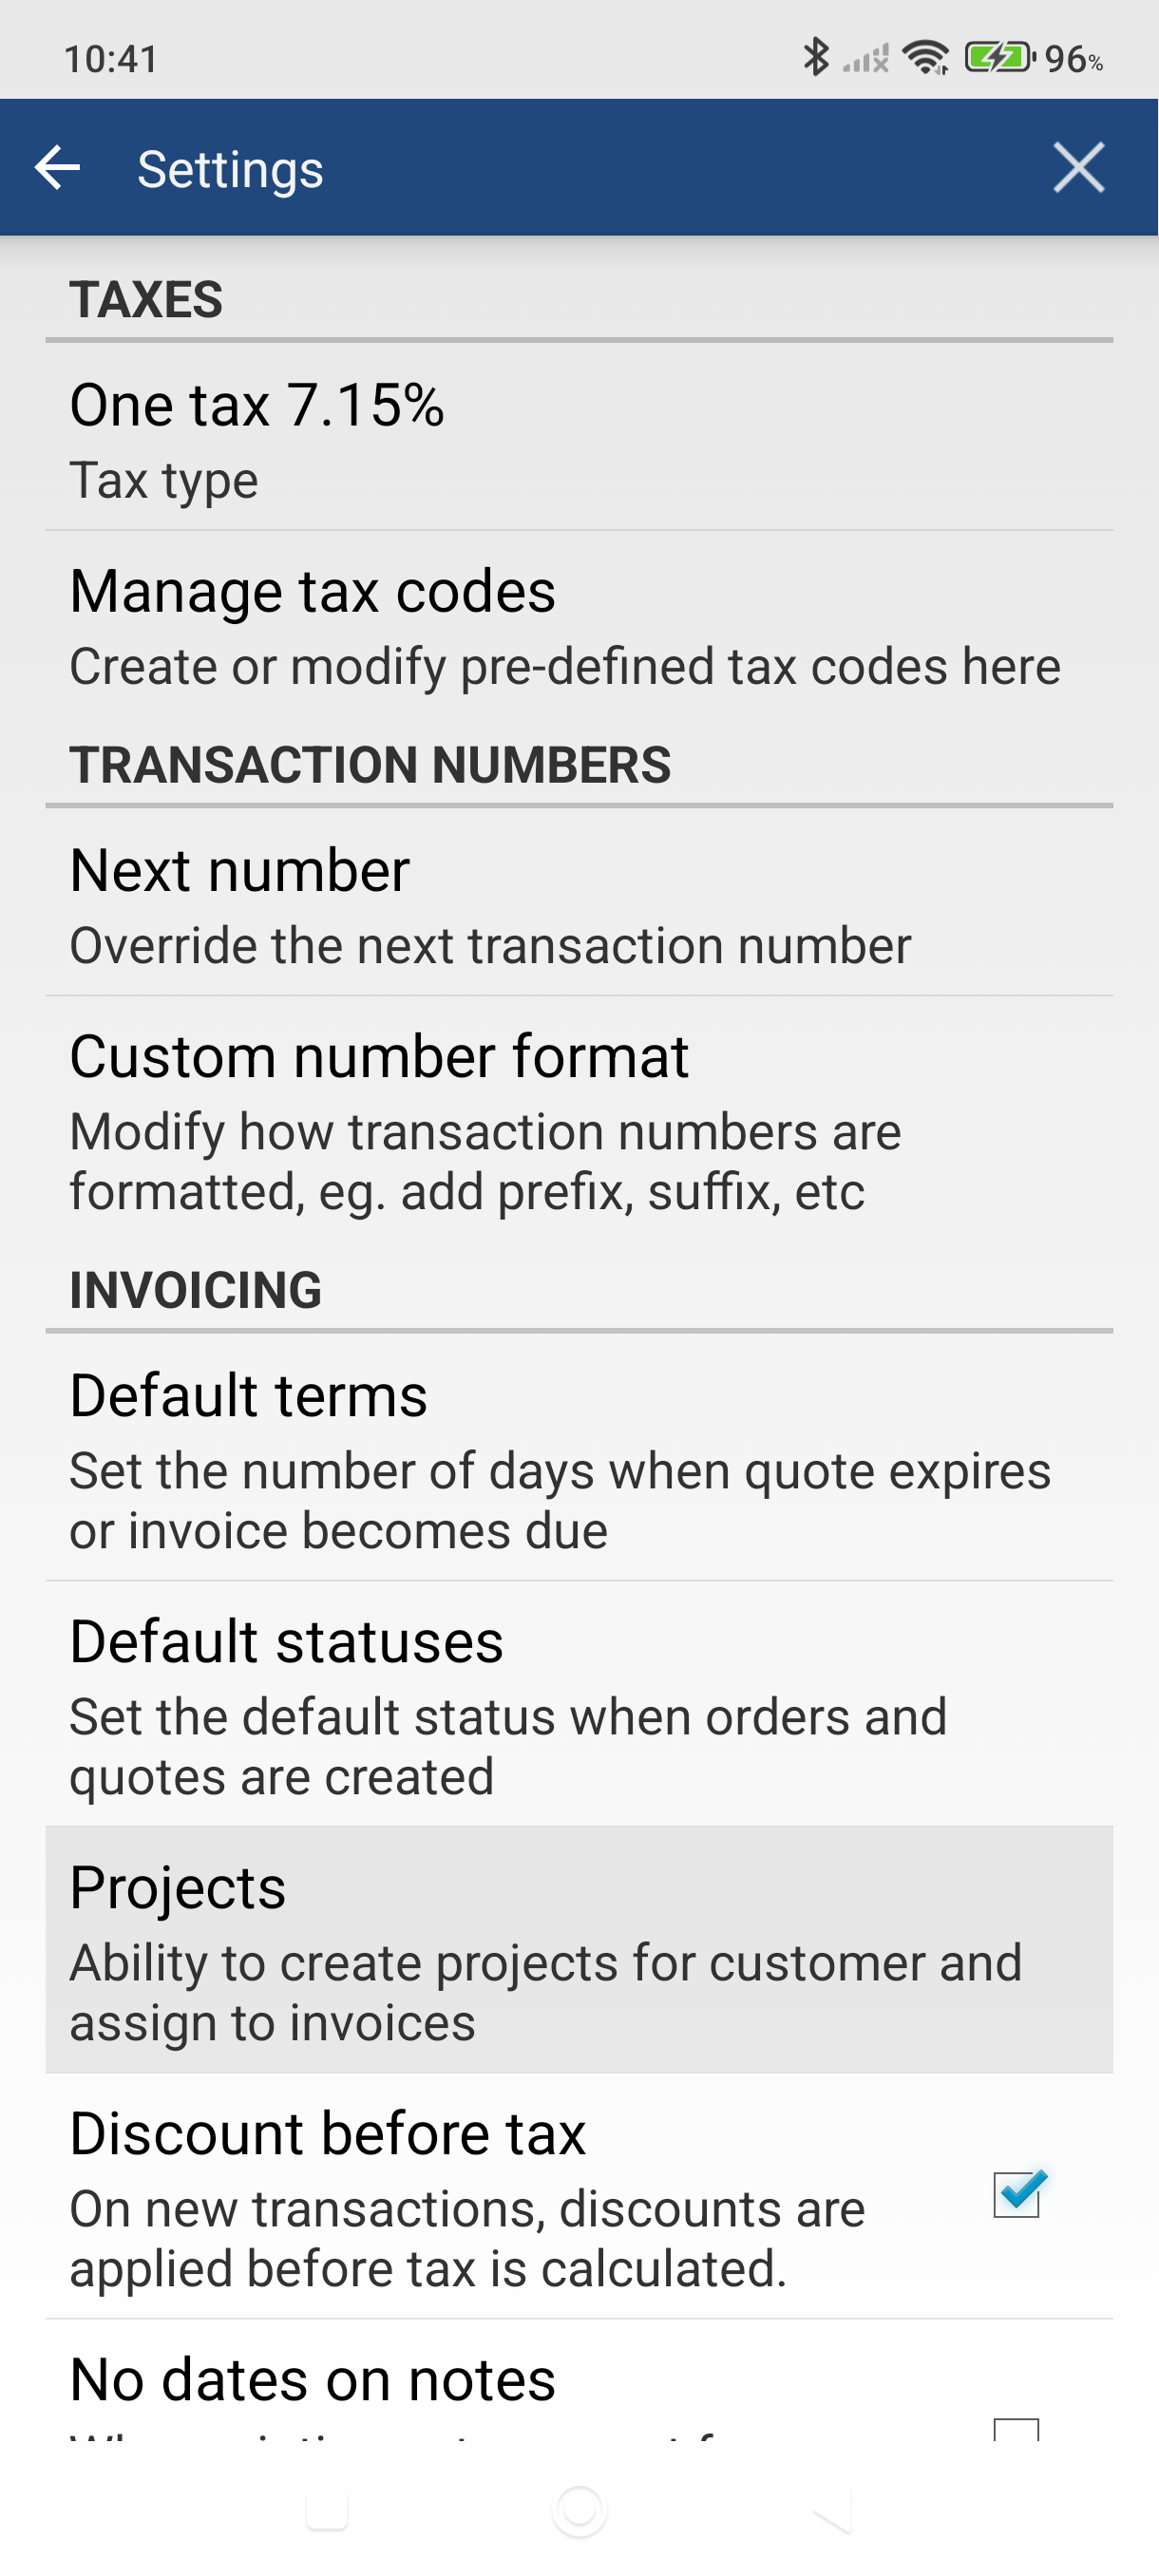
Open the side menu and tap Settings.
-
Tap Projects under the Invoicing section.
-
Check Use projects and tap Save.
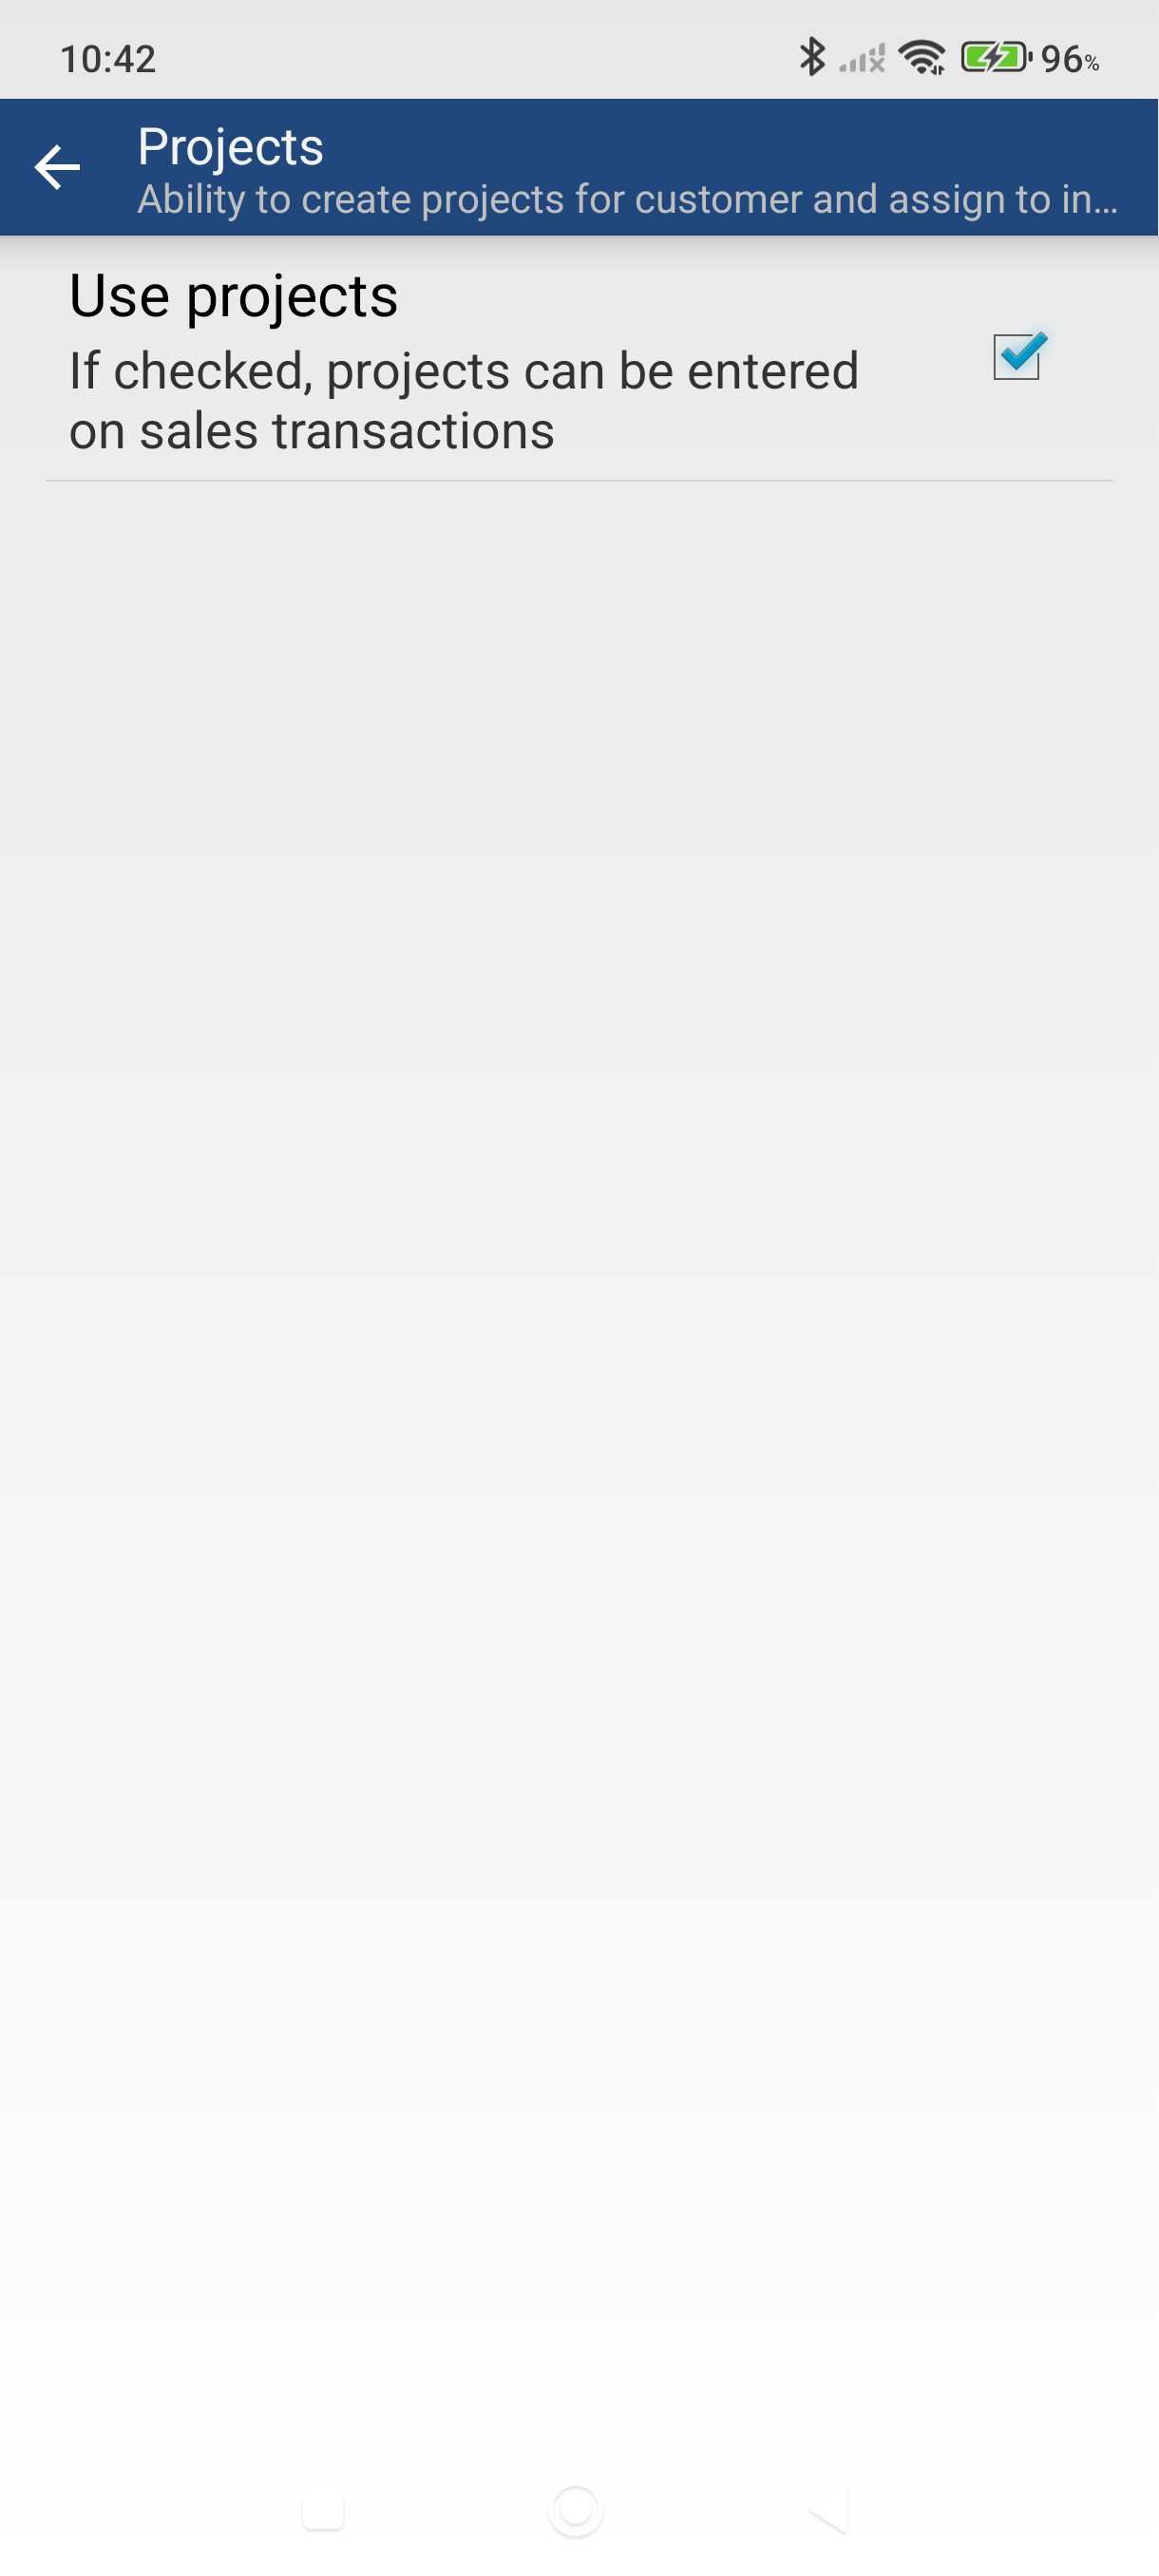
A Project field now appears on invoices, quotes, sales orders, and cash sales when you edit them.
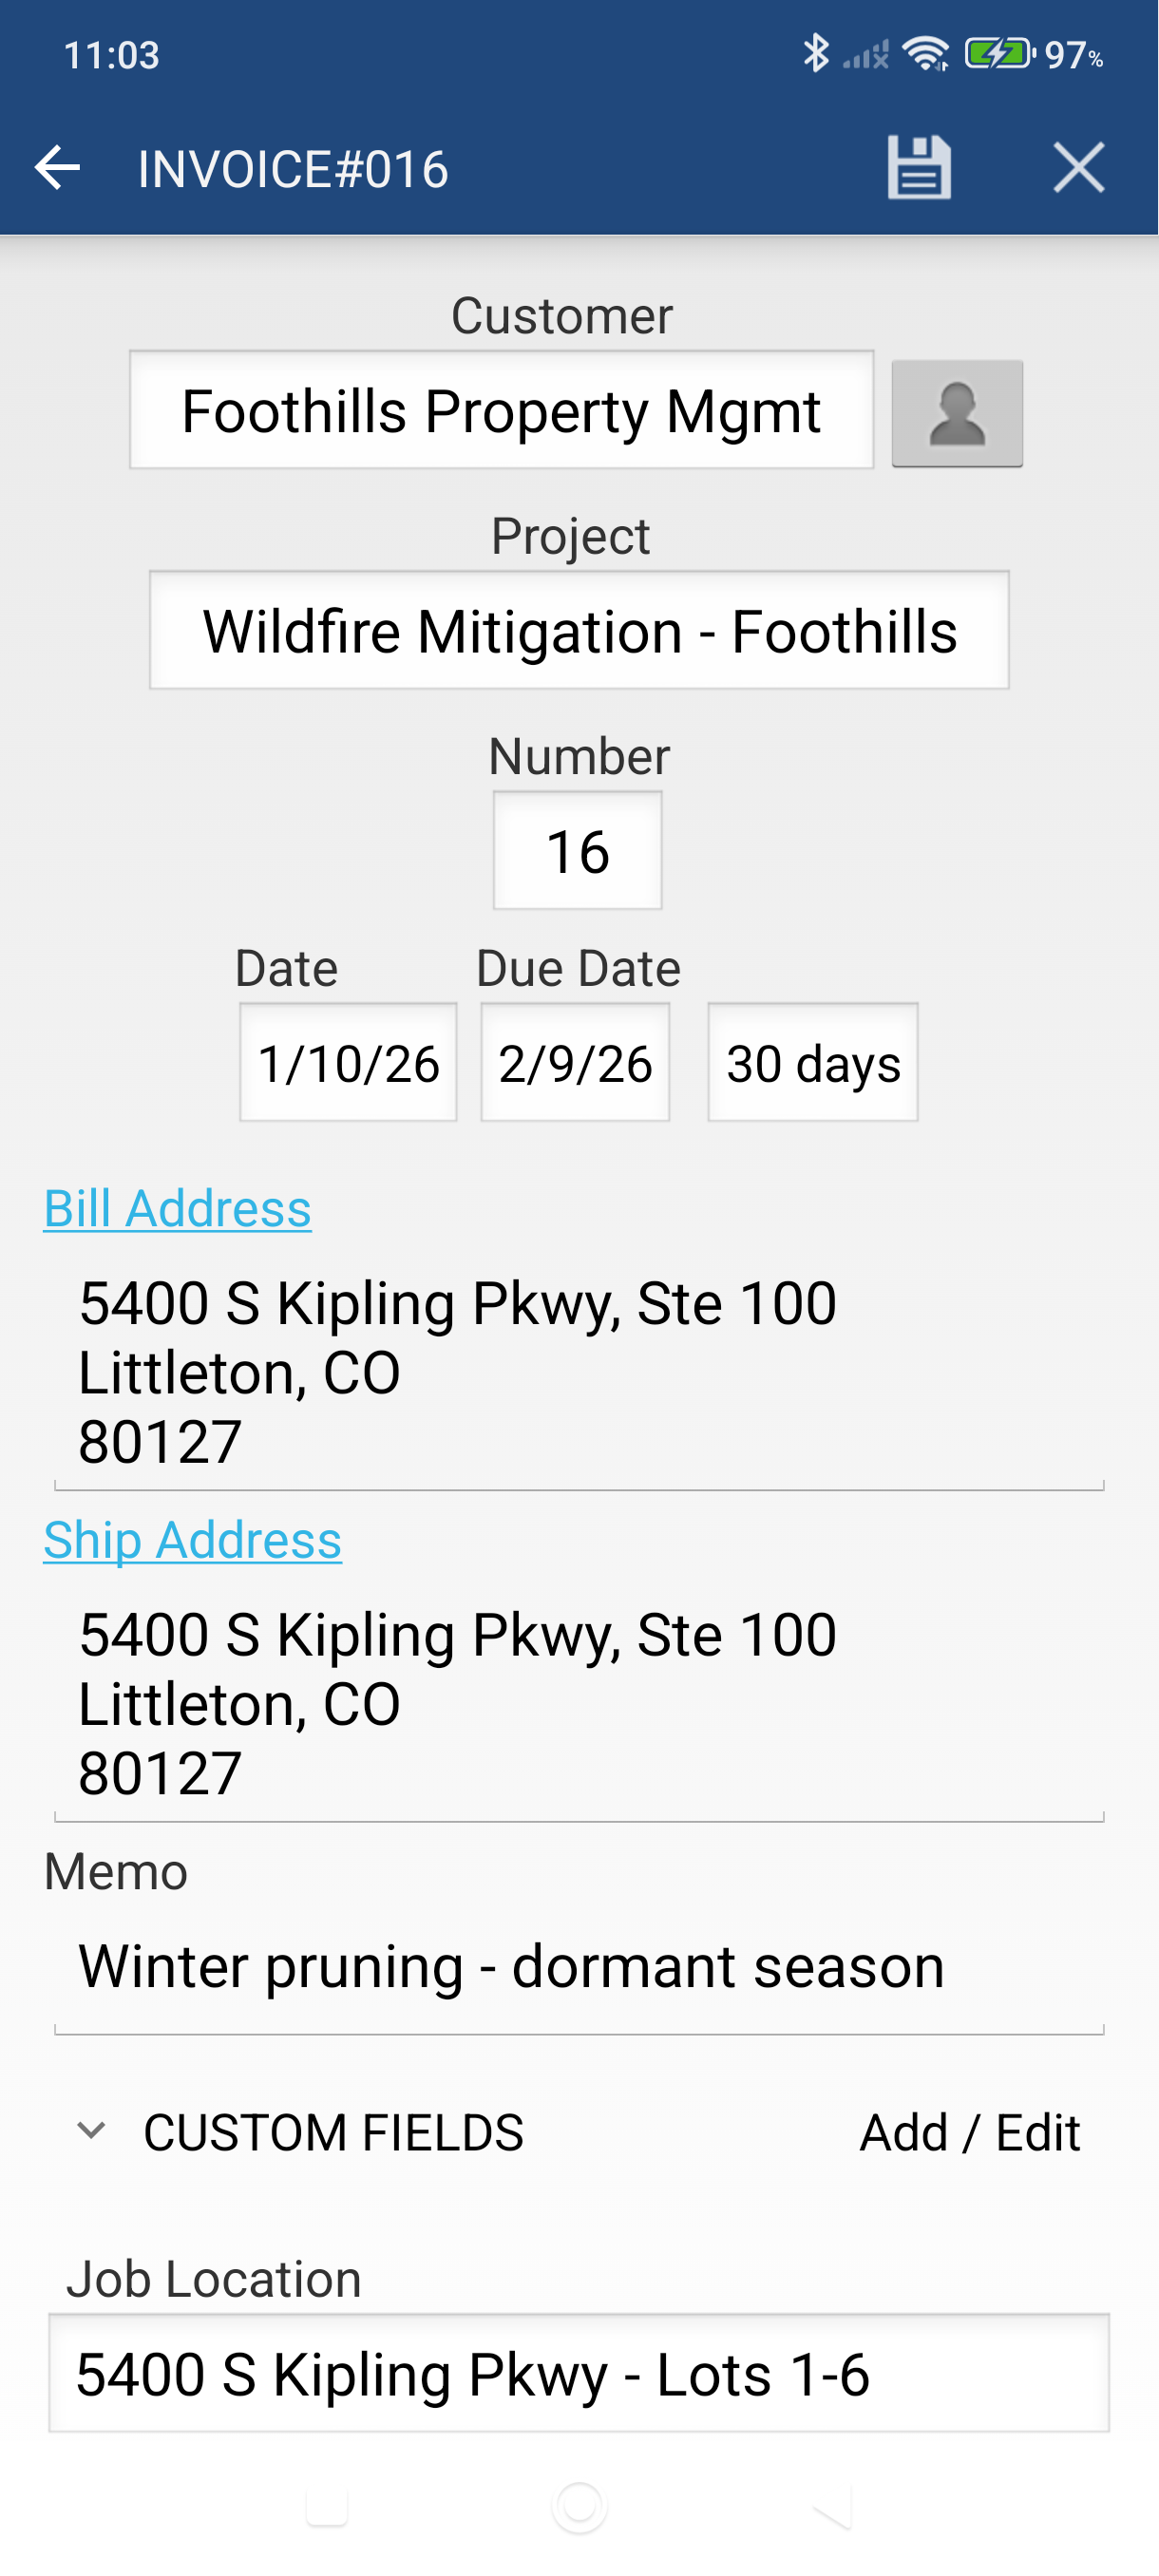
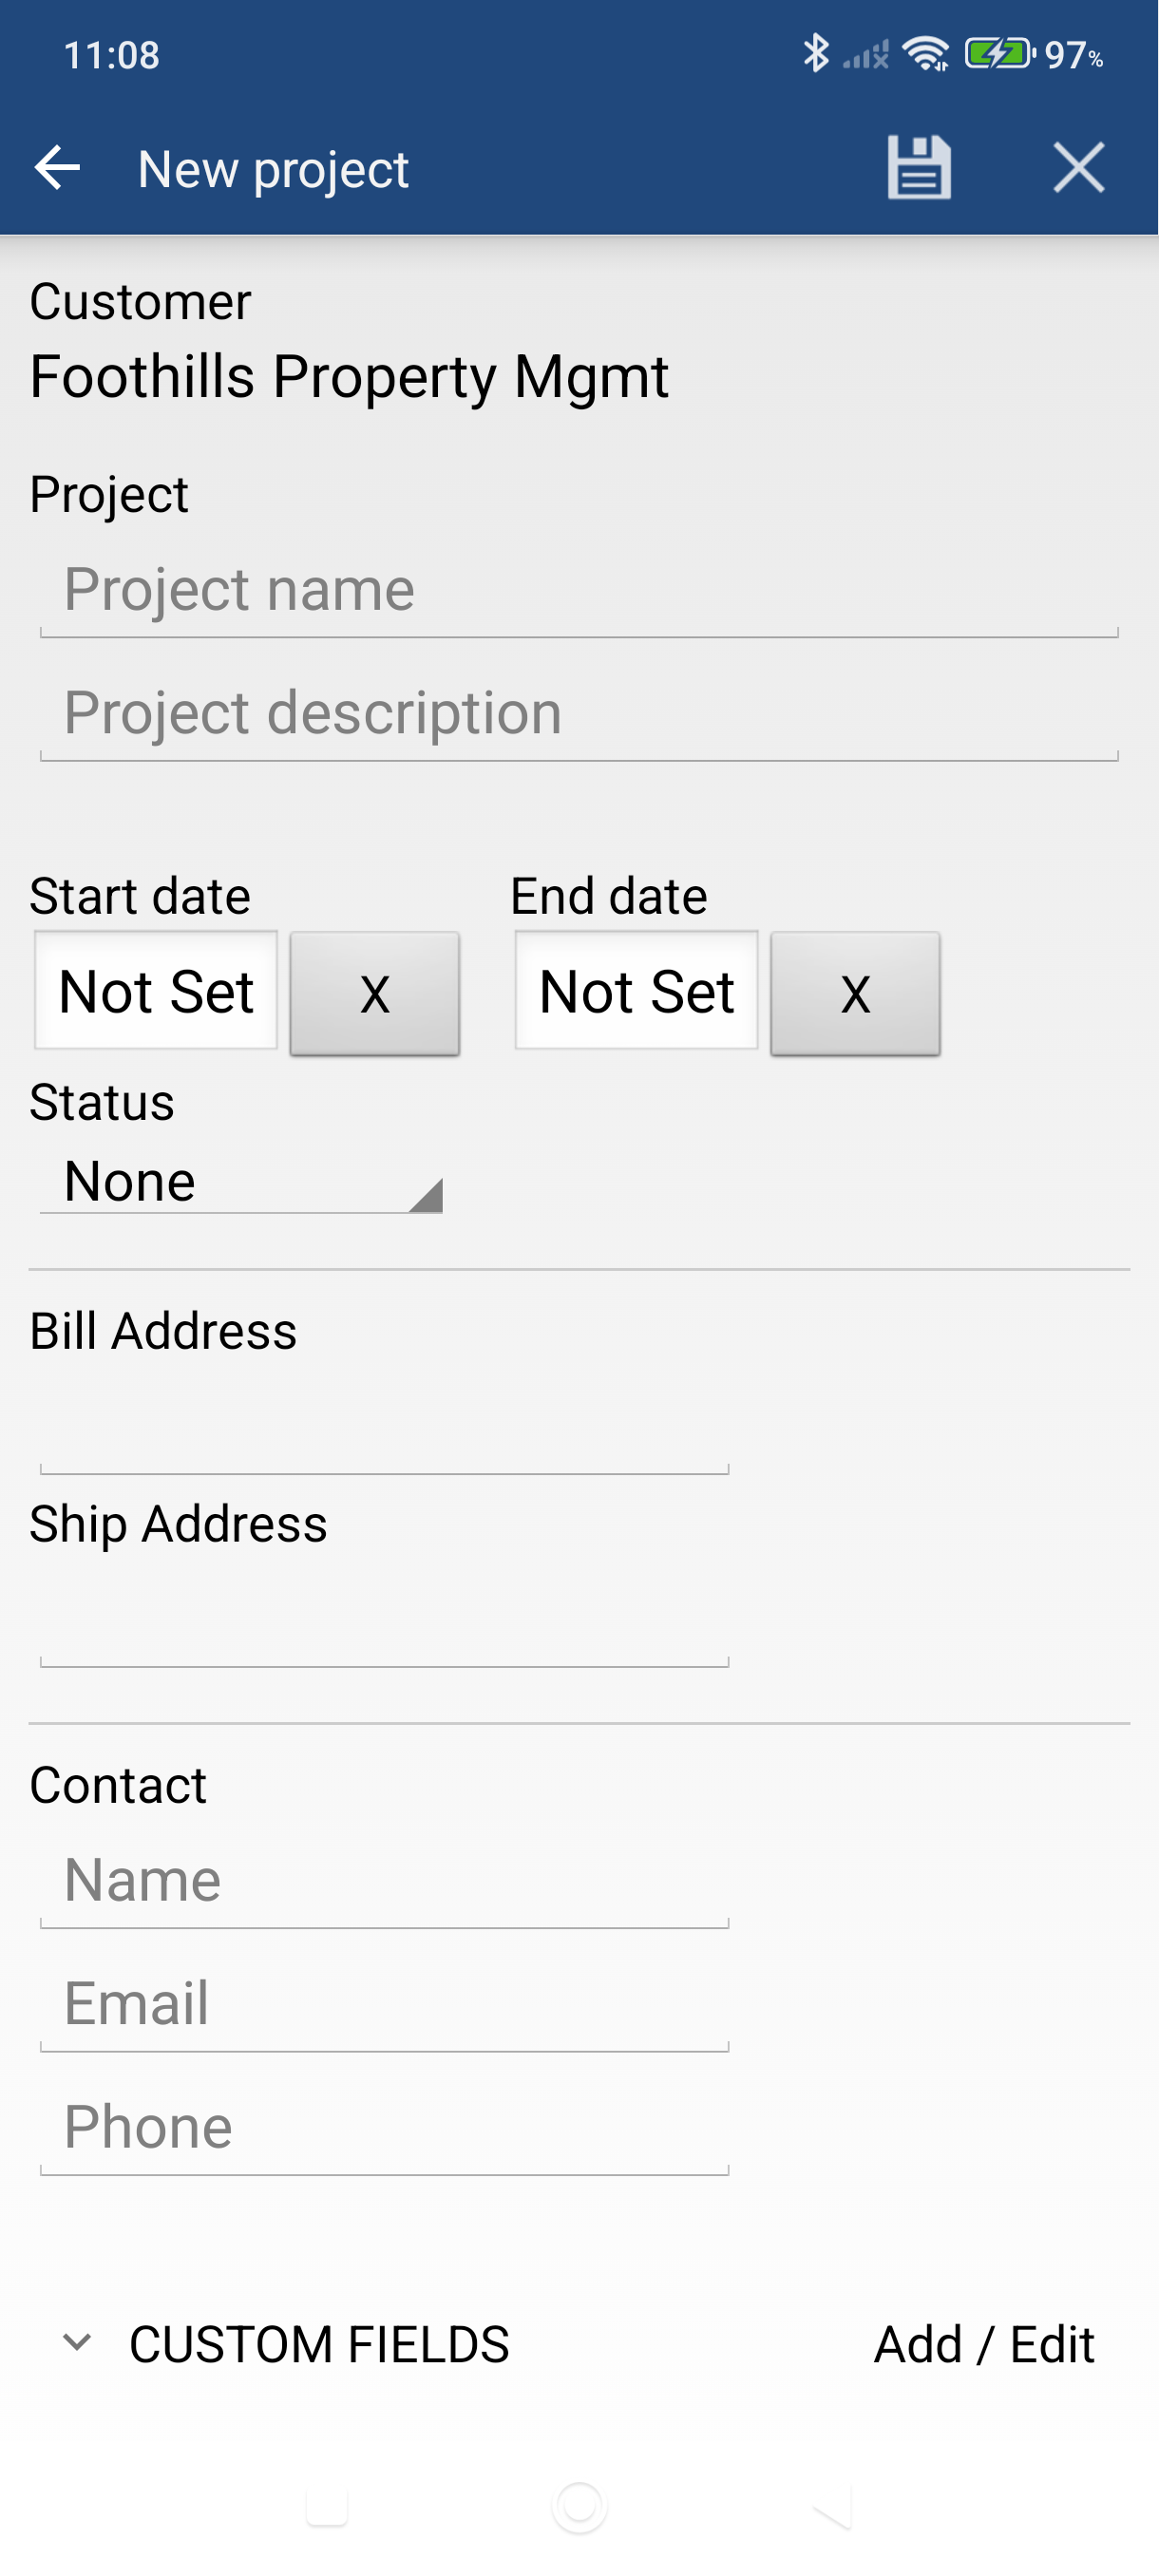
Tap the Project field to pick an existing project or tap Add new to create one on the spot.
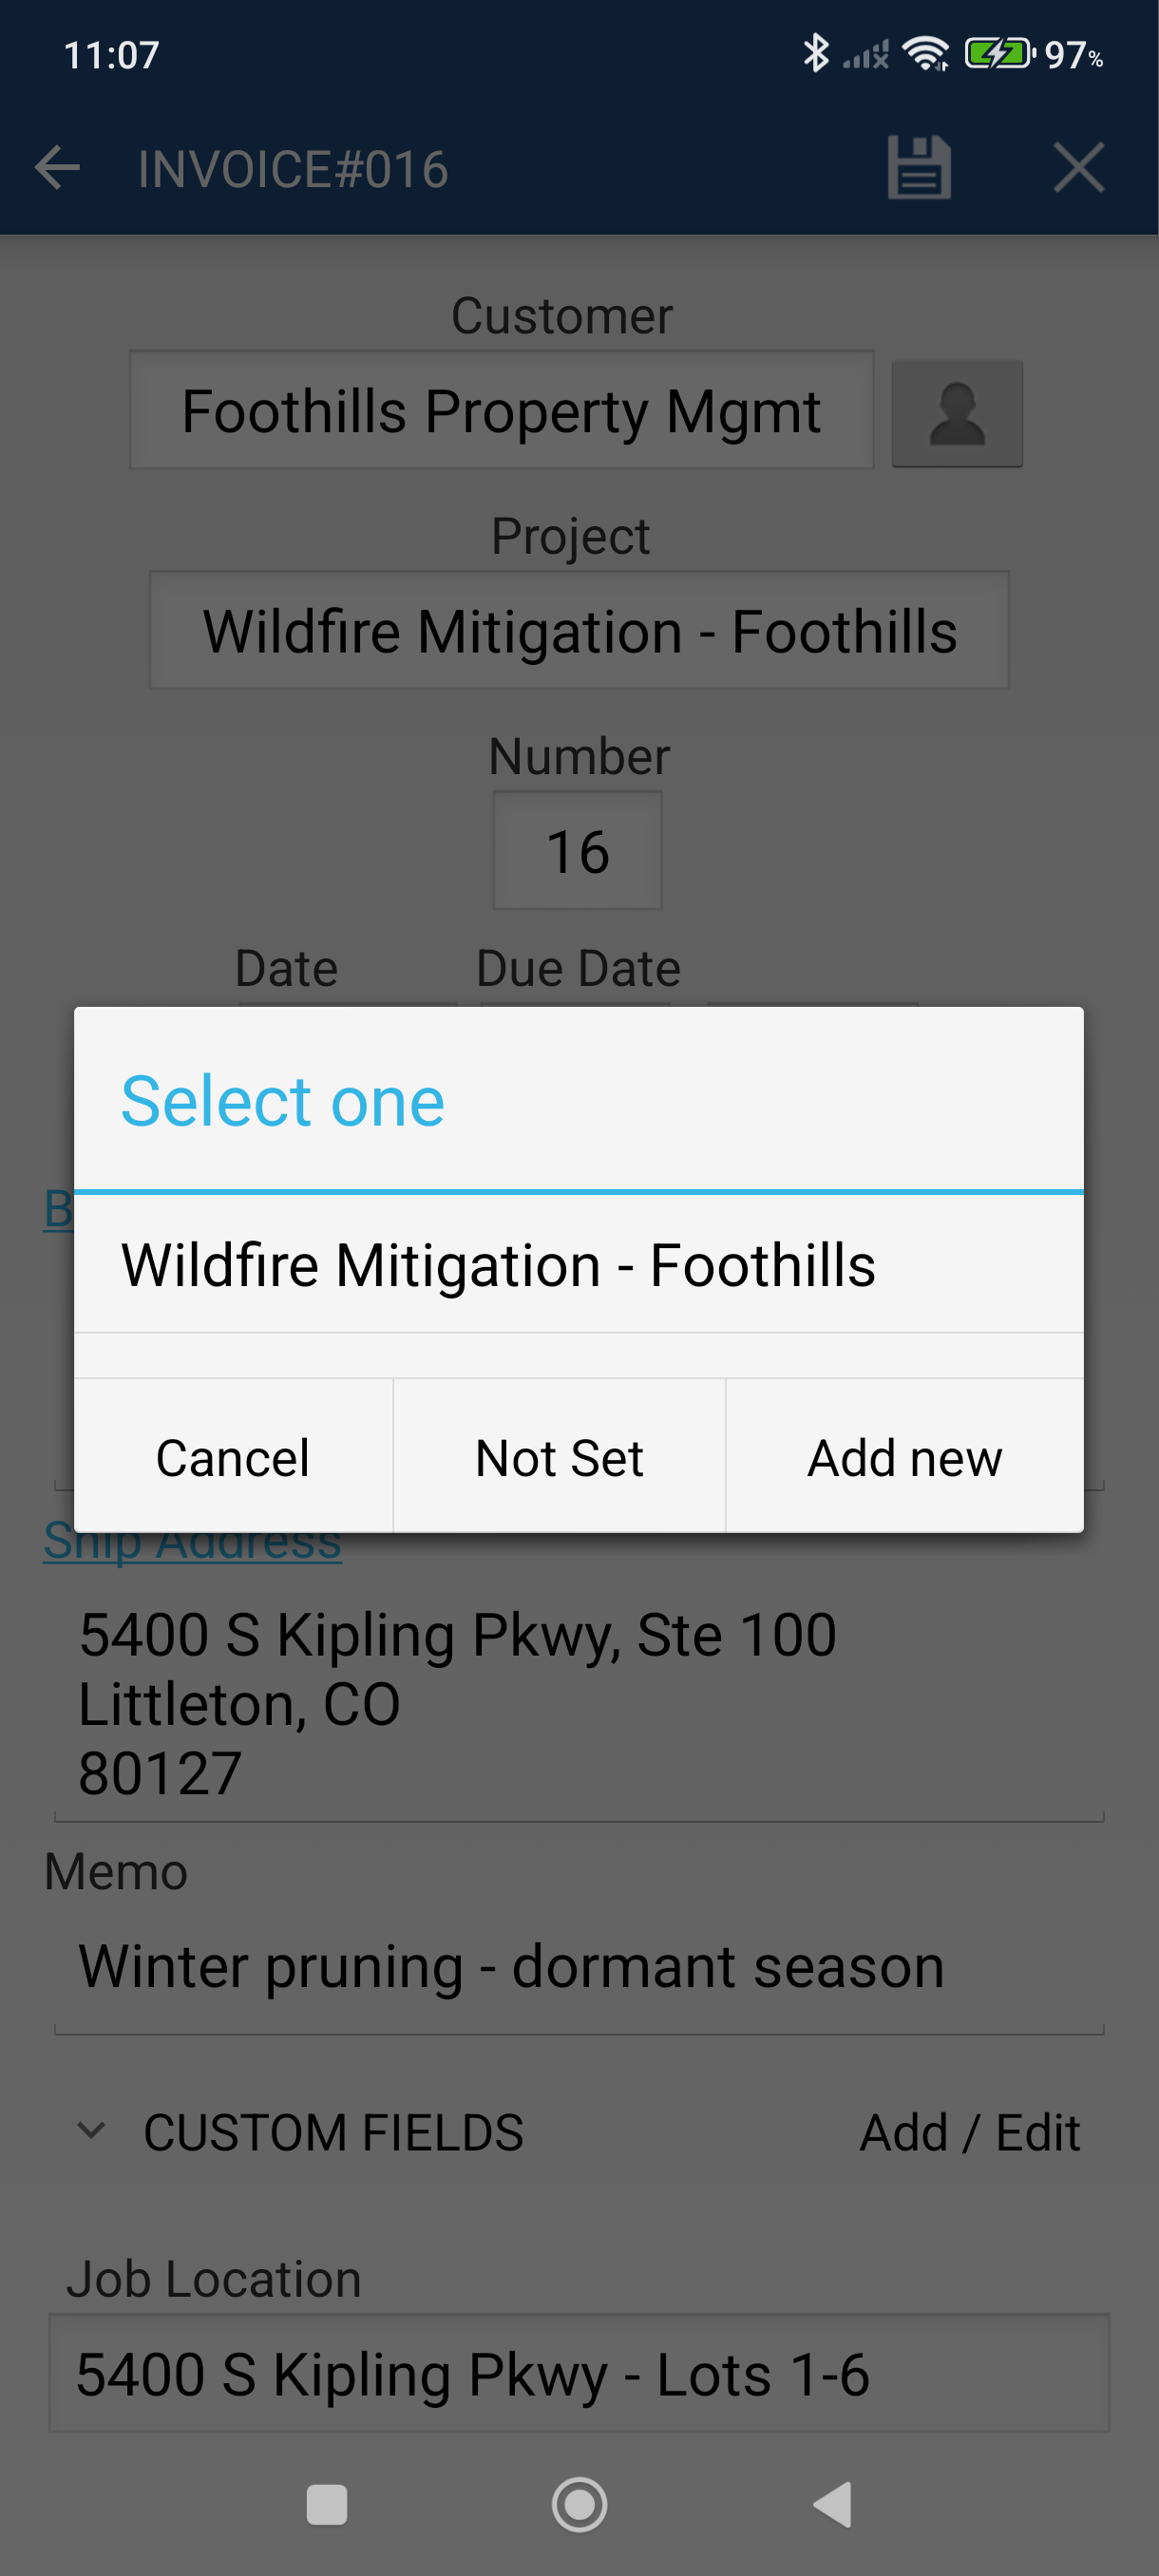
Each project can have a name, description, start/end dates, status, billing and shipping addresses, and contact details.
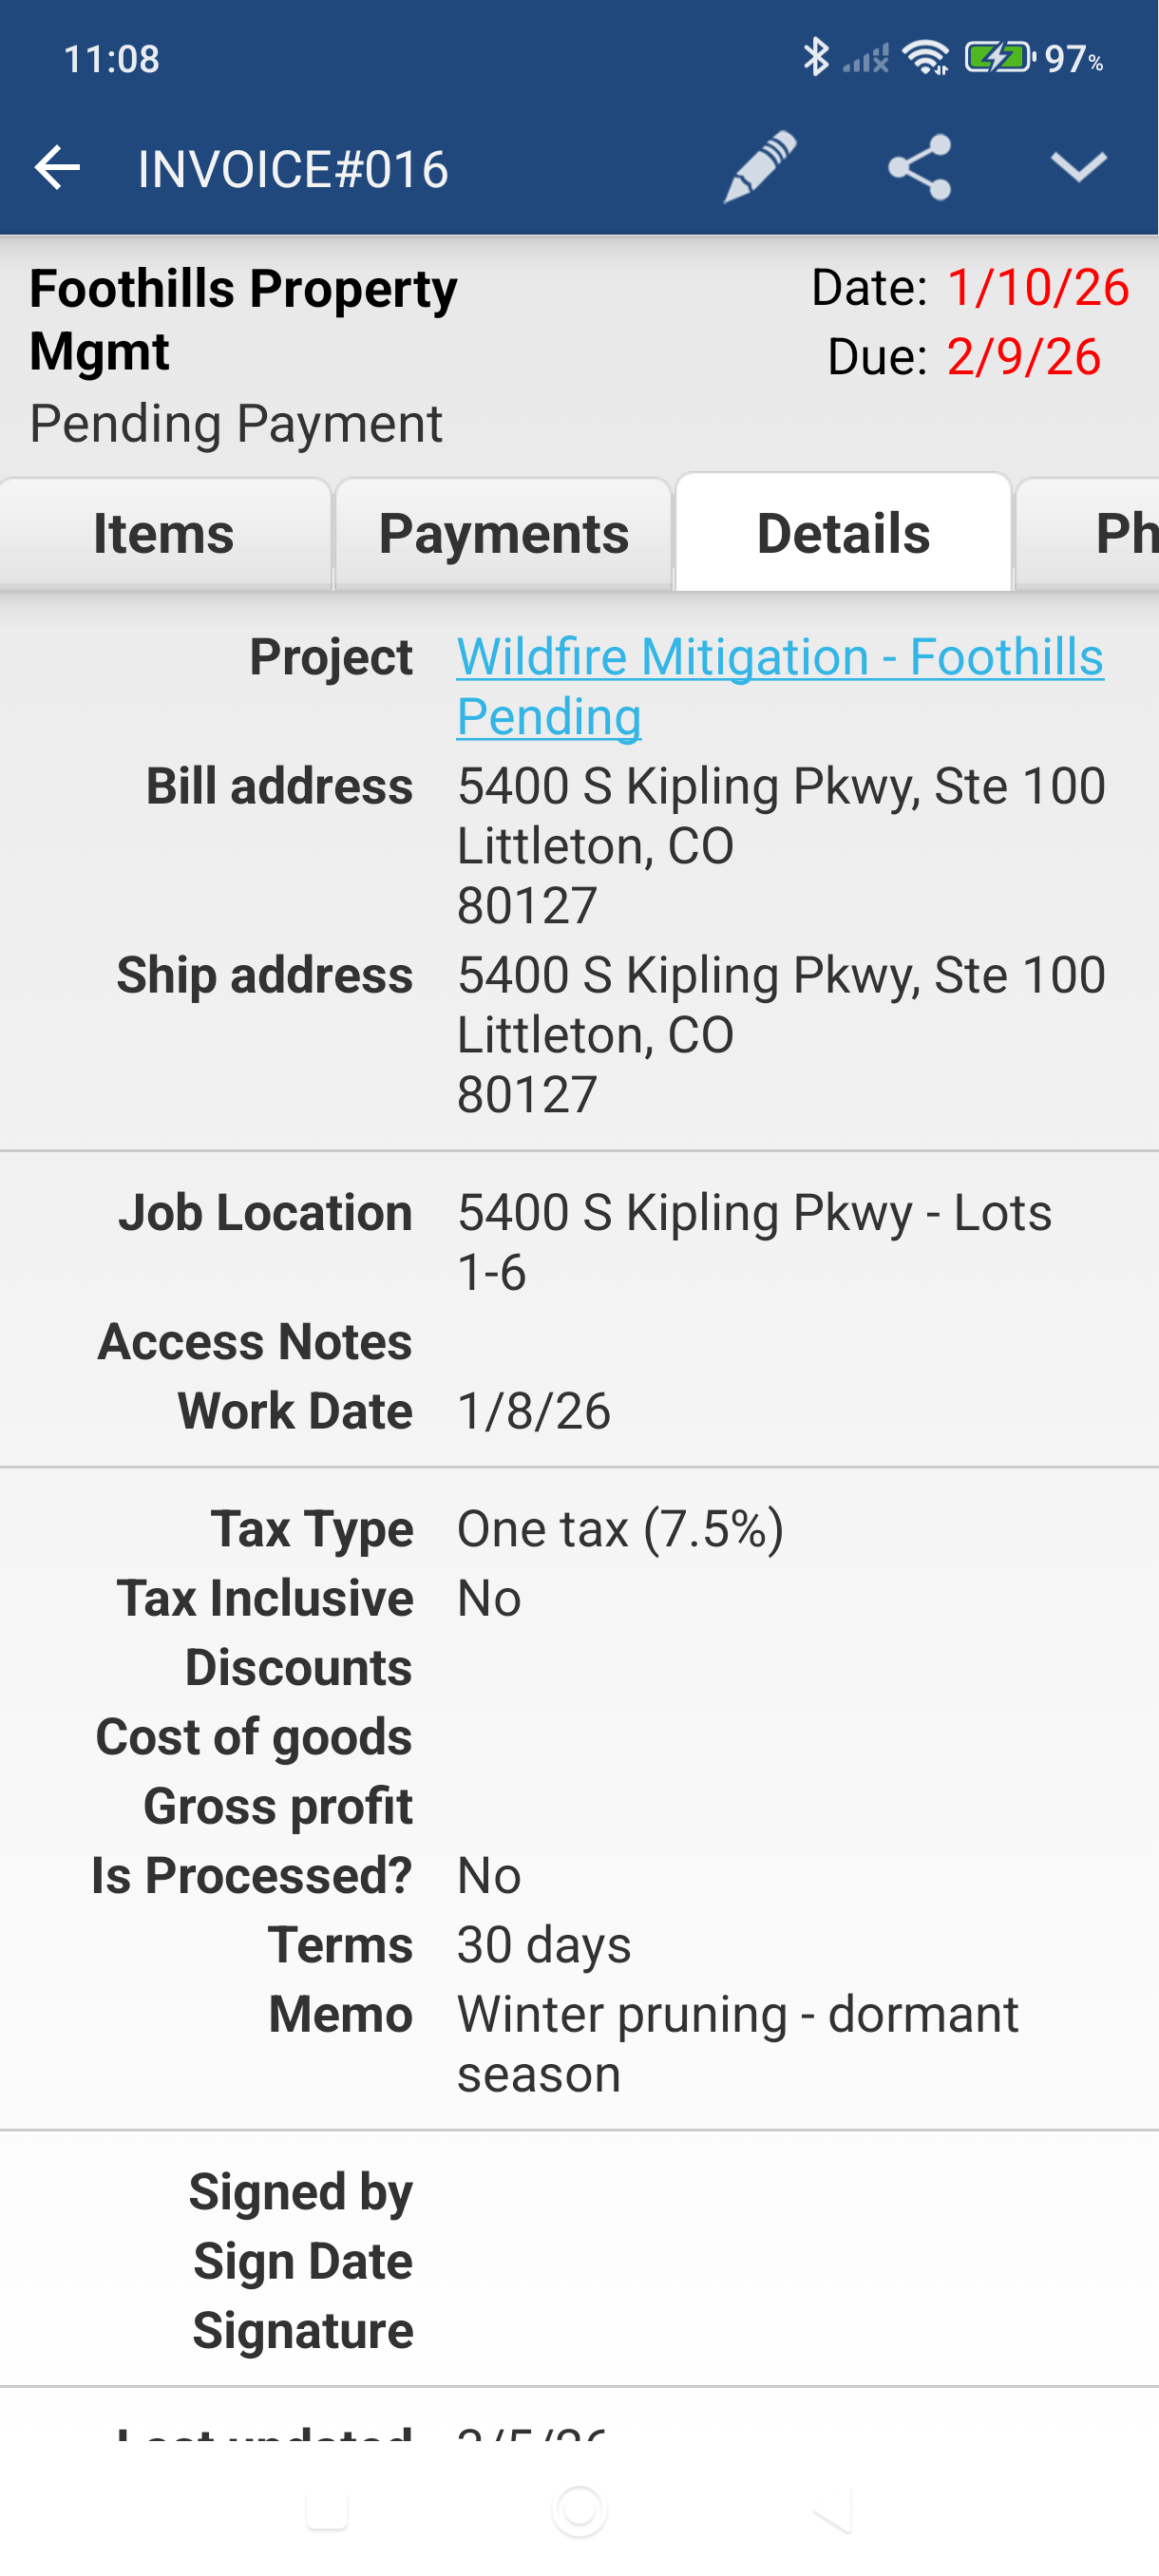
After assigning a project, you can see it linked on the invoice's Details tab.
Part 2 — Show the Project on the PDF
Project data does not appear on PDFs by default. Use Detail Fields in the template editor to add it.
-
Open any invoice and tap the Edit icon (pencil) in the action bar.
-
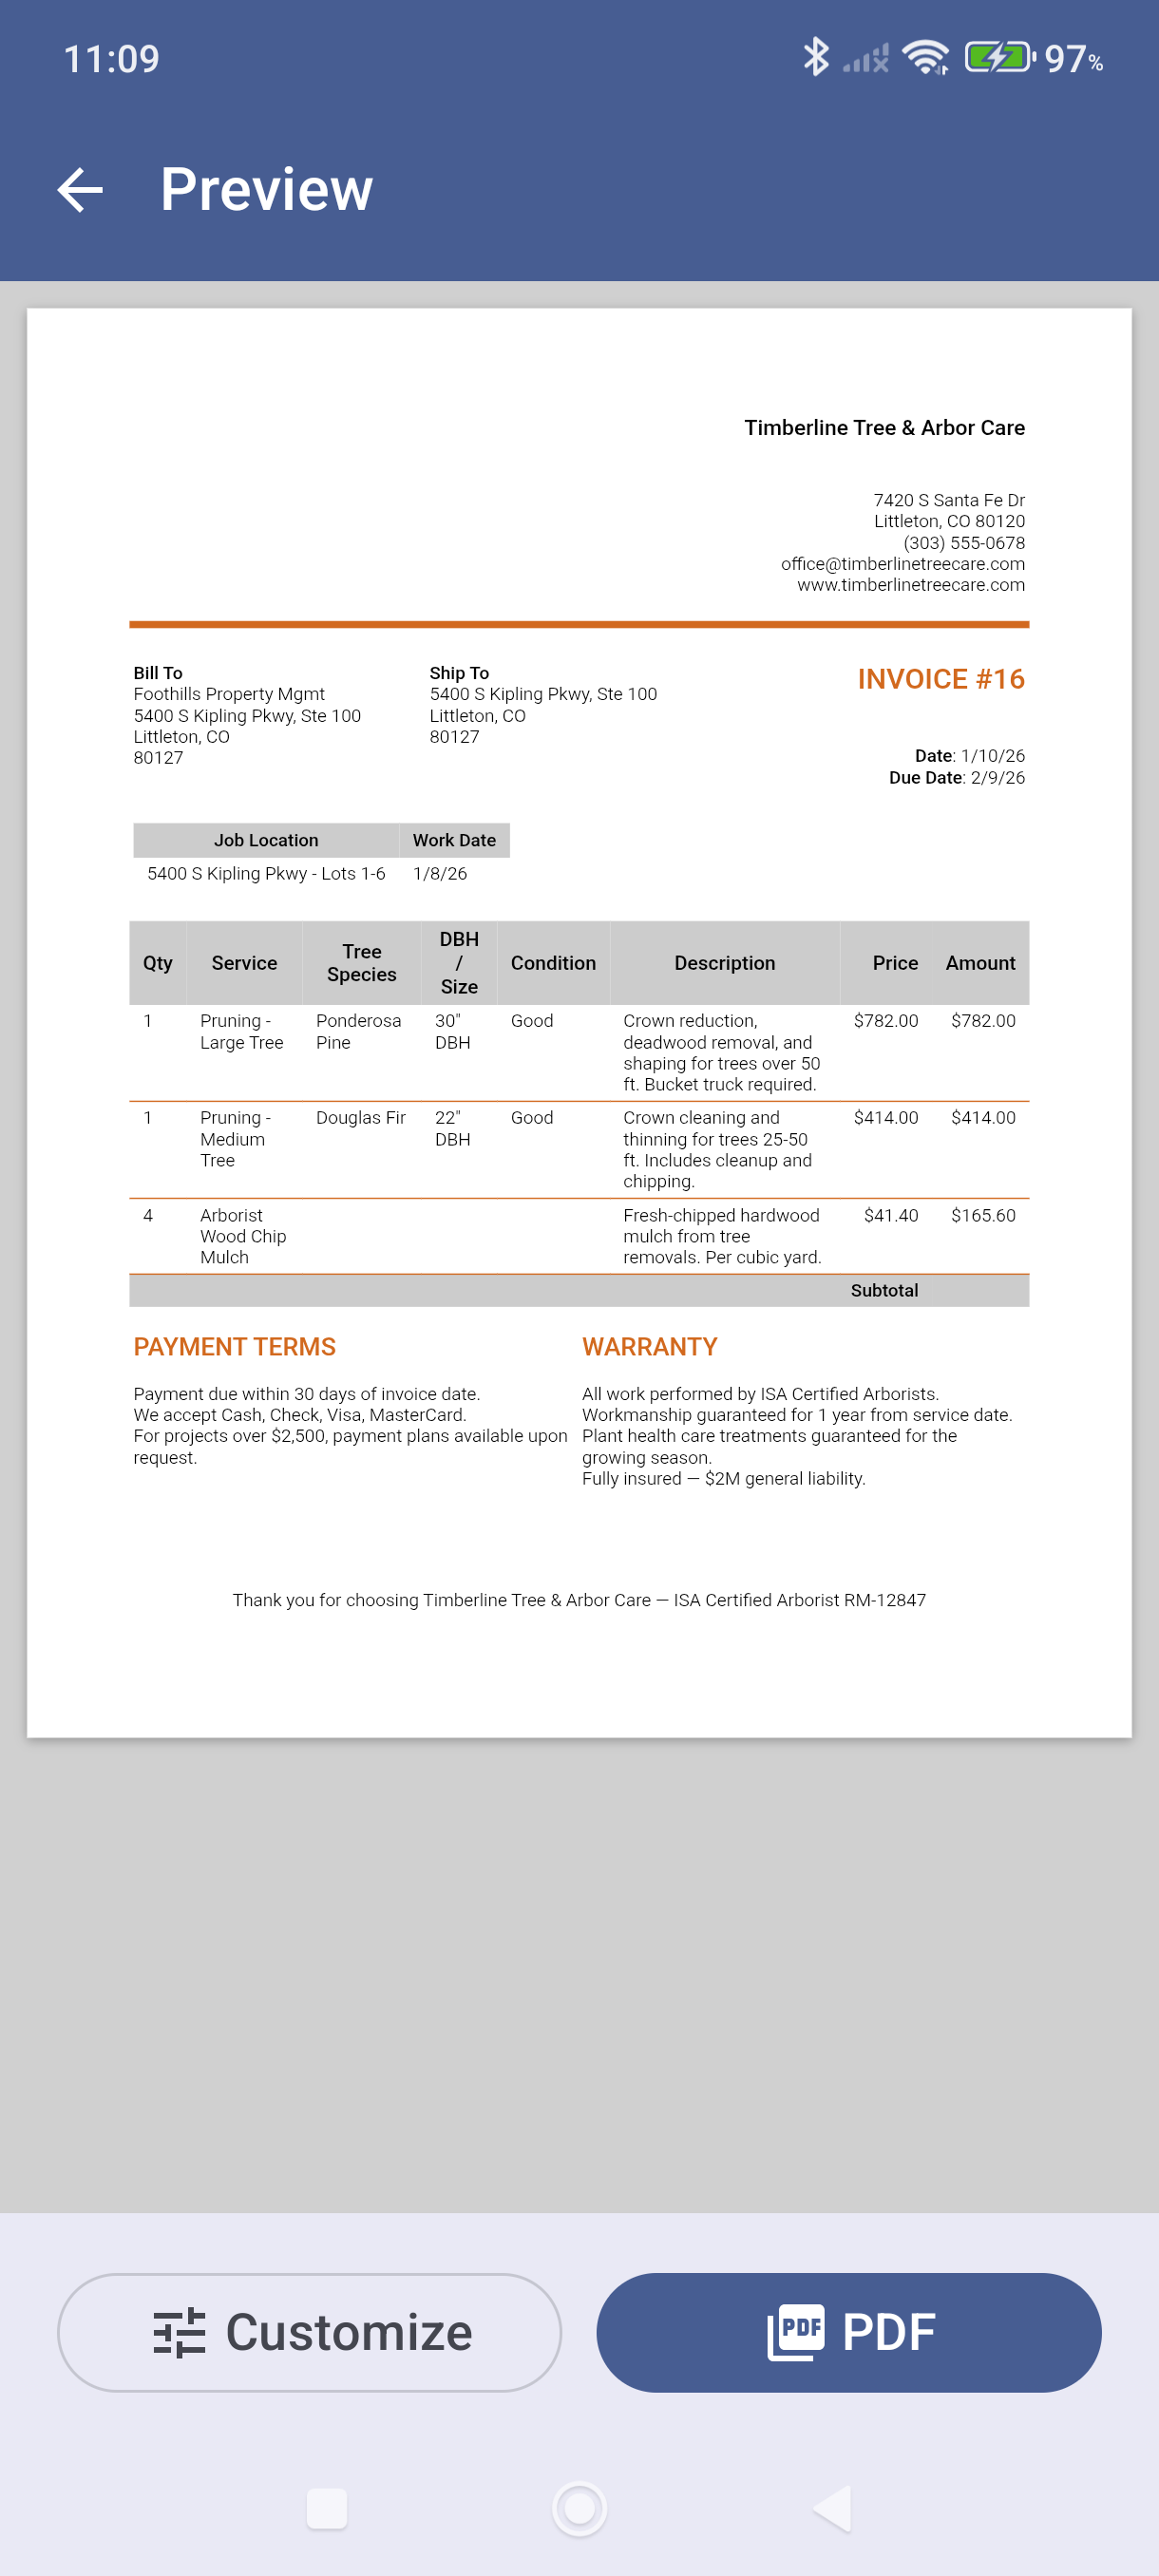
Tap Print Preview — notice the PDF does not yet show the project. Tap Customize to open the template editor.
-
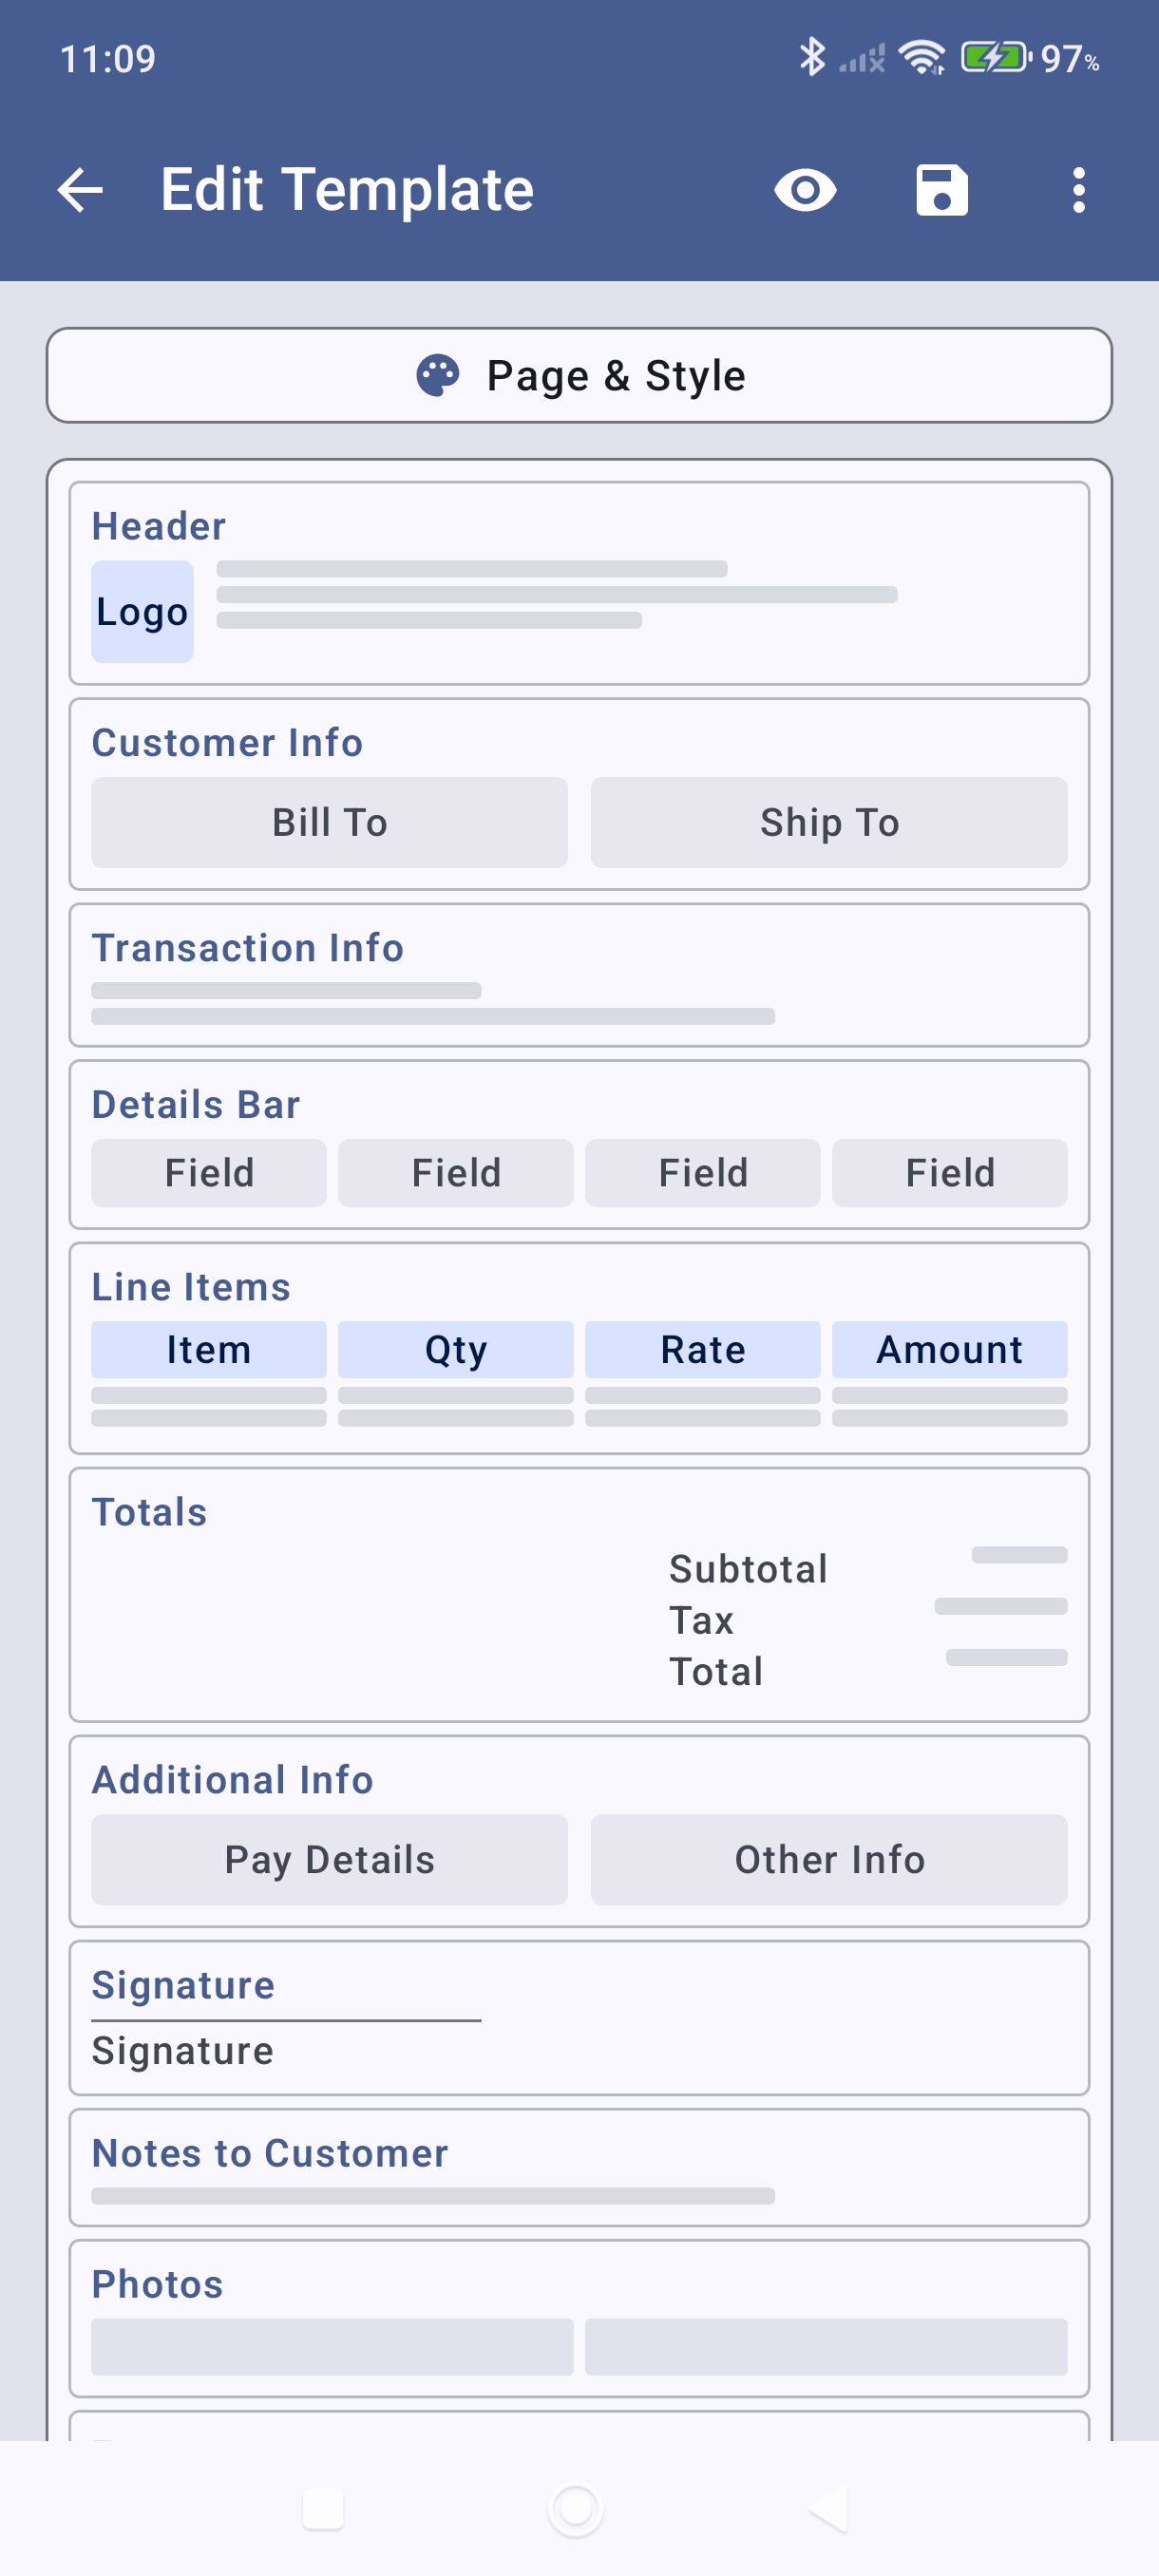
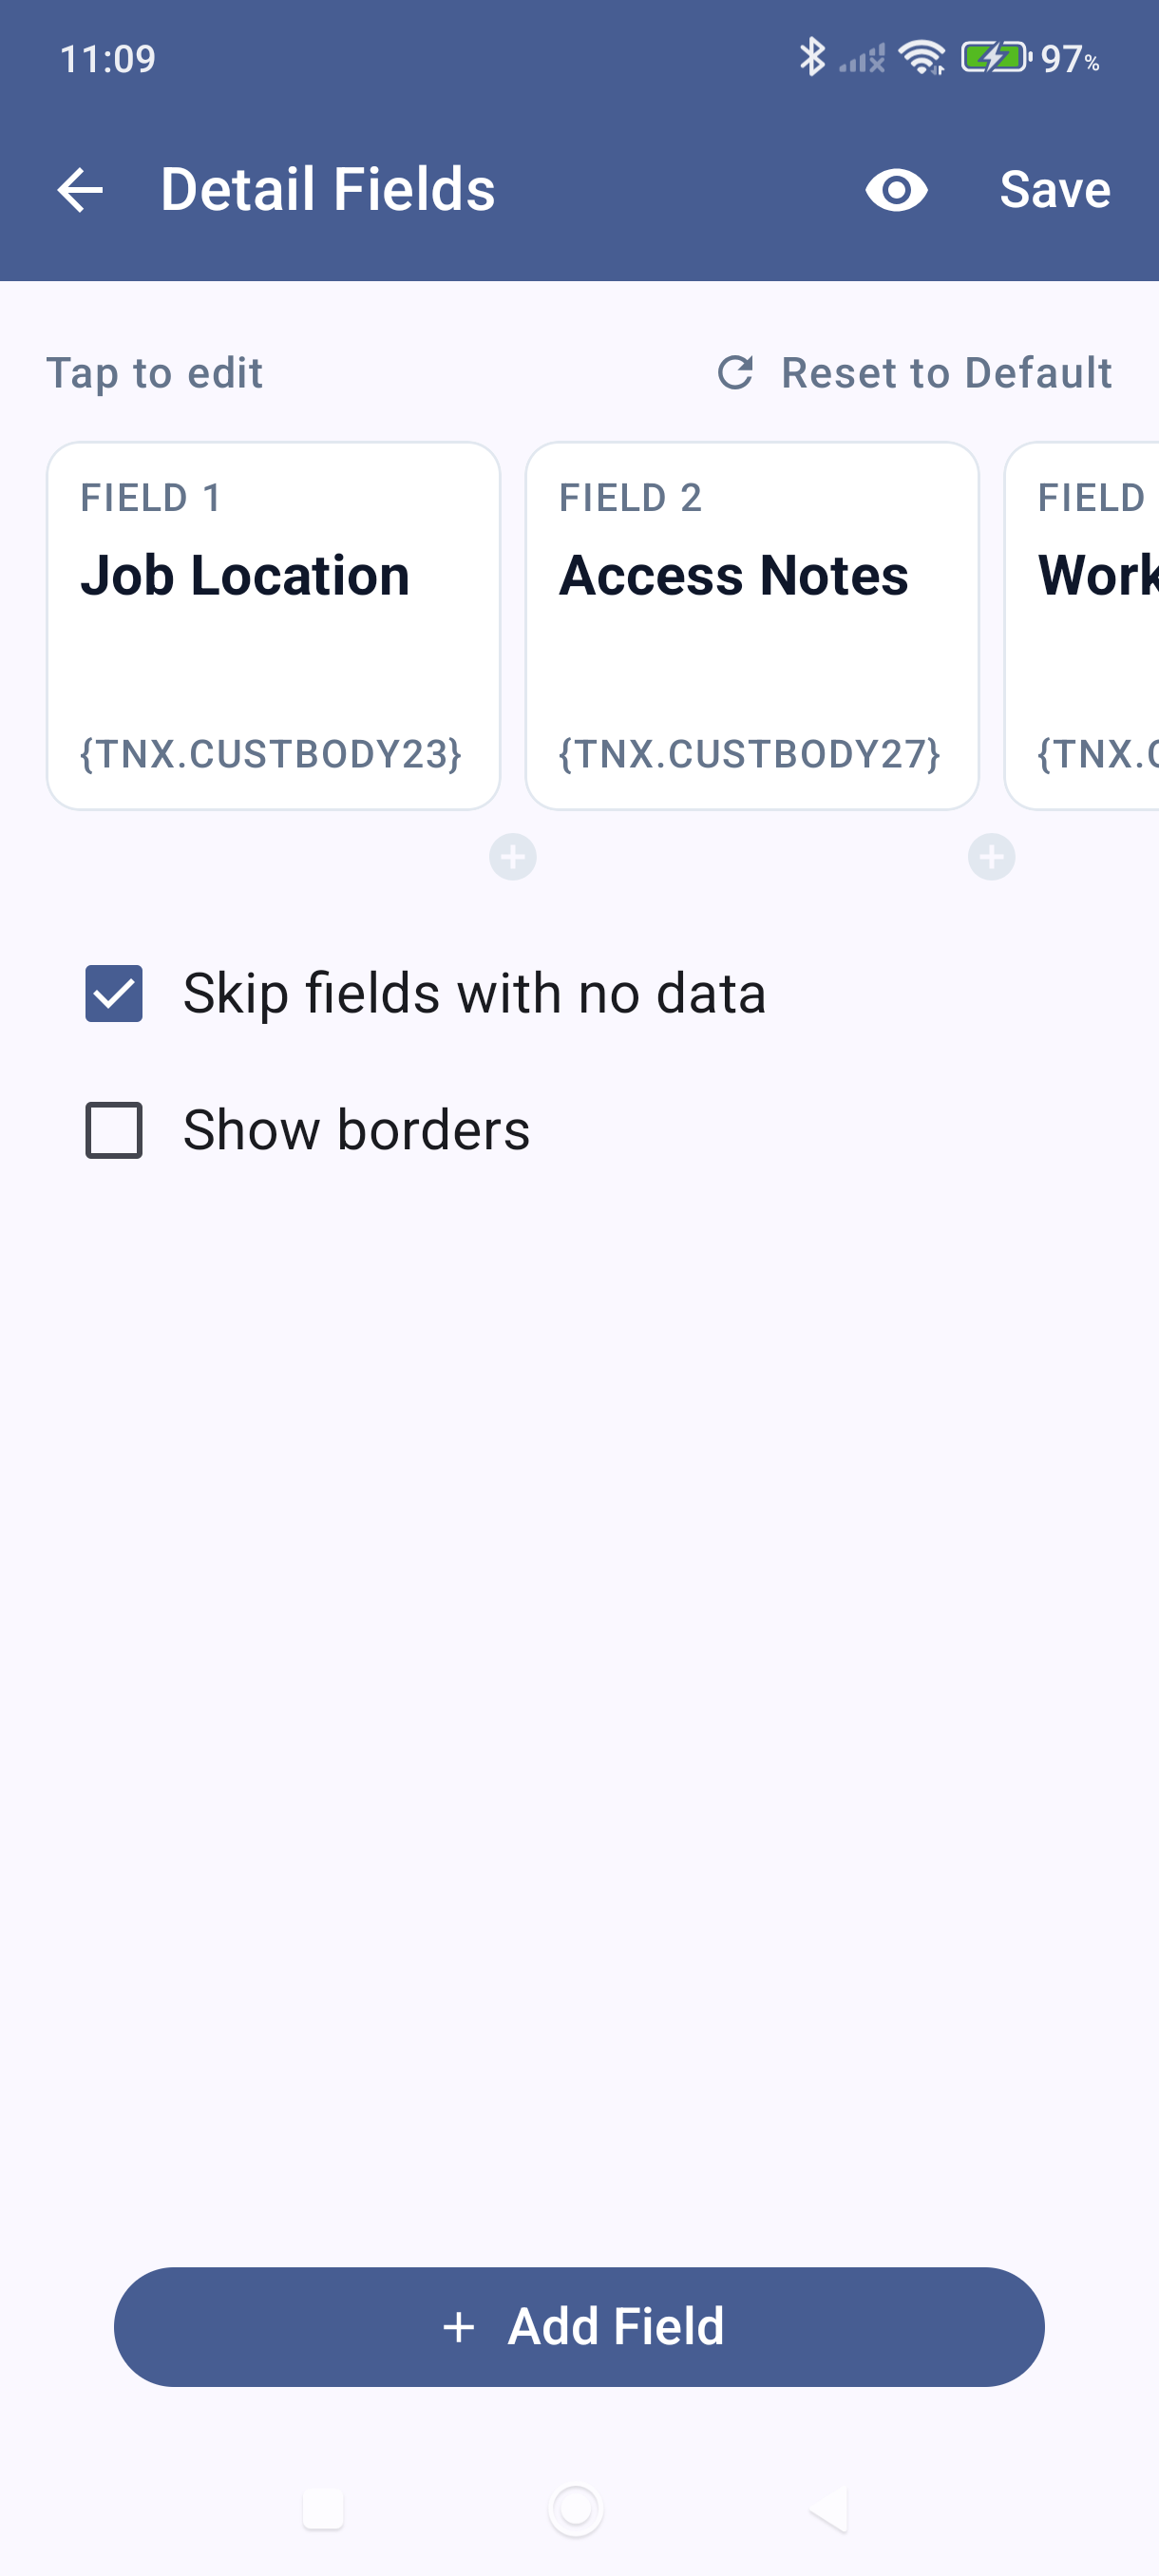
Scroll to the Detail Fields section in the template editor and tap it.
-
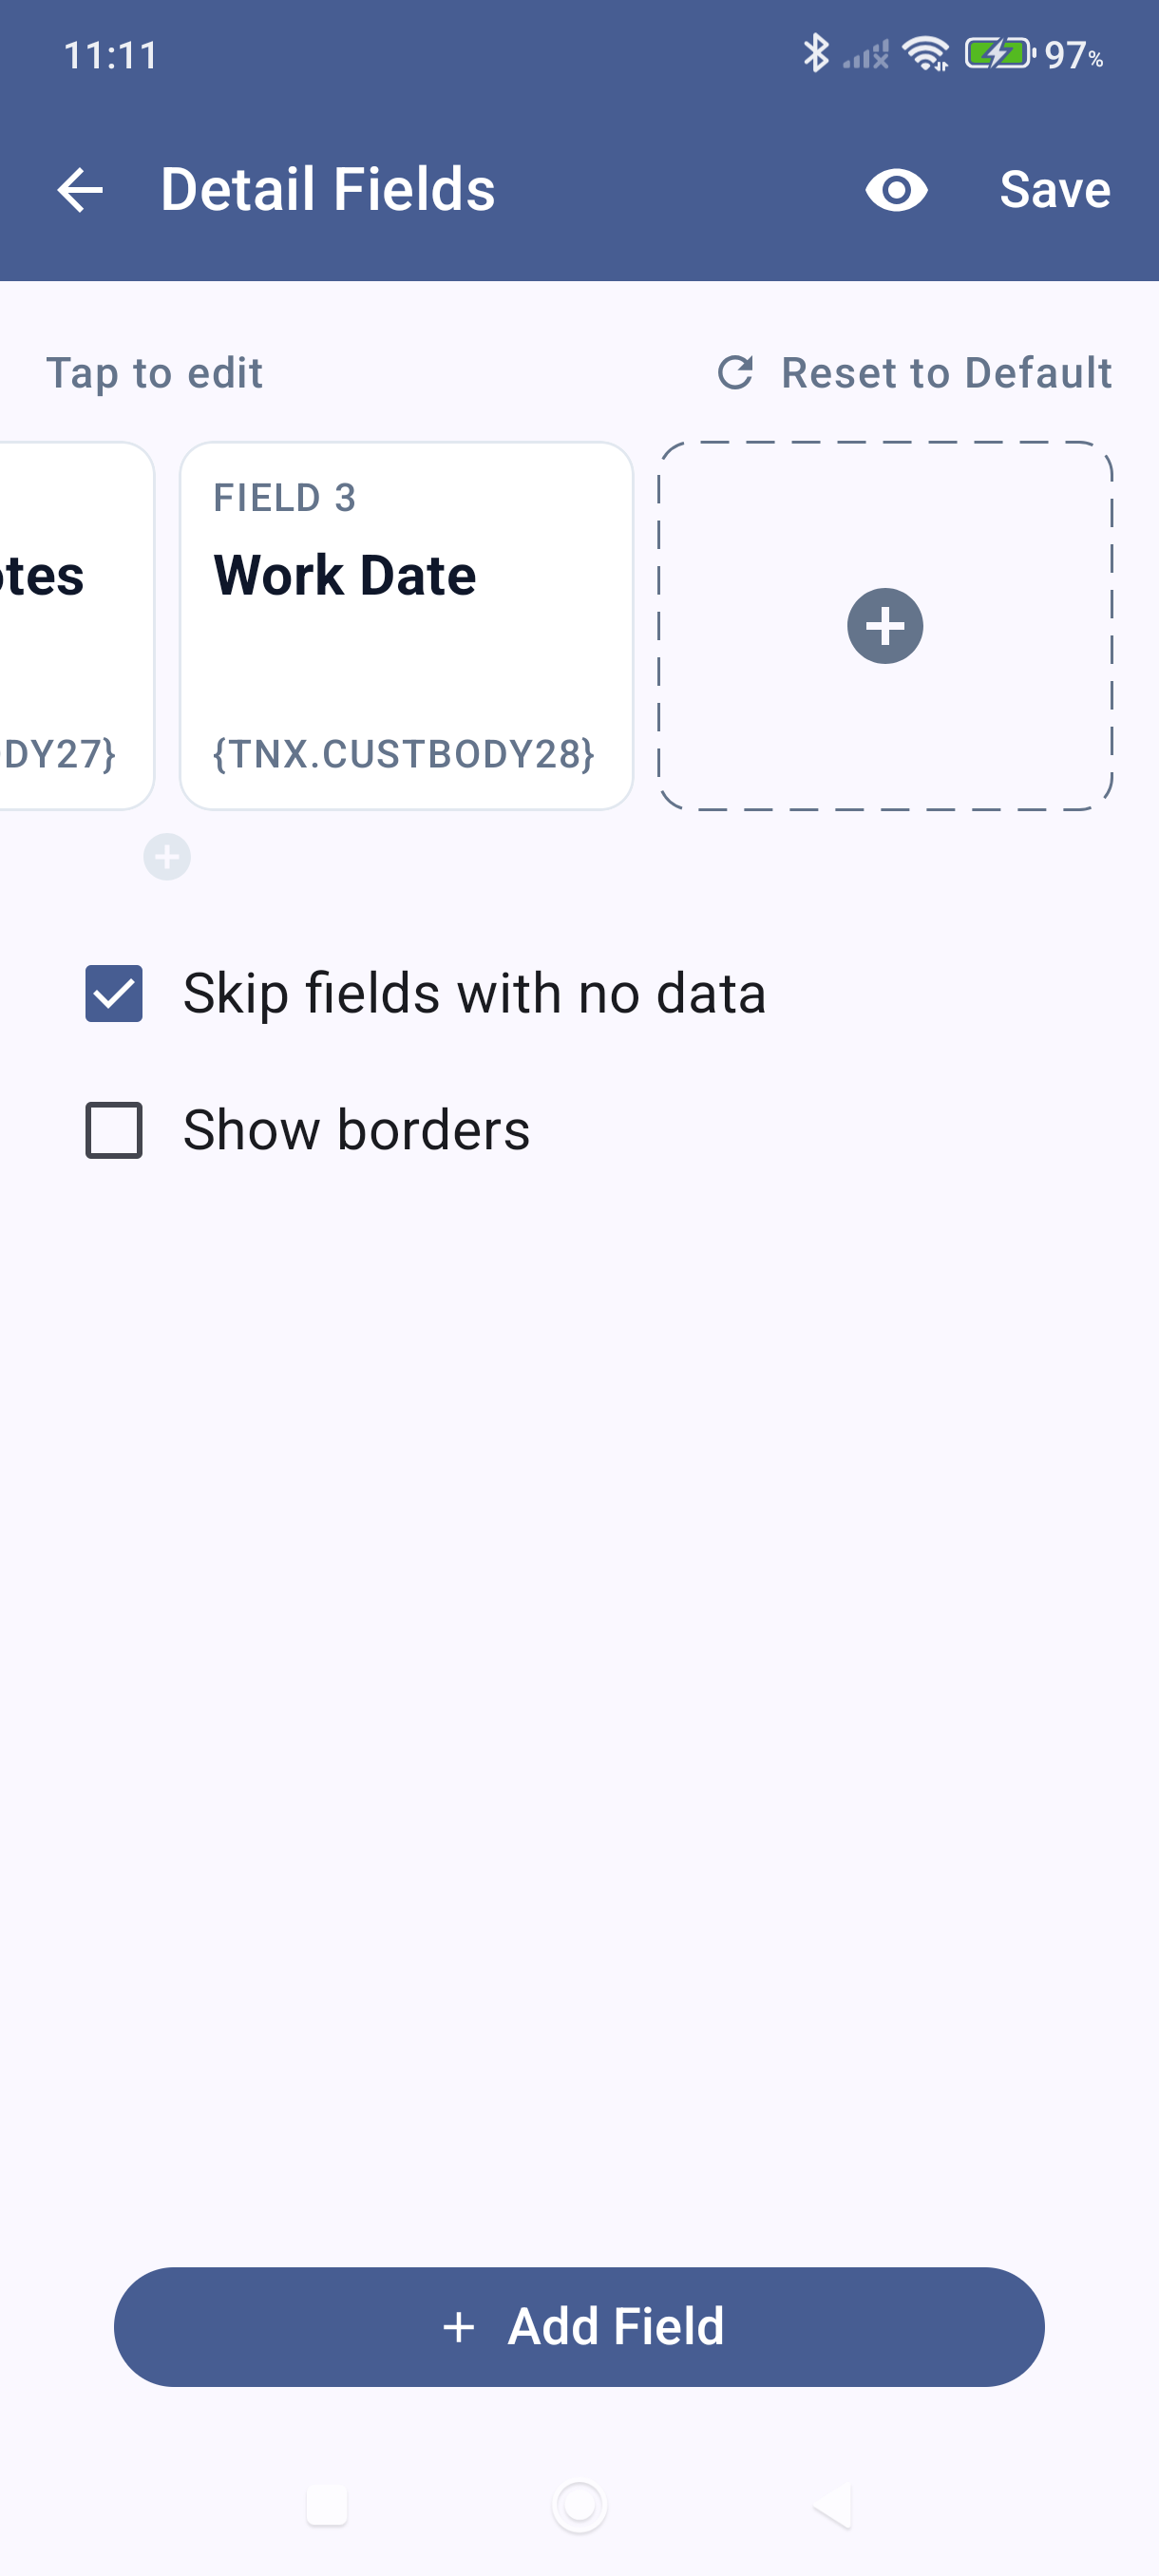
You'll see existing field cards — each card maps a header label to a data tag. Swipe left to see more cards and the + Add Field button.
-
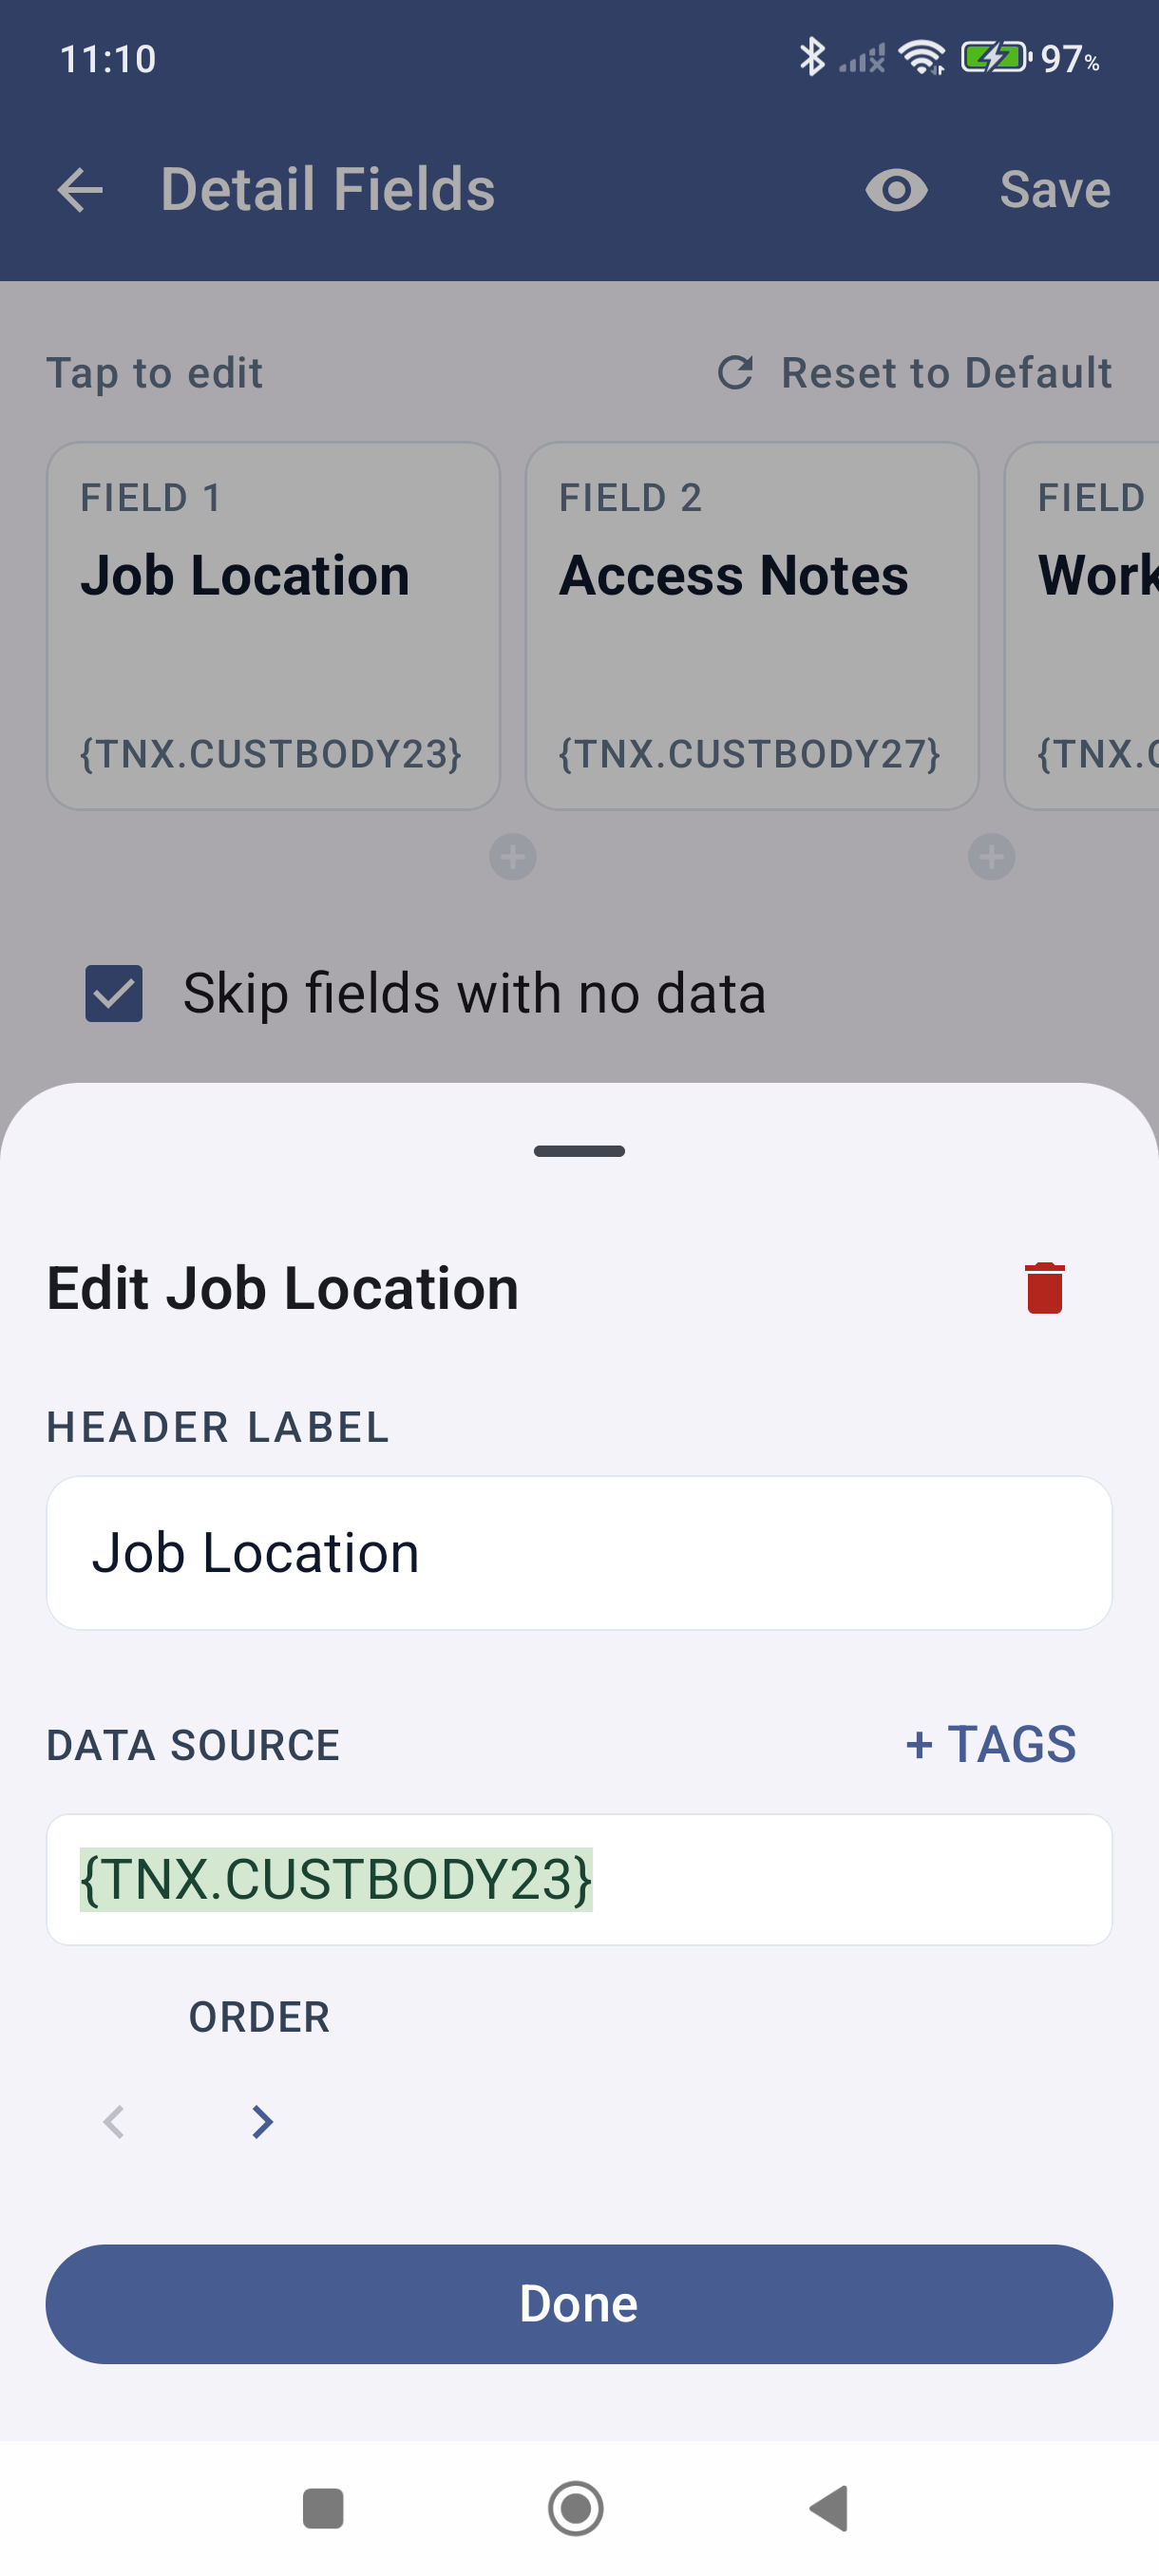
Tap + Add Field to add a new field. A bottom sheet opens with a Header Label and Data Source field.
-
Enter a Header Label — for example,
Project. -
Tap + TAGS next to the Data Source field — a searchable tag picker opens. Type
projto filter to Project Info tags.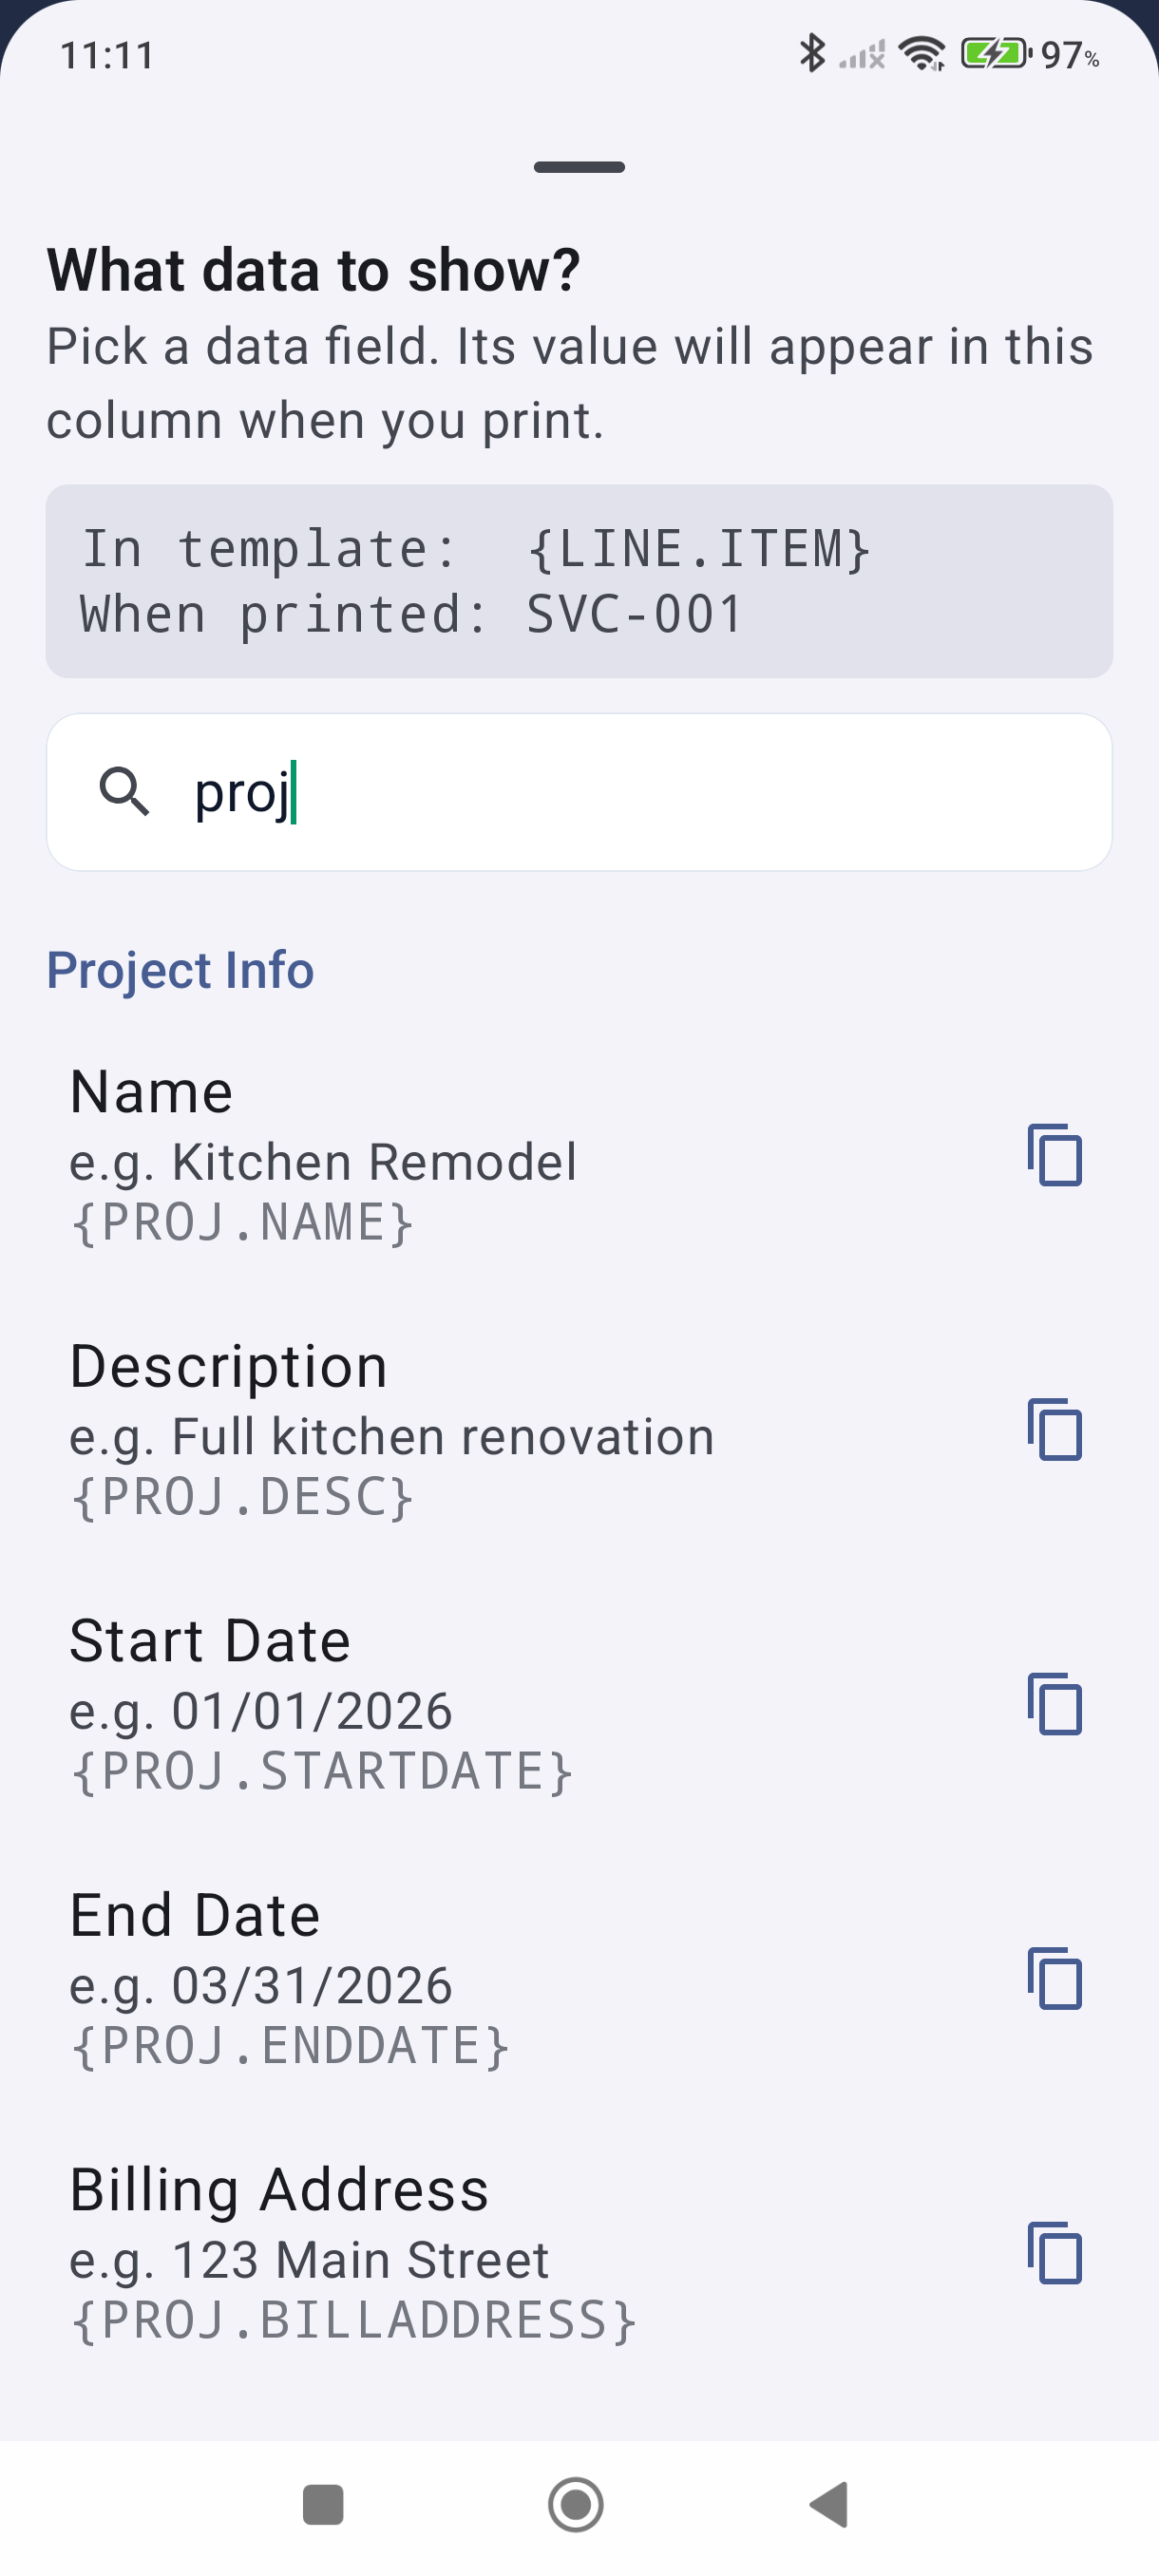
-
Tap the copy icon next to
{PROJ.NAME}(or any project tag you want), then paste it into the Data Source field. -
Tap Done, then tap the Save icon (disk) in the action bar.
Open any invoice assigned to a project and generate a PDF — the project name now appears in a details bar above the line items.
Available Project Tags
| Tag | What It Shows |
|---|---|
{PROJ.NAME} | Project name |
{PROJ.DESC} | Project description |
{PROJ.STARTDATE} | Start date |
{PROJ.ENDDATE} | End date |
{PROJ.BILLADDRESS} | Project billing address |
Good to Know
- You can add multiple Detail Fields — for example, one for
{PROJ.NAME}and another for{PROJ.STARTDATE}. Each field becomes a column in the details bar. - Skip fields with no data is checked by default, so columns only print when the project actually has data in that field. If you configure 3 fields but only 2 have data, the PDF shows 2 columns.
- Detail Fields settings are per transaction type — configure invoices separately from quotes if needed.
- Projects must be created before they can be assigned. Tap Lists > Projects from the side menu to add and manage your projects.
Still stuck? Contact Support for help.