Adding your logo makes every invoice look professional and on-brand. Once set, it appears automatically on all PDFs you generate — invoices, quotes, receipts, and more.
What You'll Need
Before you start: Have your logo image ready in your phone's photo gallery. PNG or JPG formats work best.
Steps
-
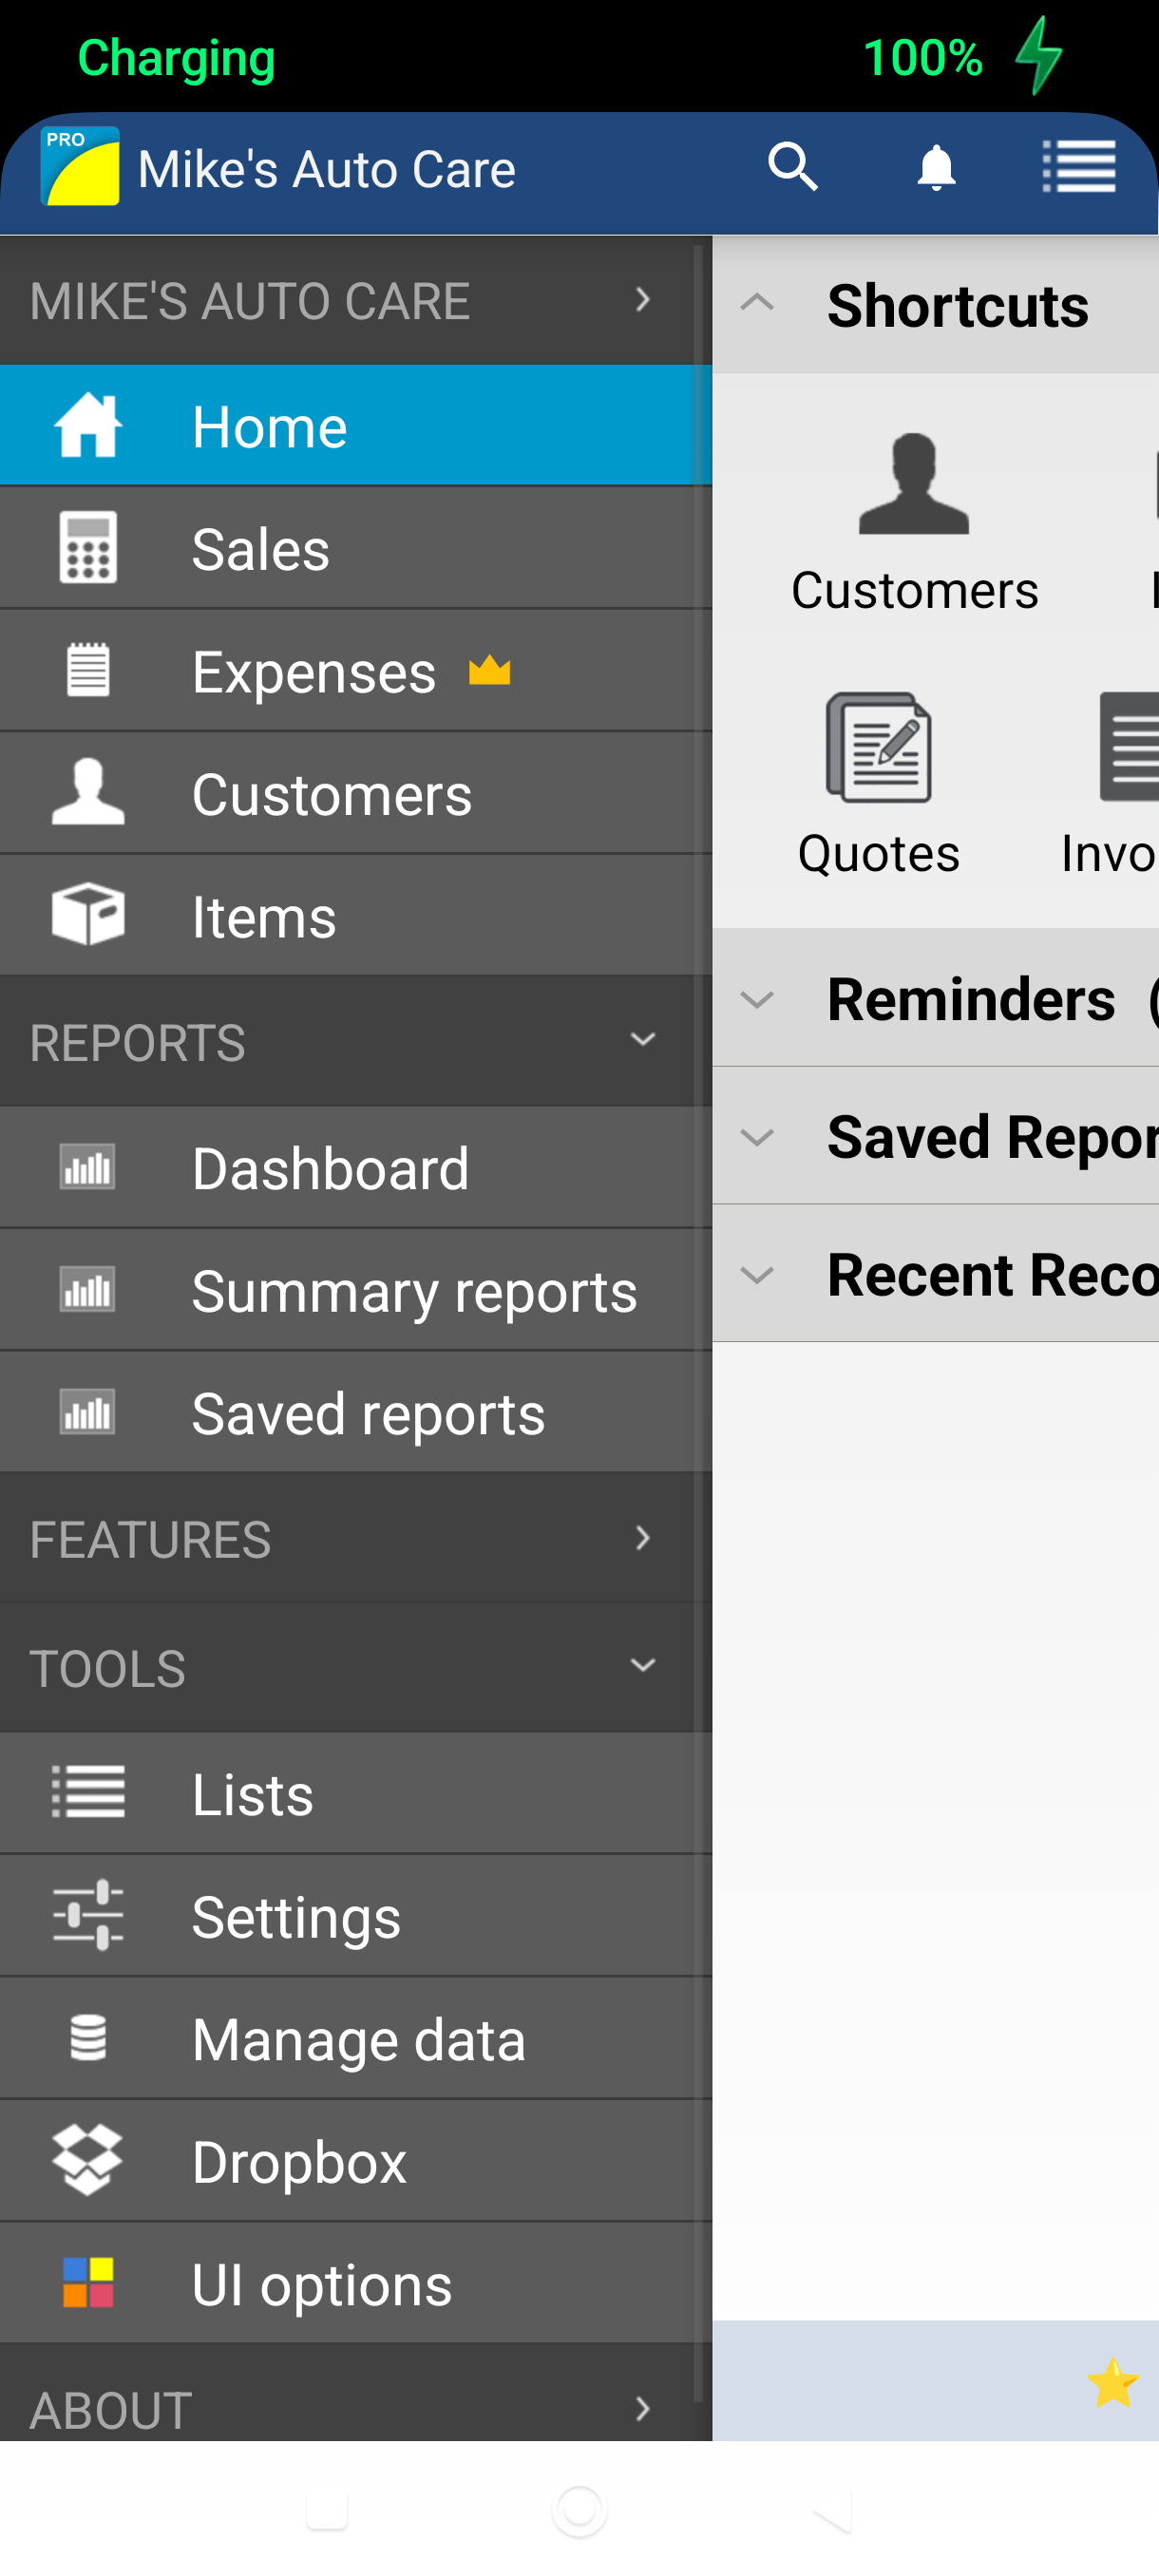
Swipe from the left edge of the screen to open the navigation menu, then tap Settings under TOOLS.
-
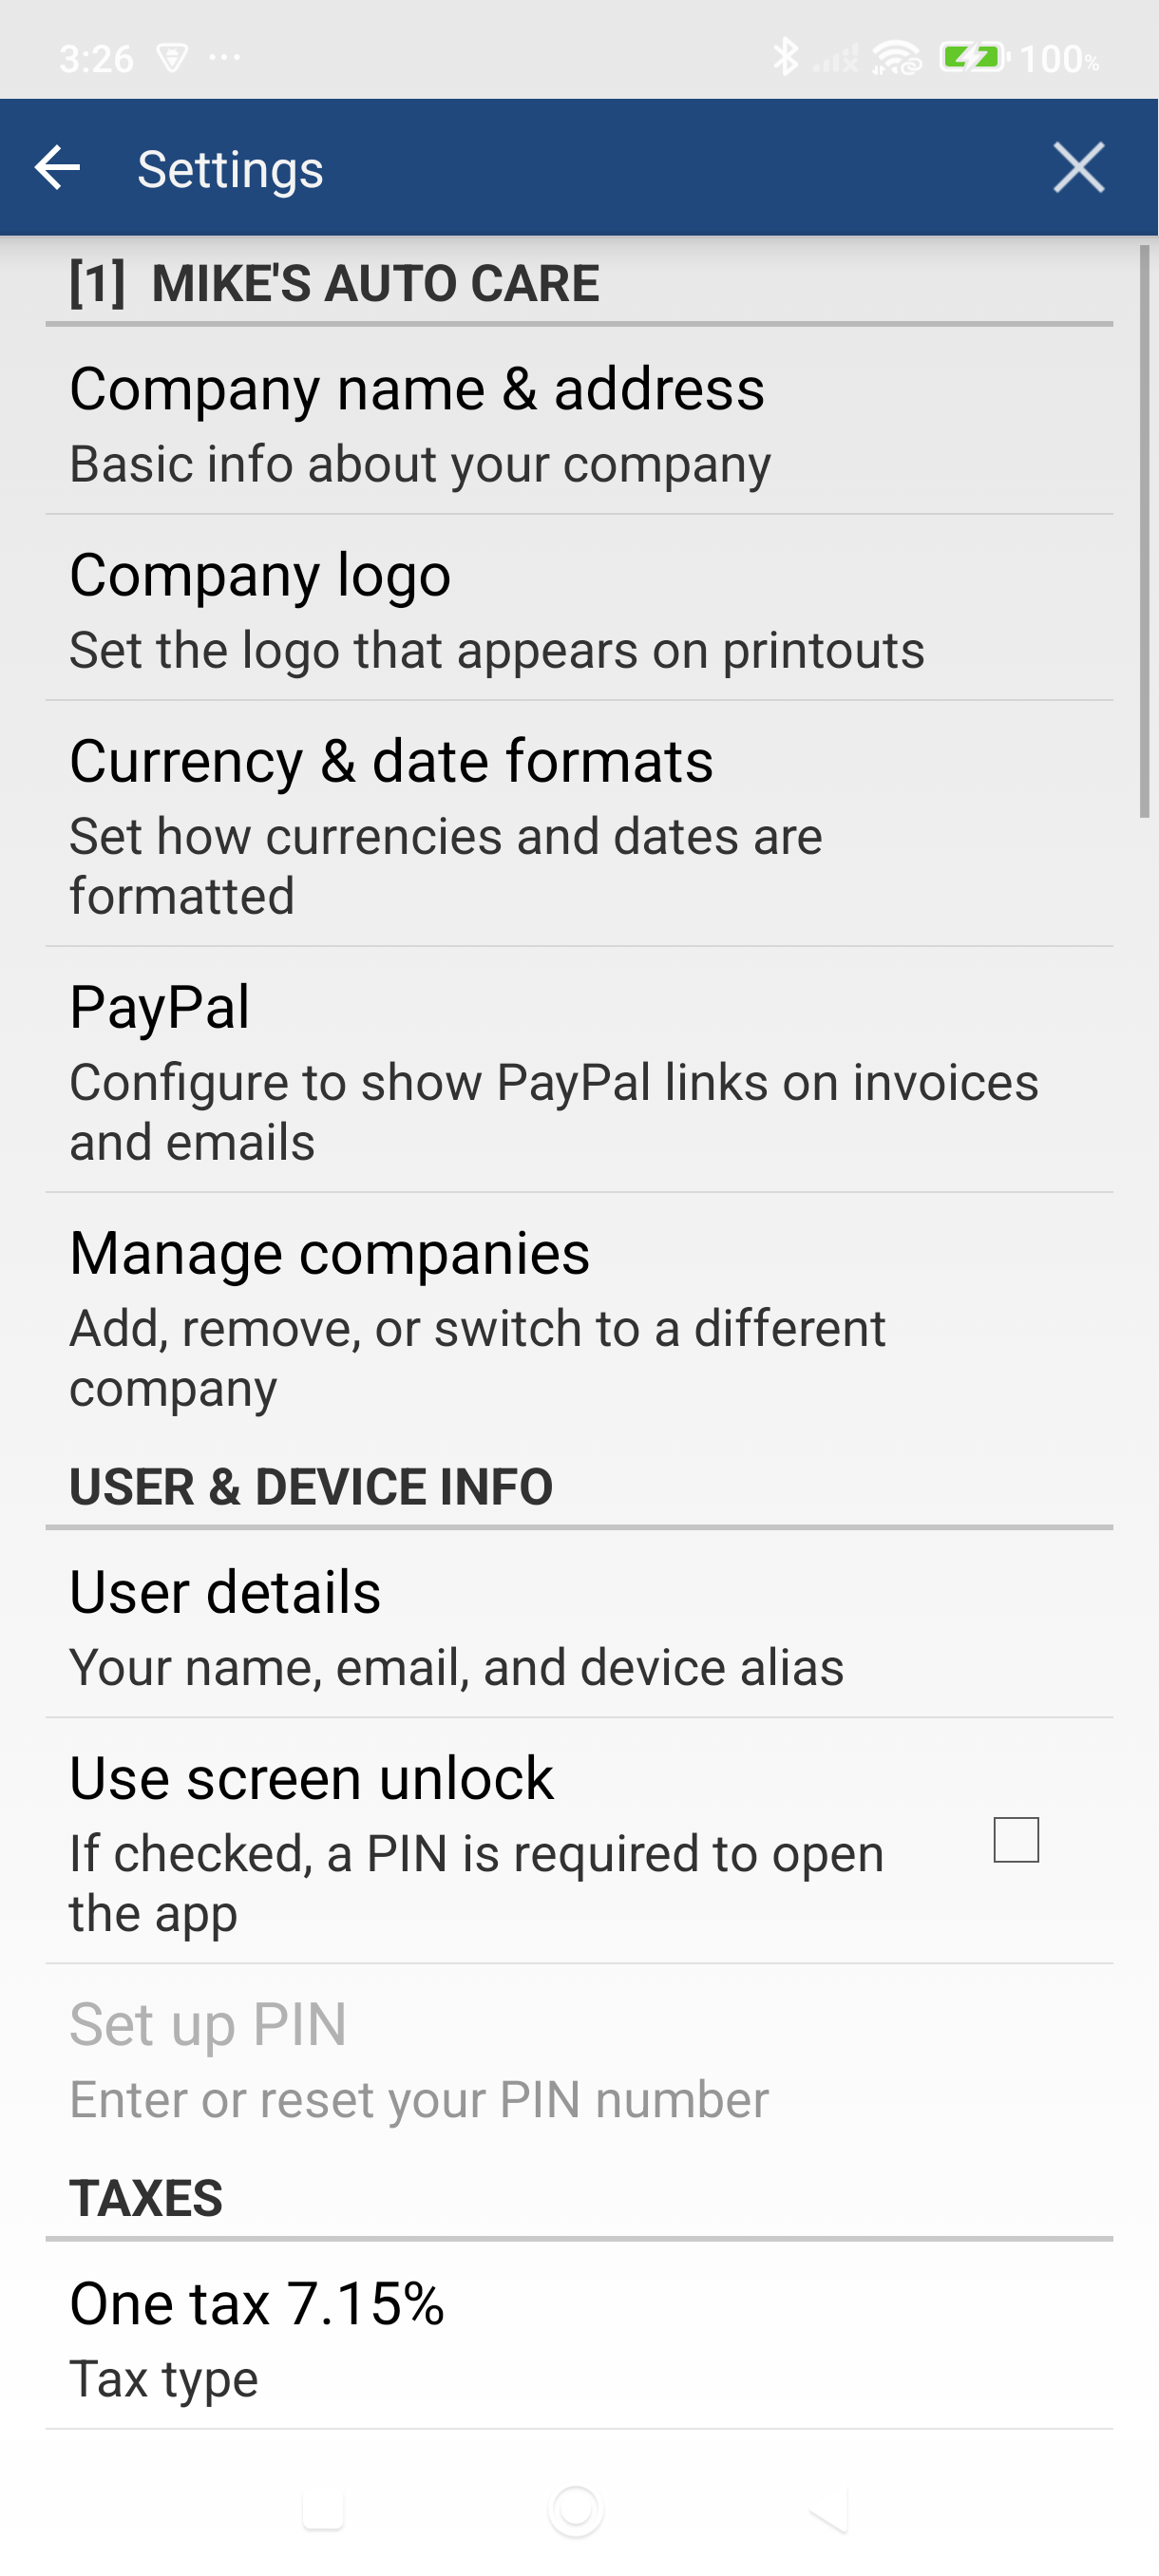
Tap "Company logo" in the Settings screen.
-
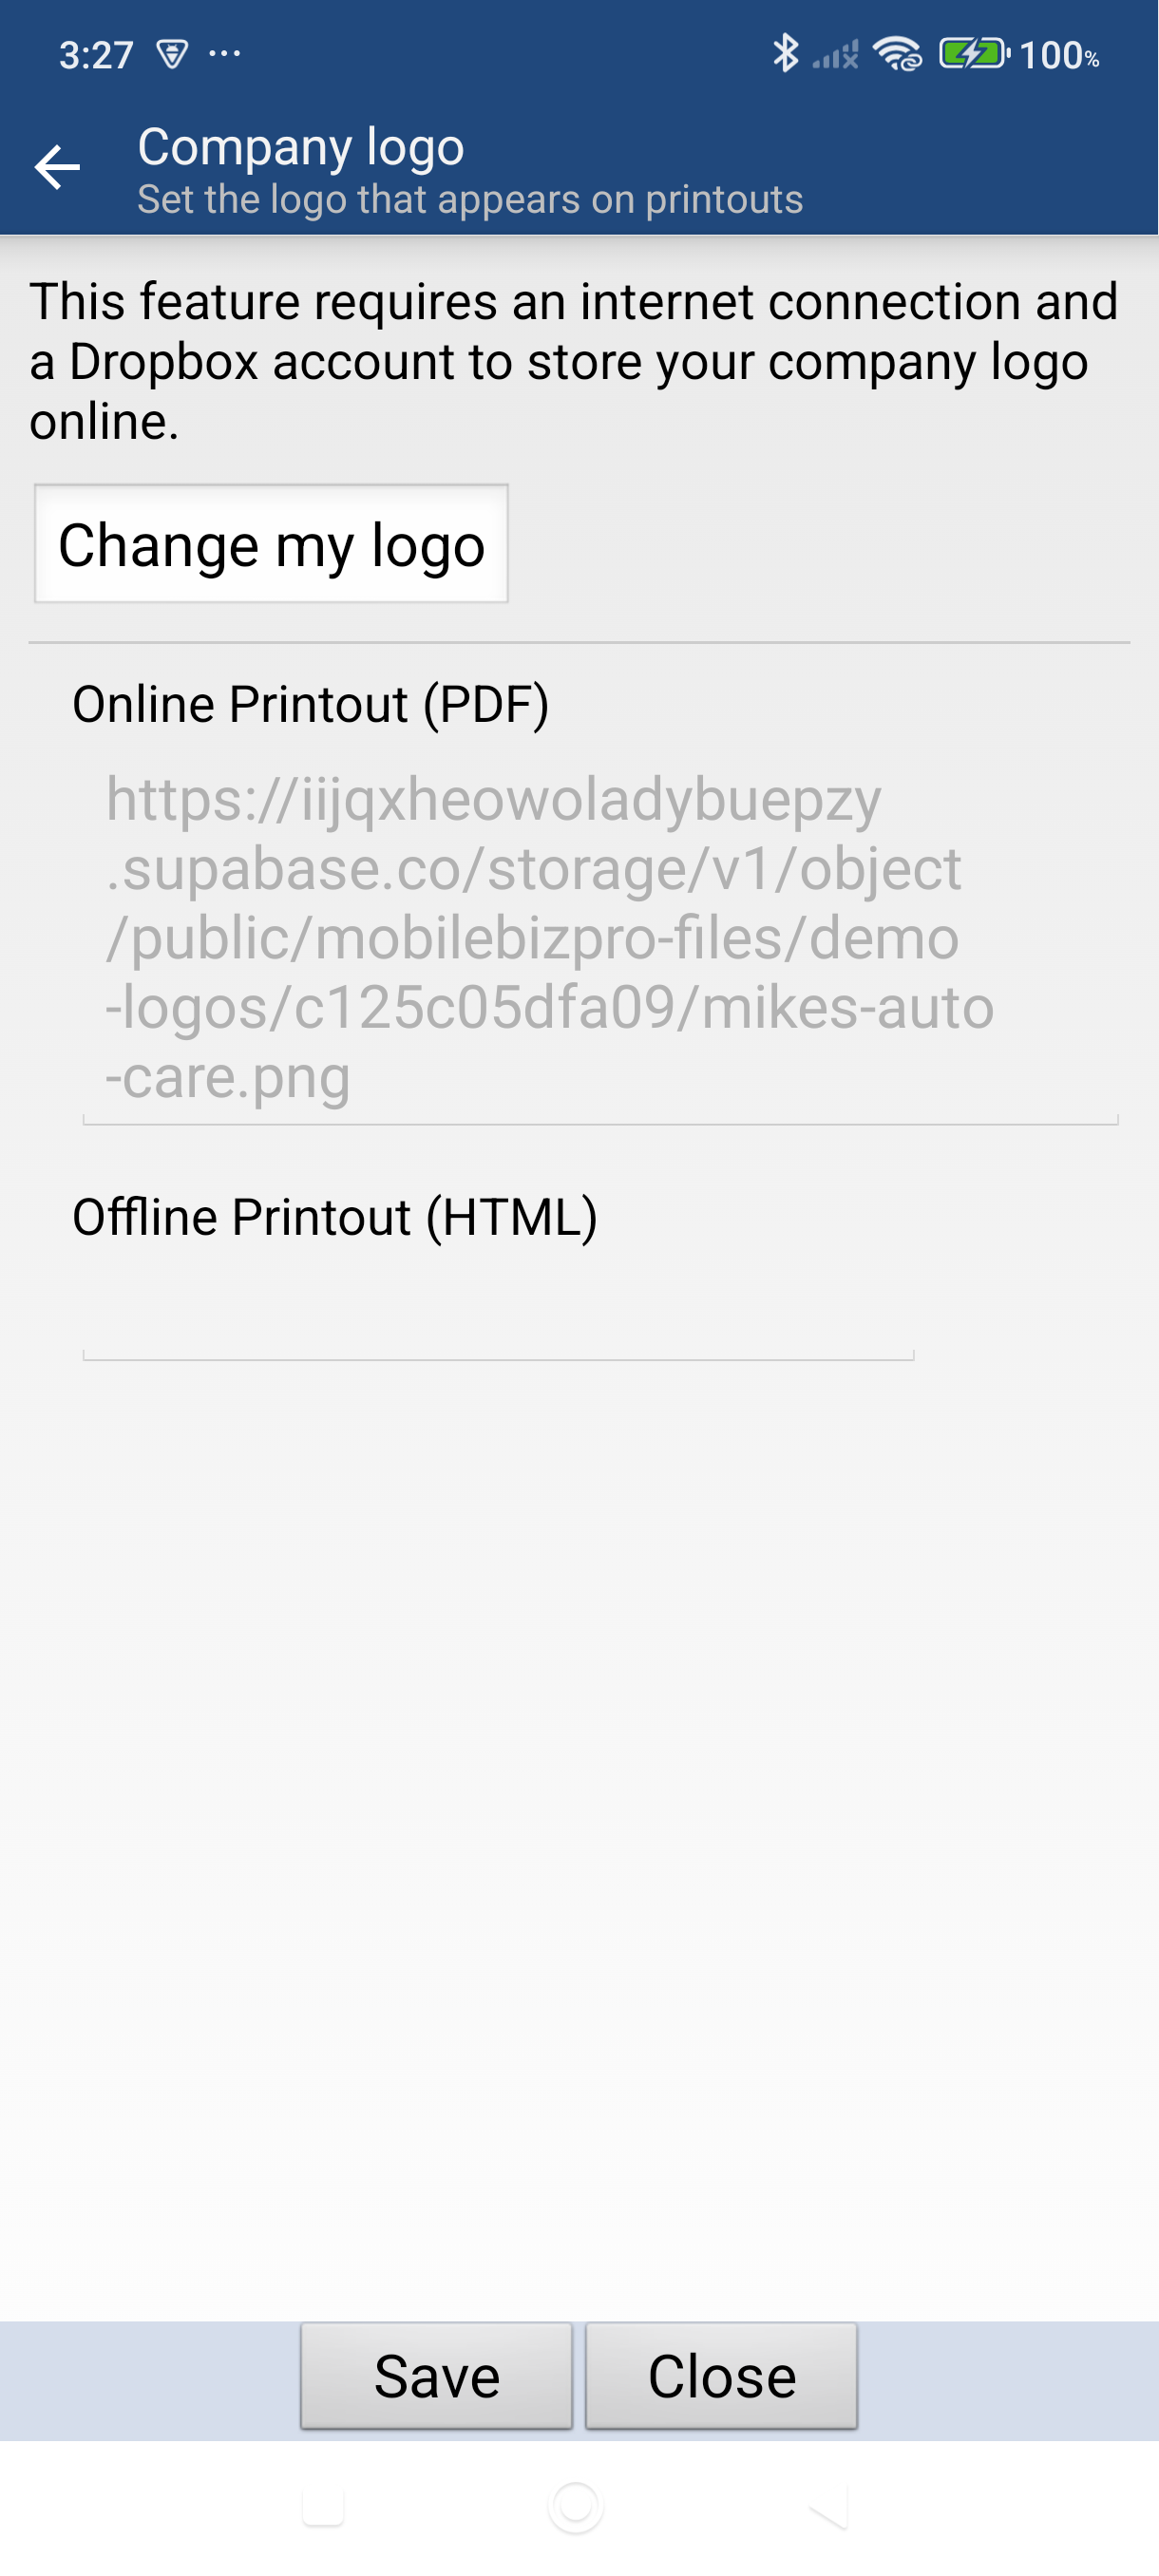
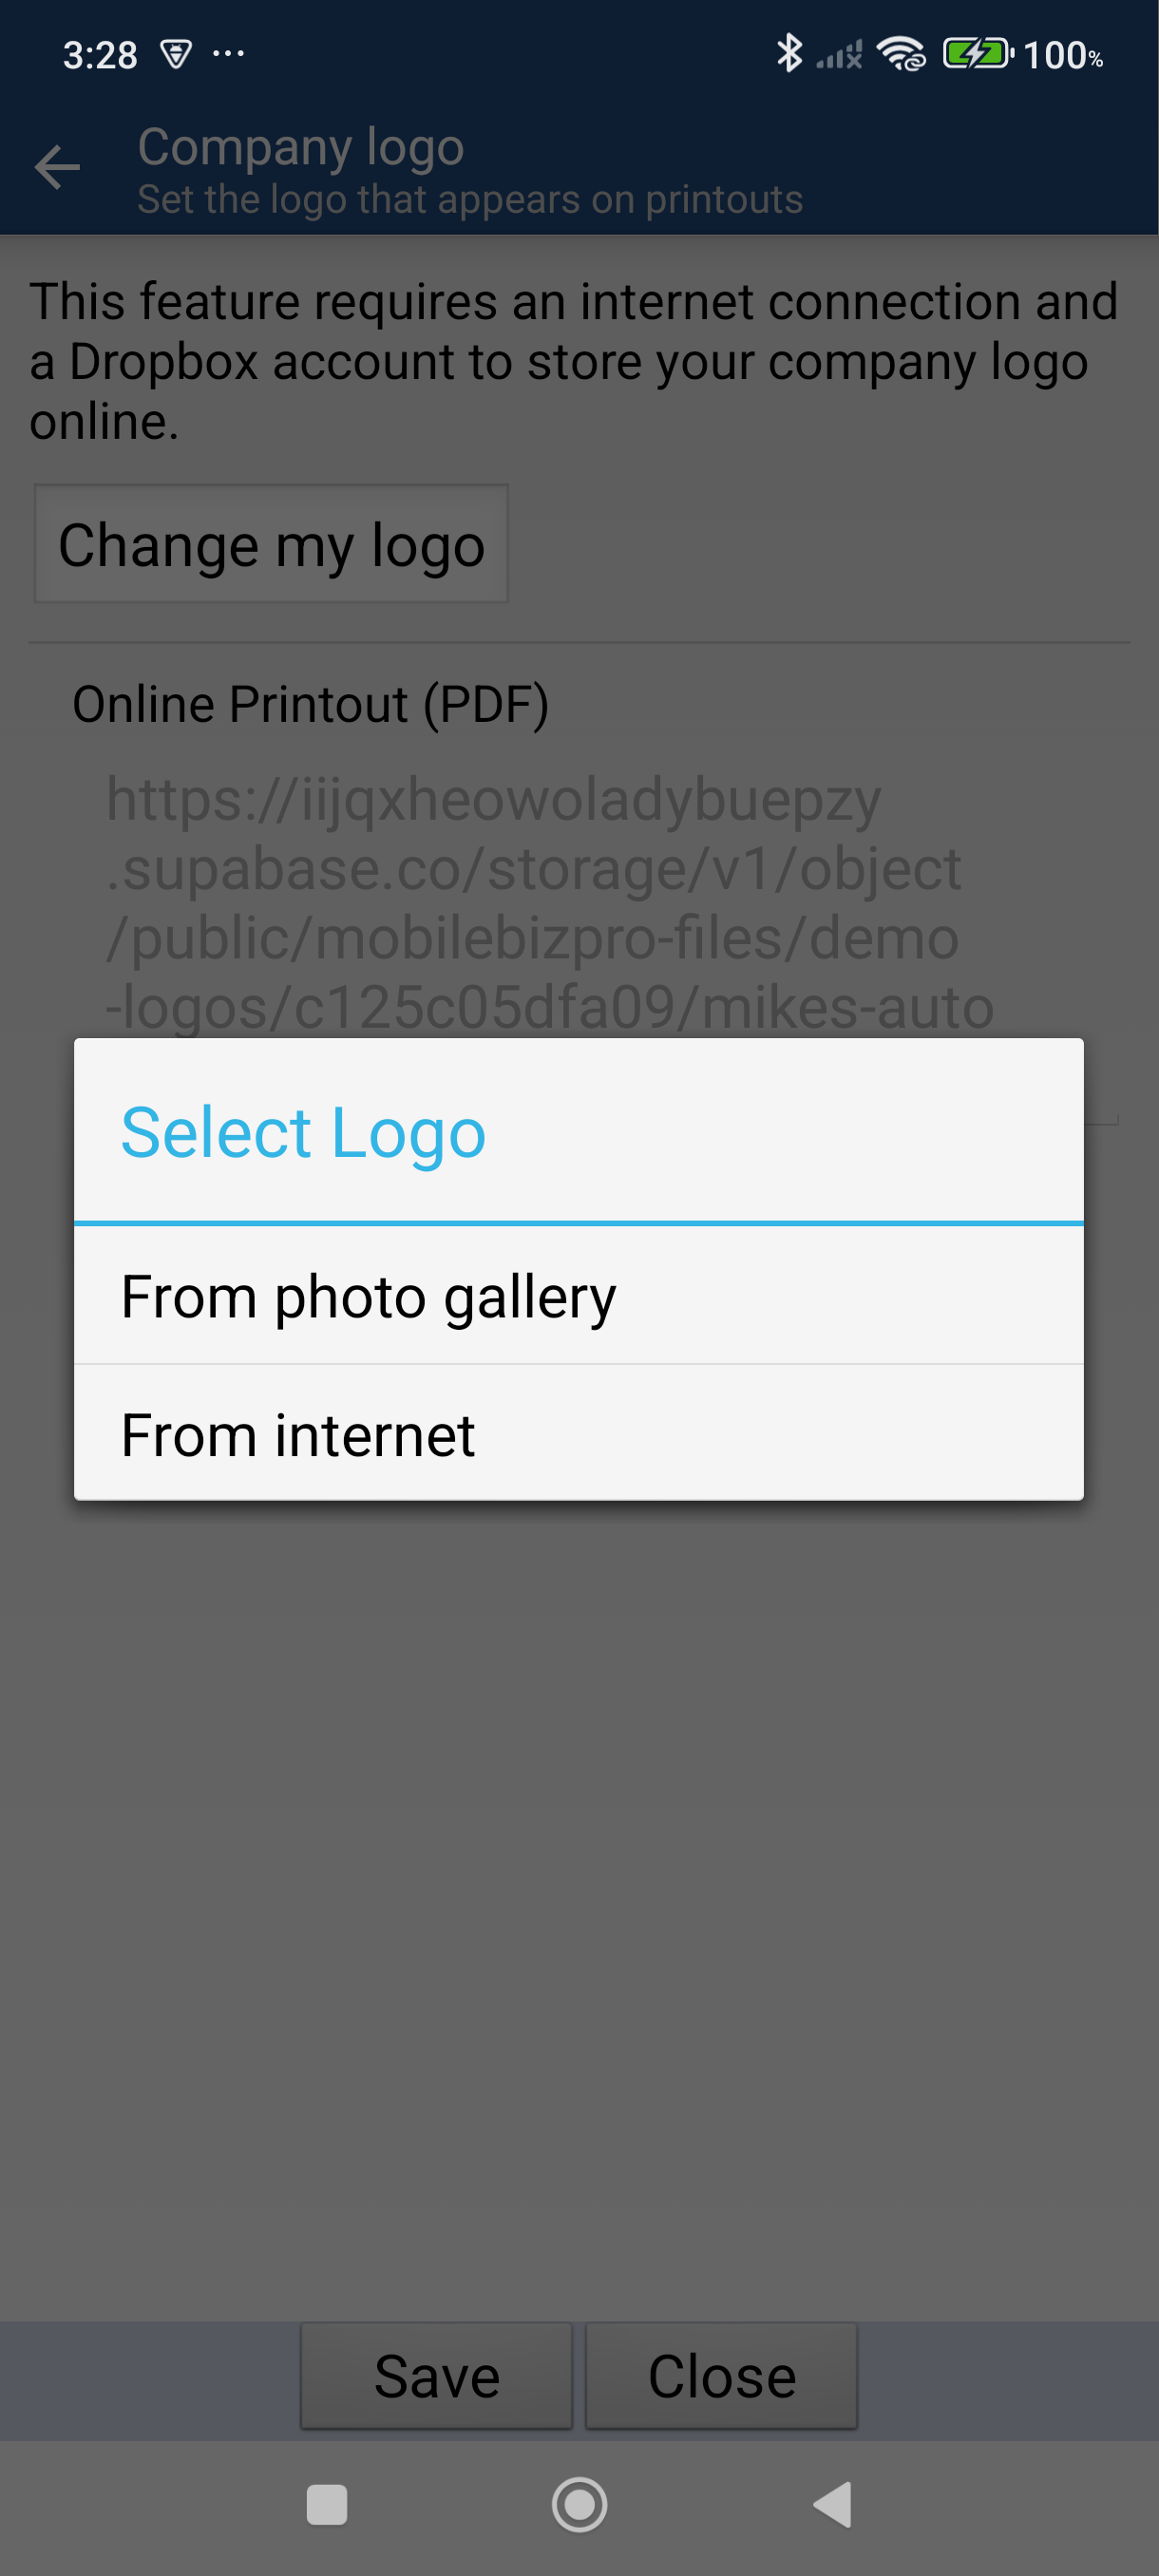
Tap the upload button — it says "Change my logo" if a logo is already set. A dialog appears with two options:
- From photo gallery — pick an image from your phone
- From internet — enter a URL to a logo image online
-
Tap "From photo gallery" and select your logo image. The image opens in a cropping editor — adjust the crop area, then tap the checkmark to confirm.
-
Adjust the logo size using the slider or the preset buttons: Small (25%), Medium (50%), Large (75%), or Full (100%). Medium works well for most logos.

-
Tap Save to apply your logo.
Good to Know
- Your logo appears on every PDF you generate — invoices, quotes, receipts, and statements.
- Larger logo sizes increase PDF file size. If your PDFs feel slow to generate or share, try reducing the logo to Medium (50%).
- To replace your logo later, return to Settings > Company logo and tap Change my logo.
- You can also load a logo from a URL if your logo is hosted online (JPG, PNG, GIF, BMP, and TIFF are supported).
Still stuck? Contact Support for help.