Track your business spending directly in MobileBiz Pro — enter expenses, assign categories, and attach receipt photos. Your expenses feed into the Income Statement report so you always know where you stand.
What You'll Need
Before you start: Expense tracking is a Plus feature with a free trial available. The first time you open Expenses, you'll have the option to start your trial.
Steps
Create an Expense
-
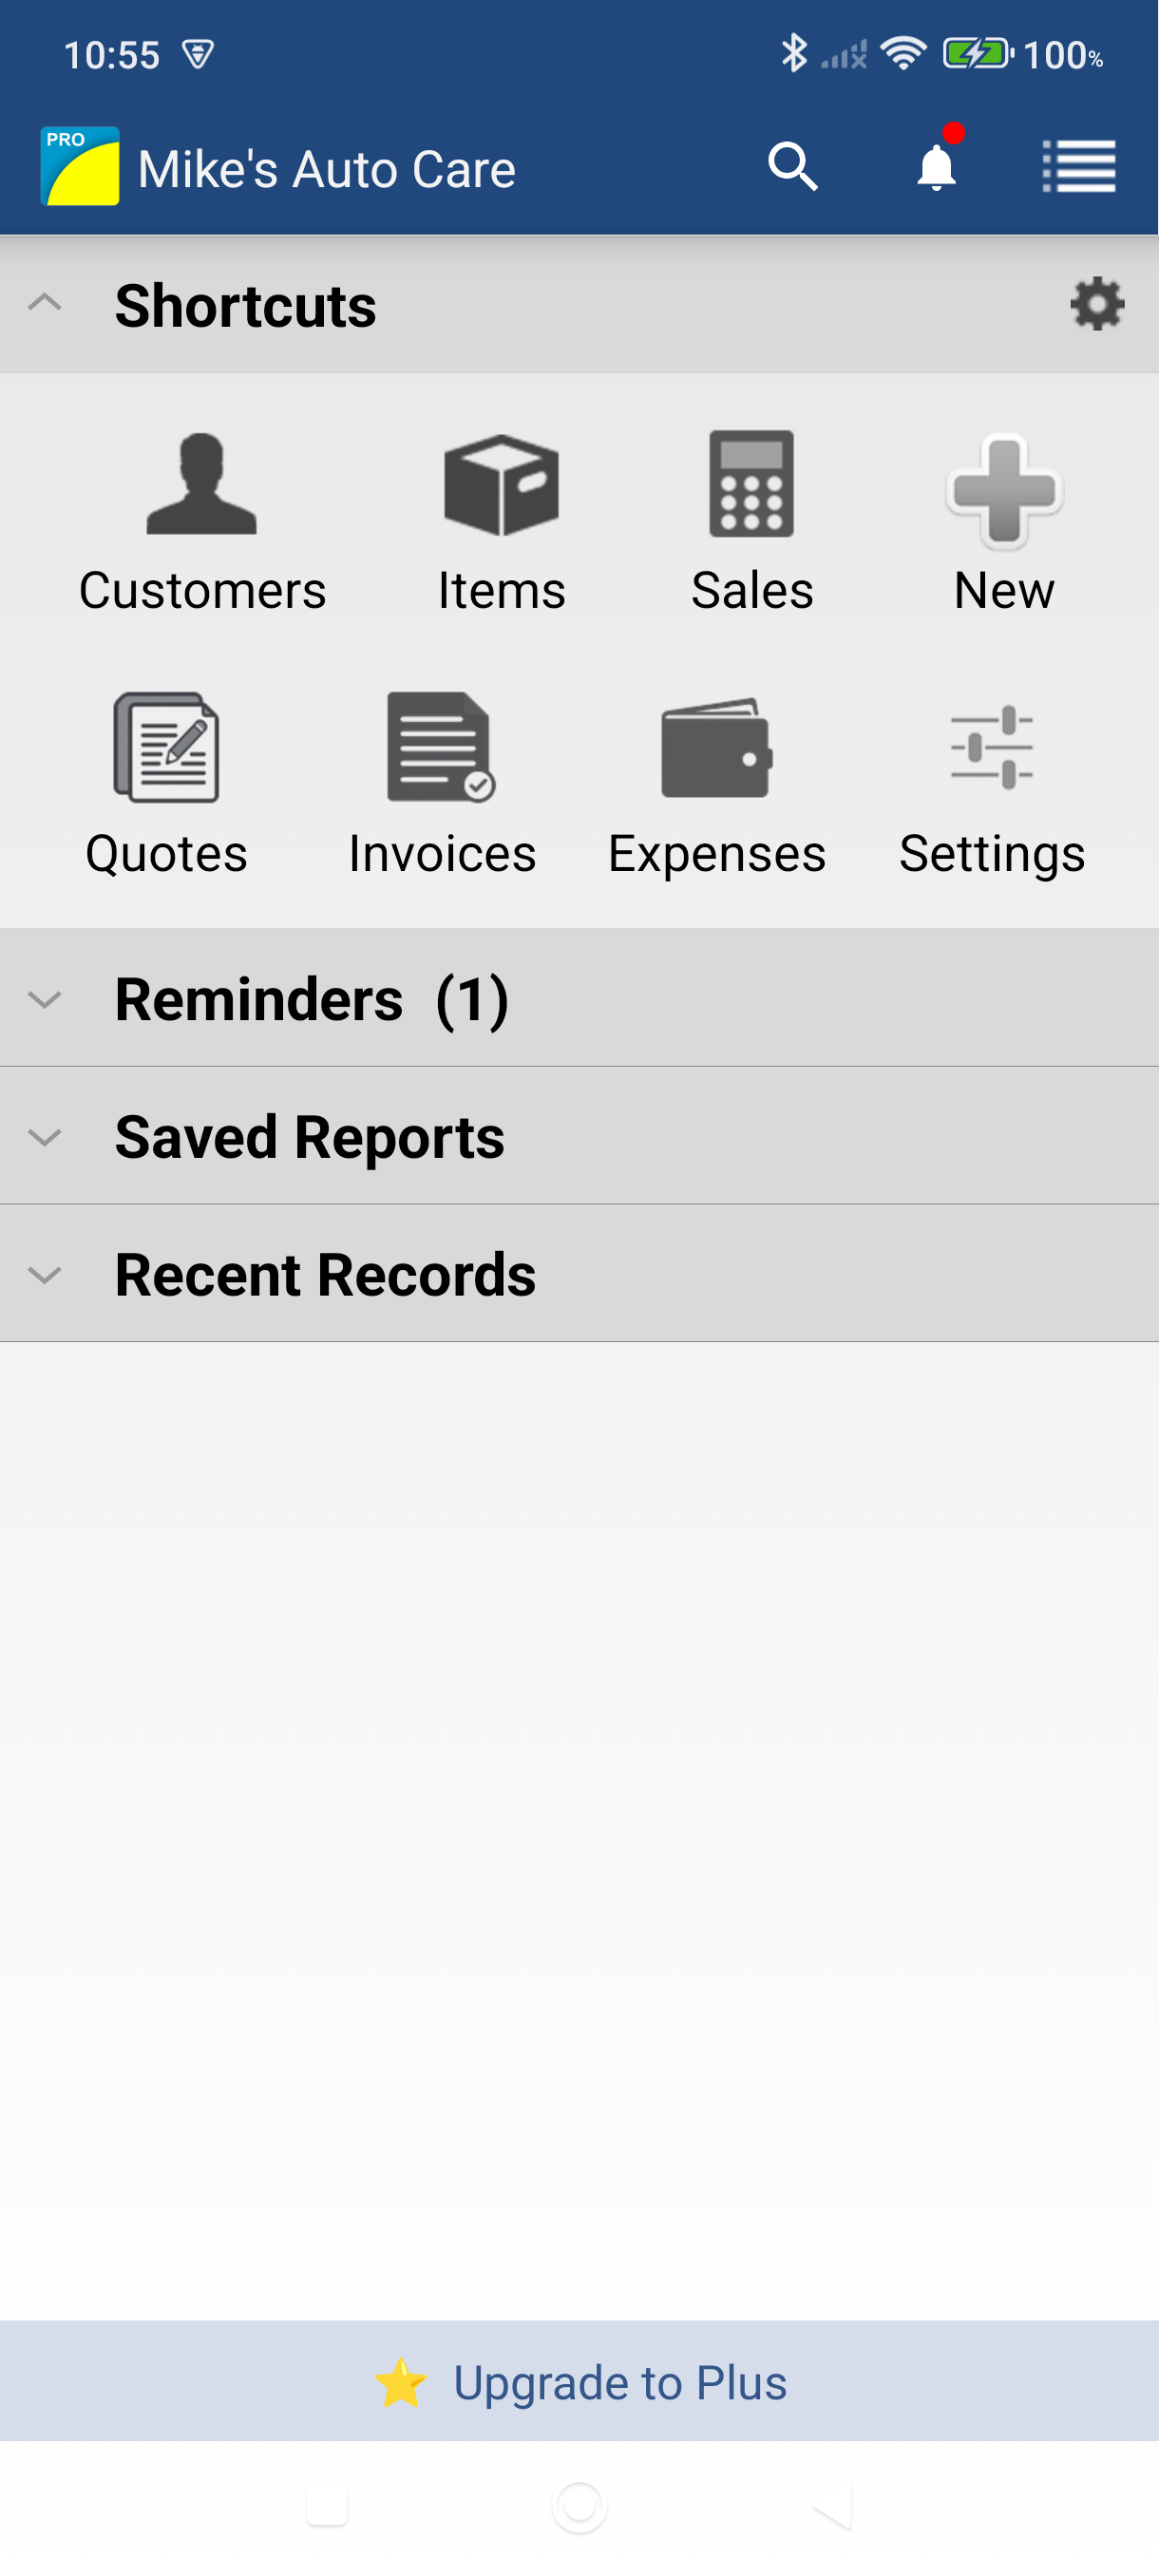
Tap Expenses on the main Dashboard.
-
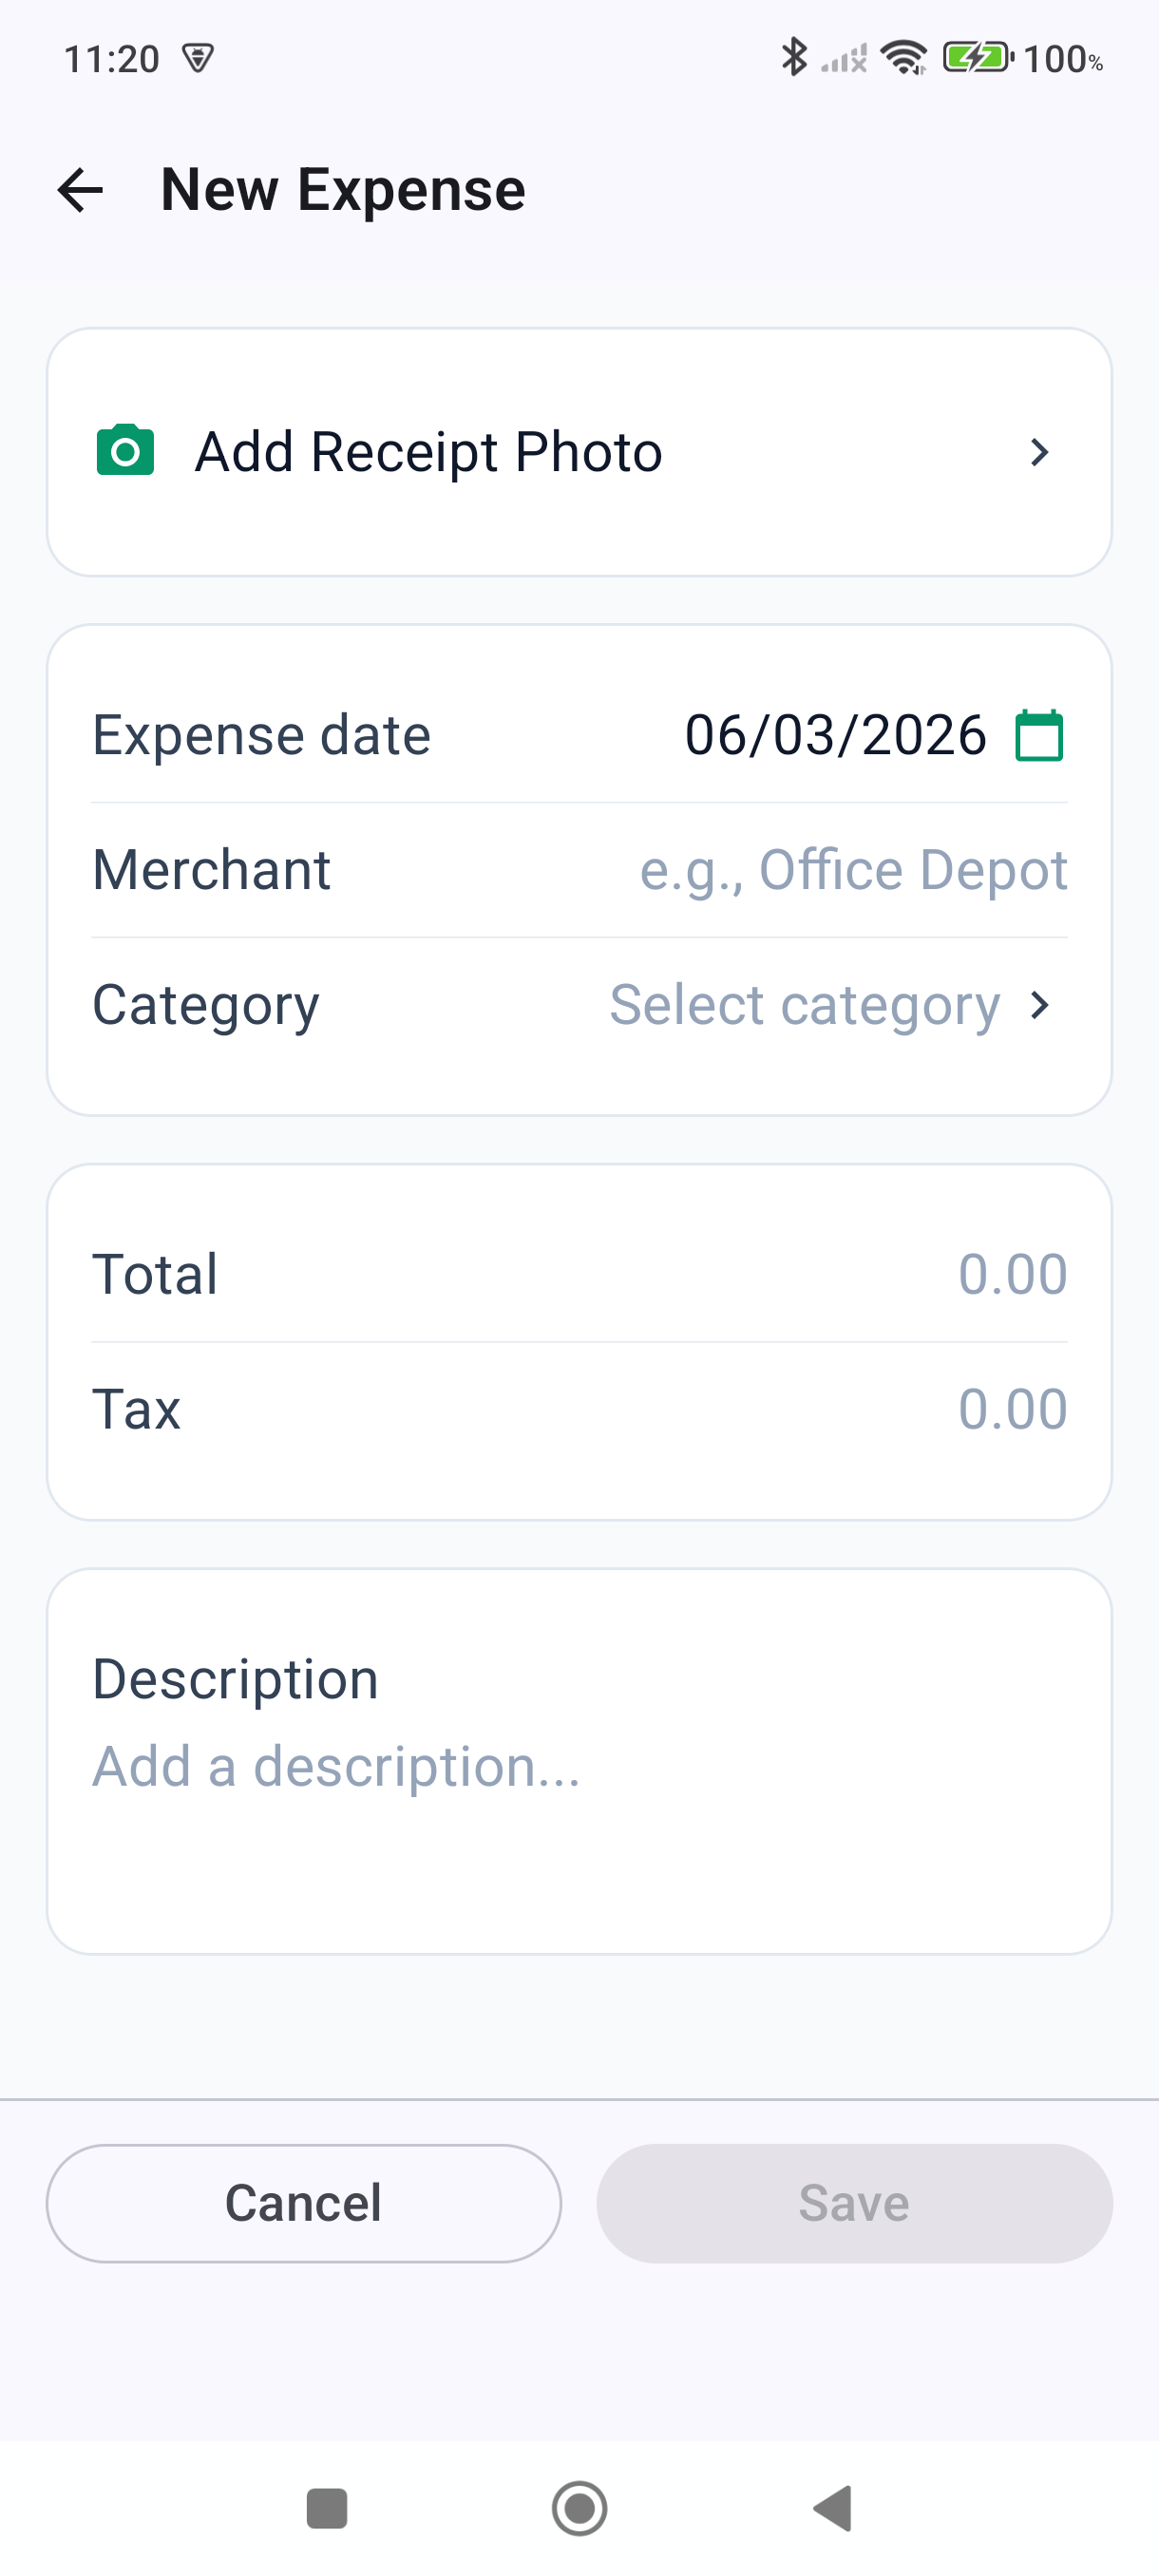
Tap the add button (+ icon) to create a new expense.
-
Fill in the expense details:
- Amount — the expense total
- Date — tap to change the date (defaults to today)
- Category — choose a category like Travel, Supplies, or Meals
- Memo — optional note about the expense
-
Tap Save in the action bar. The expense is added to your list.
Attach a Receipt Photo
-
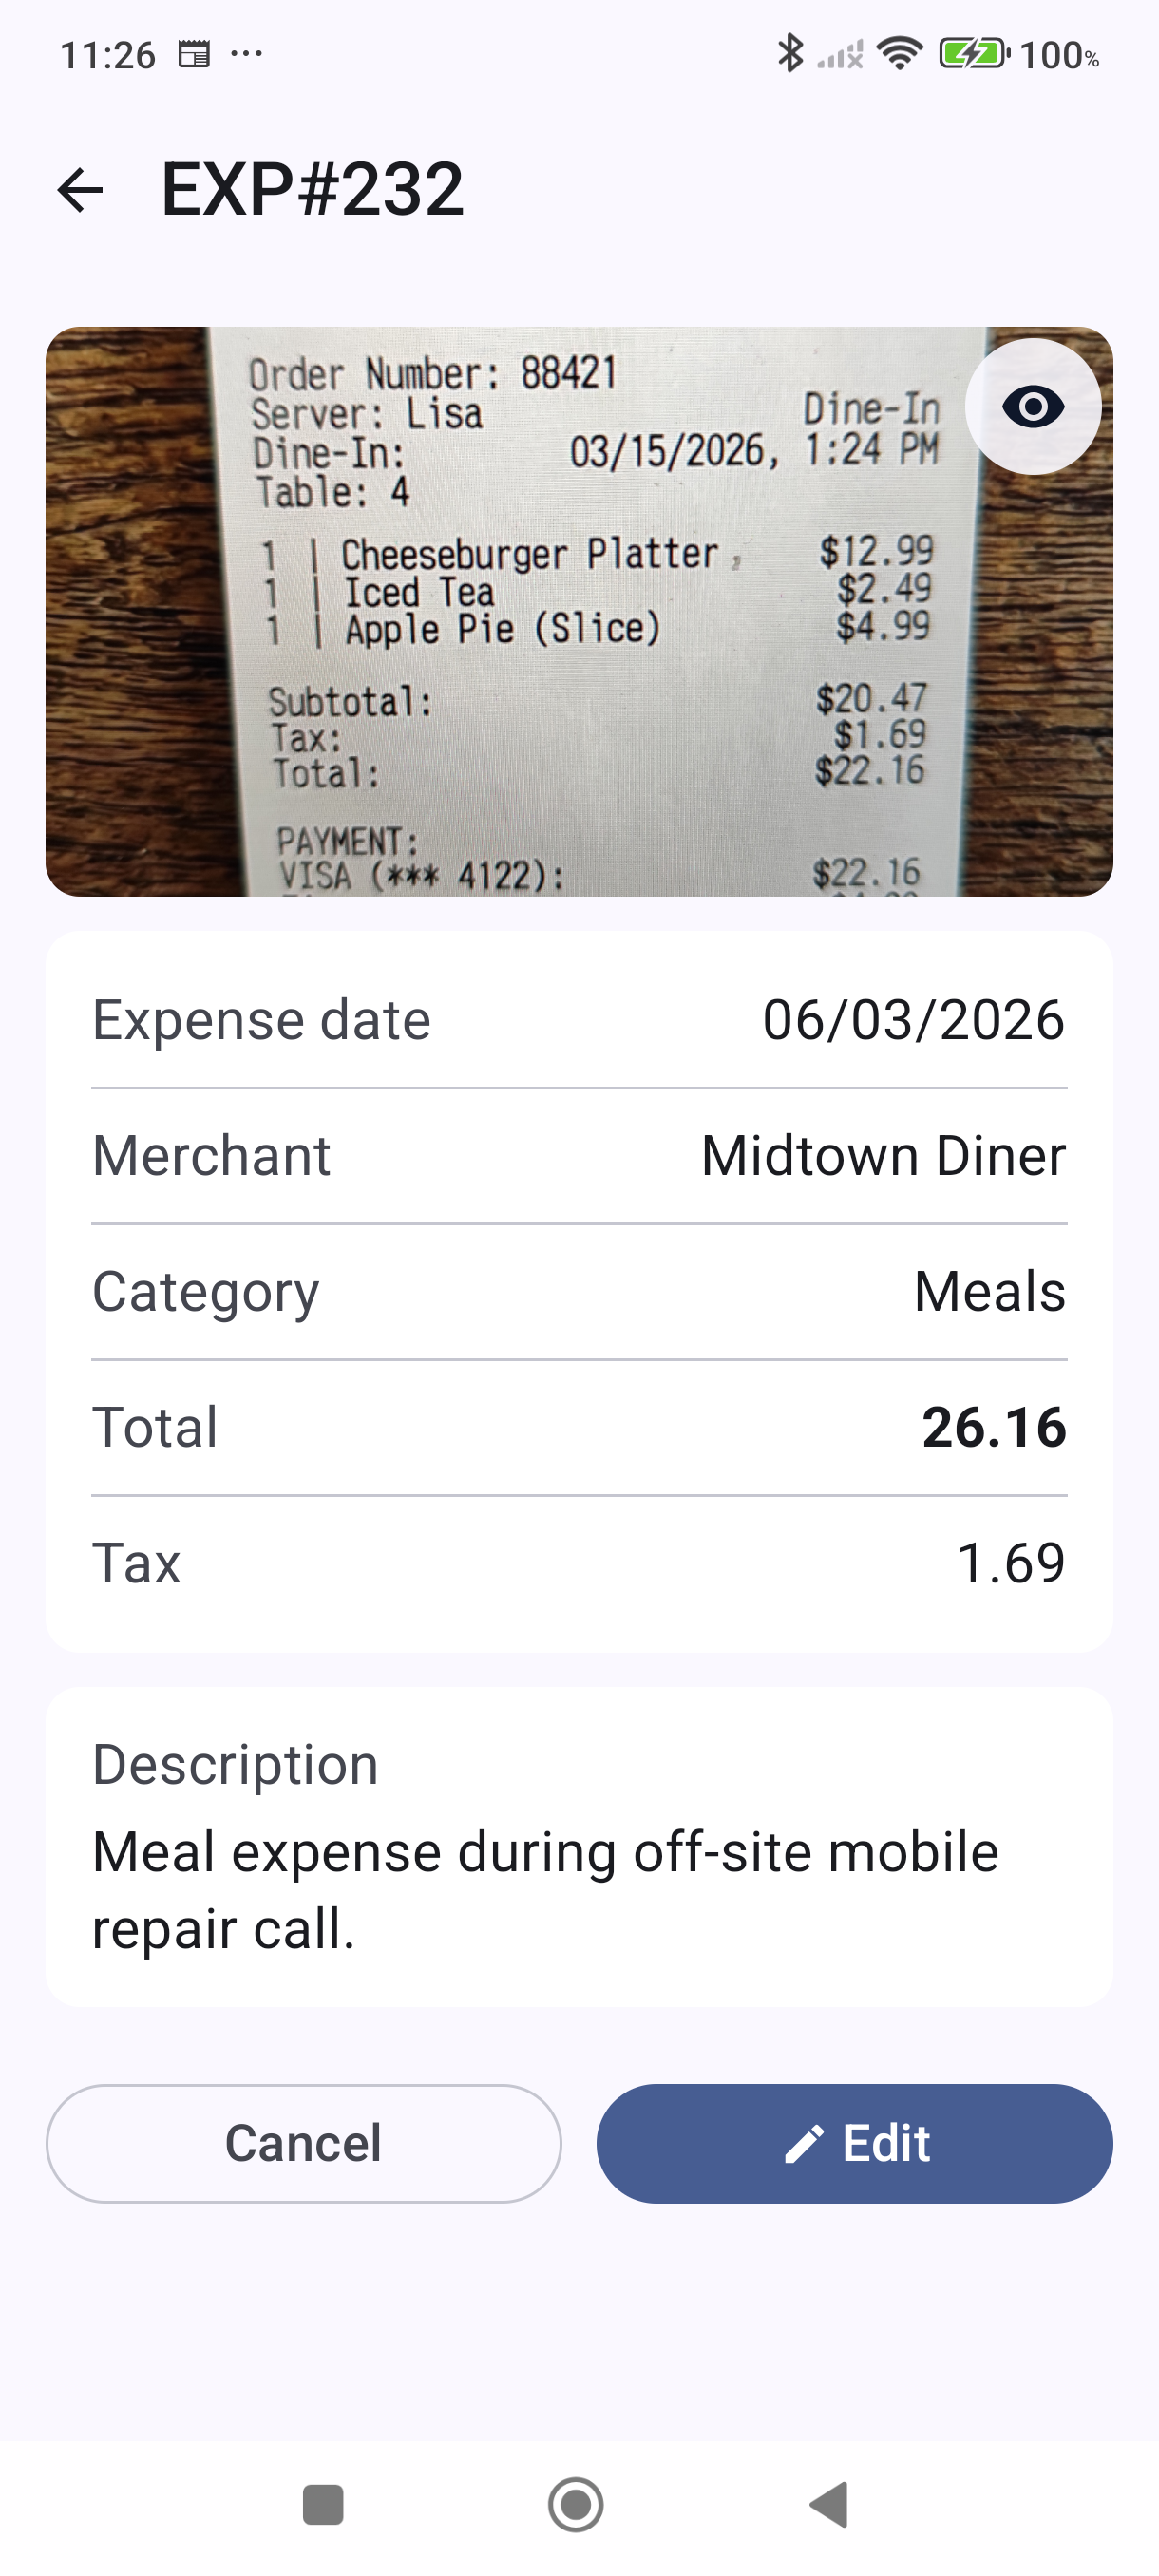
Open an expense from your expense list.
-
Tap the camera icon to add a receipt photo.
-
Choose Camera or Gallery, then select or take your photo.
-
The photo is attached to the expense and synced to MobileBiz cloud.
View Your Expenses
Your expenses appear as a list sorted by date. Use the filter icon to narrow by date range or category. Total spending for the filtered period is shown at the top.
Good to Know
- Expenses are company-specific — switch to the correct company first if you manage more than one.
- Your expense categories appear in the Income Statement report, giving you a clear view of revenue vs. spending. Open Reports > Summary Reports > Income Statement to see your profit breakdown.
- All expenses you create remain visible even if your Plus subscription expires — you just won't be able to add new ones without an active subscription.
- Expense data is stored on your device. Back up regularly using Manage Data > Backup & Restore to avoid data loss.
For subscription details, see MobileBiz Pro Plus — What's Included.
Still stuck? Contact Support for help.