Barcode scanning in MobileBiz Pro lets you look up items instantly while creating an invoice — no manual searching required. You set it up once per item, then scan to add.
Part 1 — Add a Barcode to an Item
-
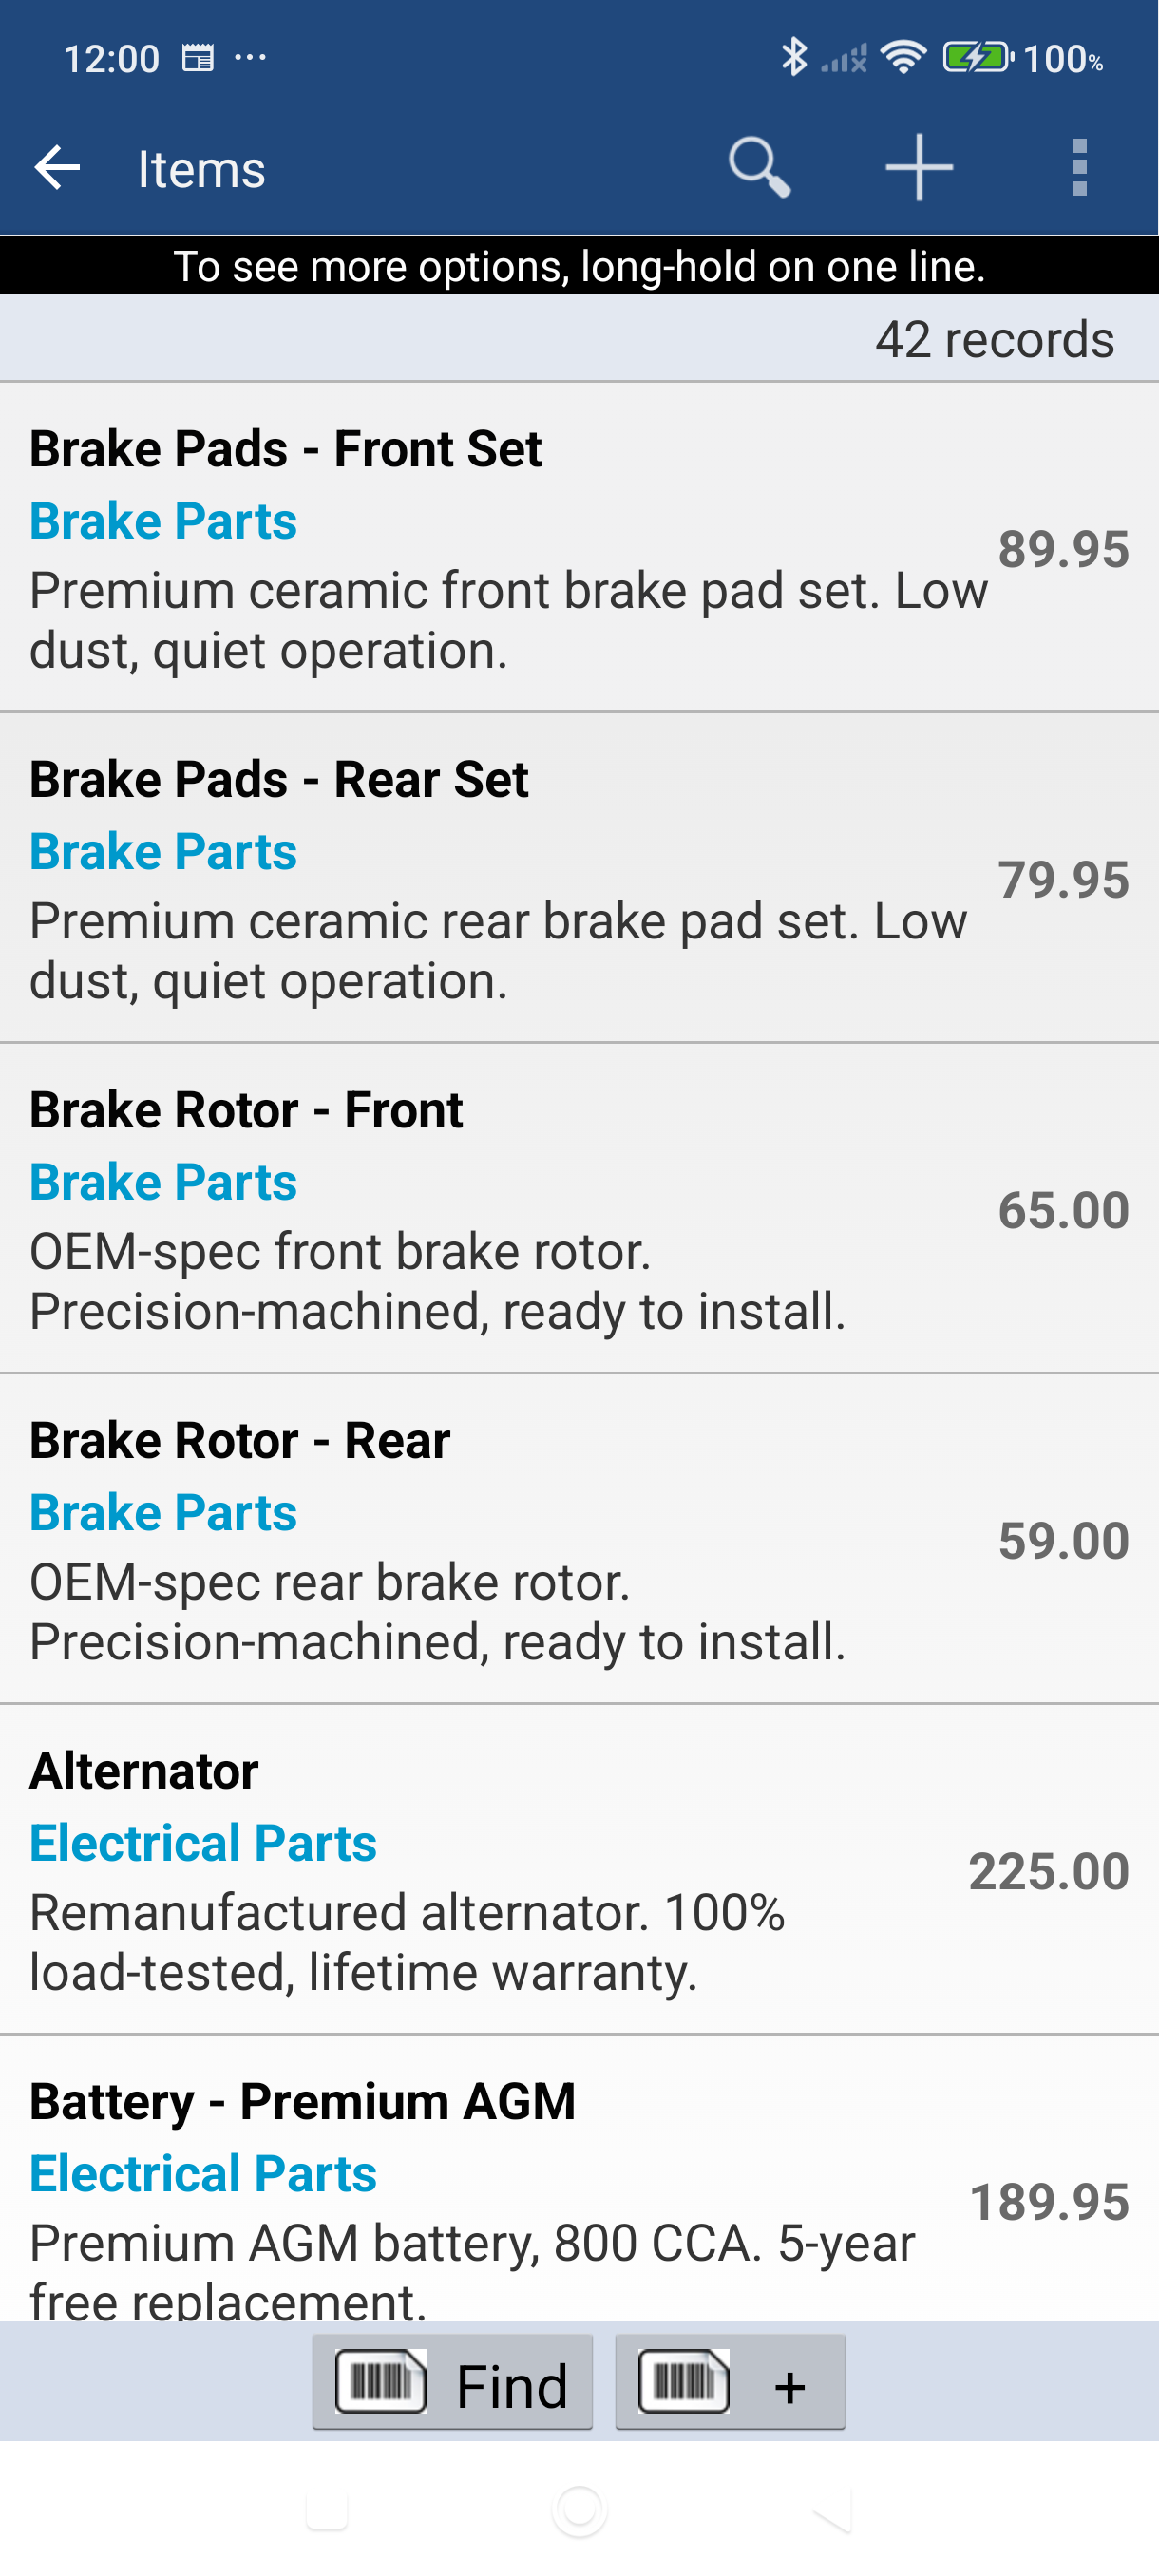
Open the side menu and tap Items (or Products).
-
Tap the item you want to add a barcode to.
-
Tap the edit icon (pencil) to open the item for editing.
-
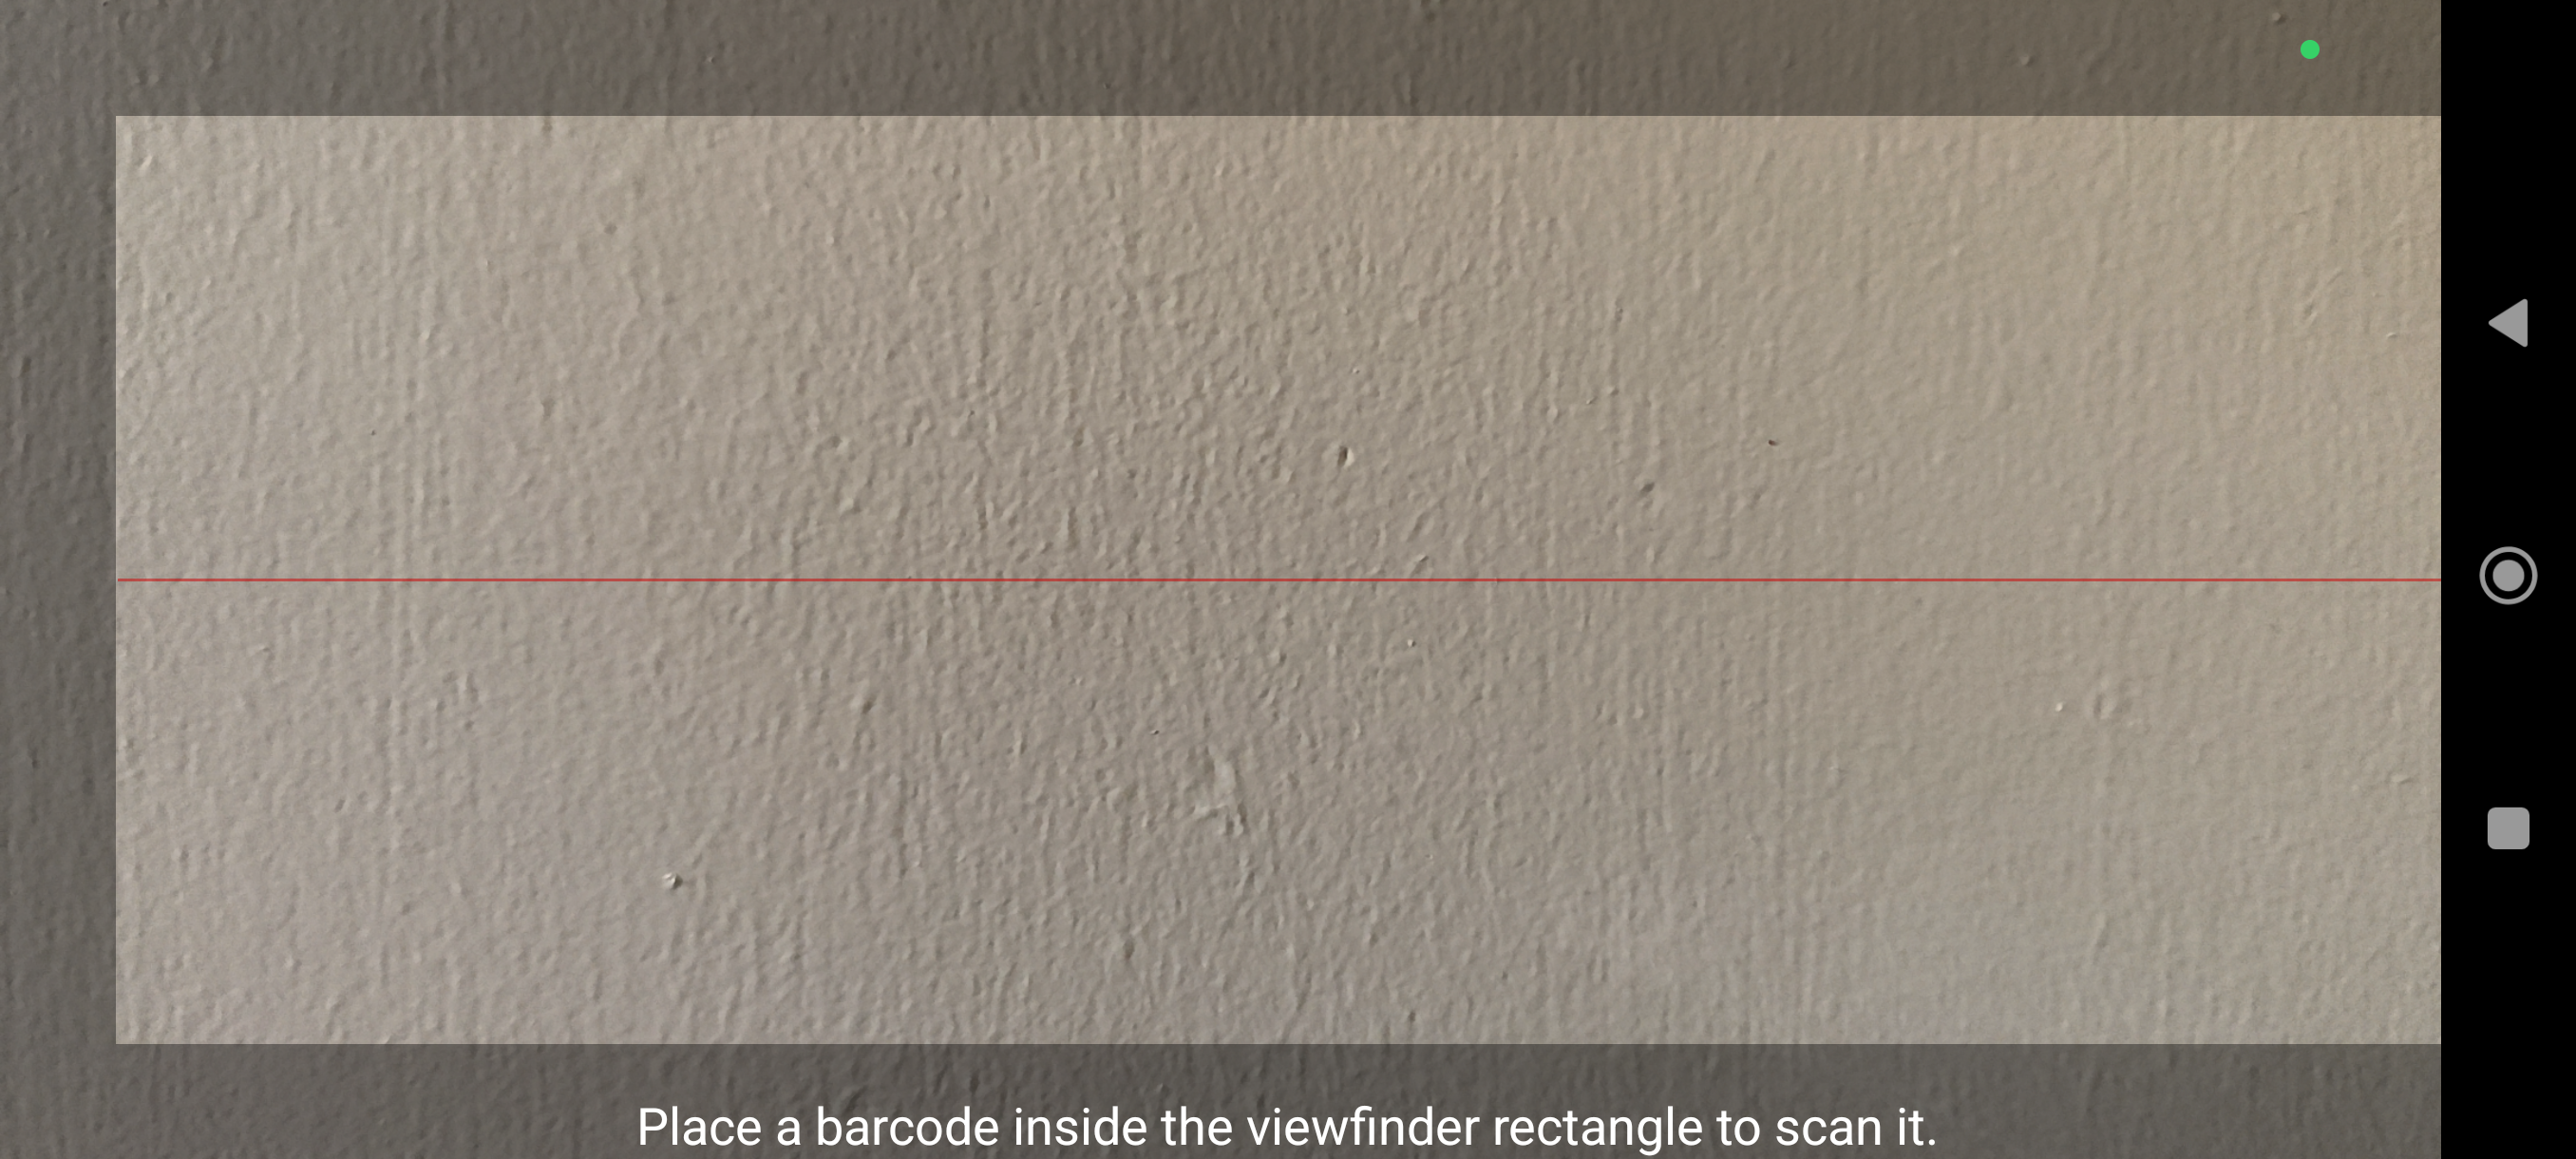
Tap the barcode icon next to the Barcode field — this activates your camera.

-
Point your camera at the barcode on the product until the number appears on screen.
-
Tap Save — the barcode is now linked to this item.
Repeat for each item you want to scan.
Part 2 — Scan Items onto an Invoice
-
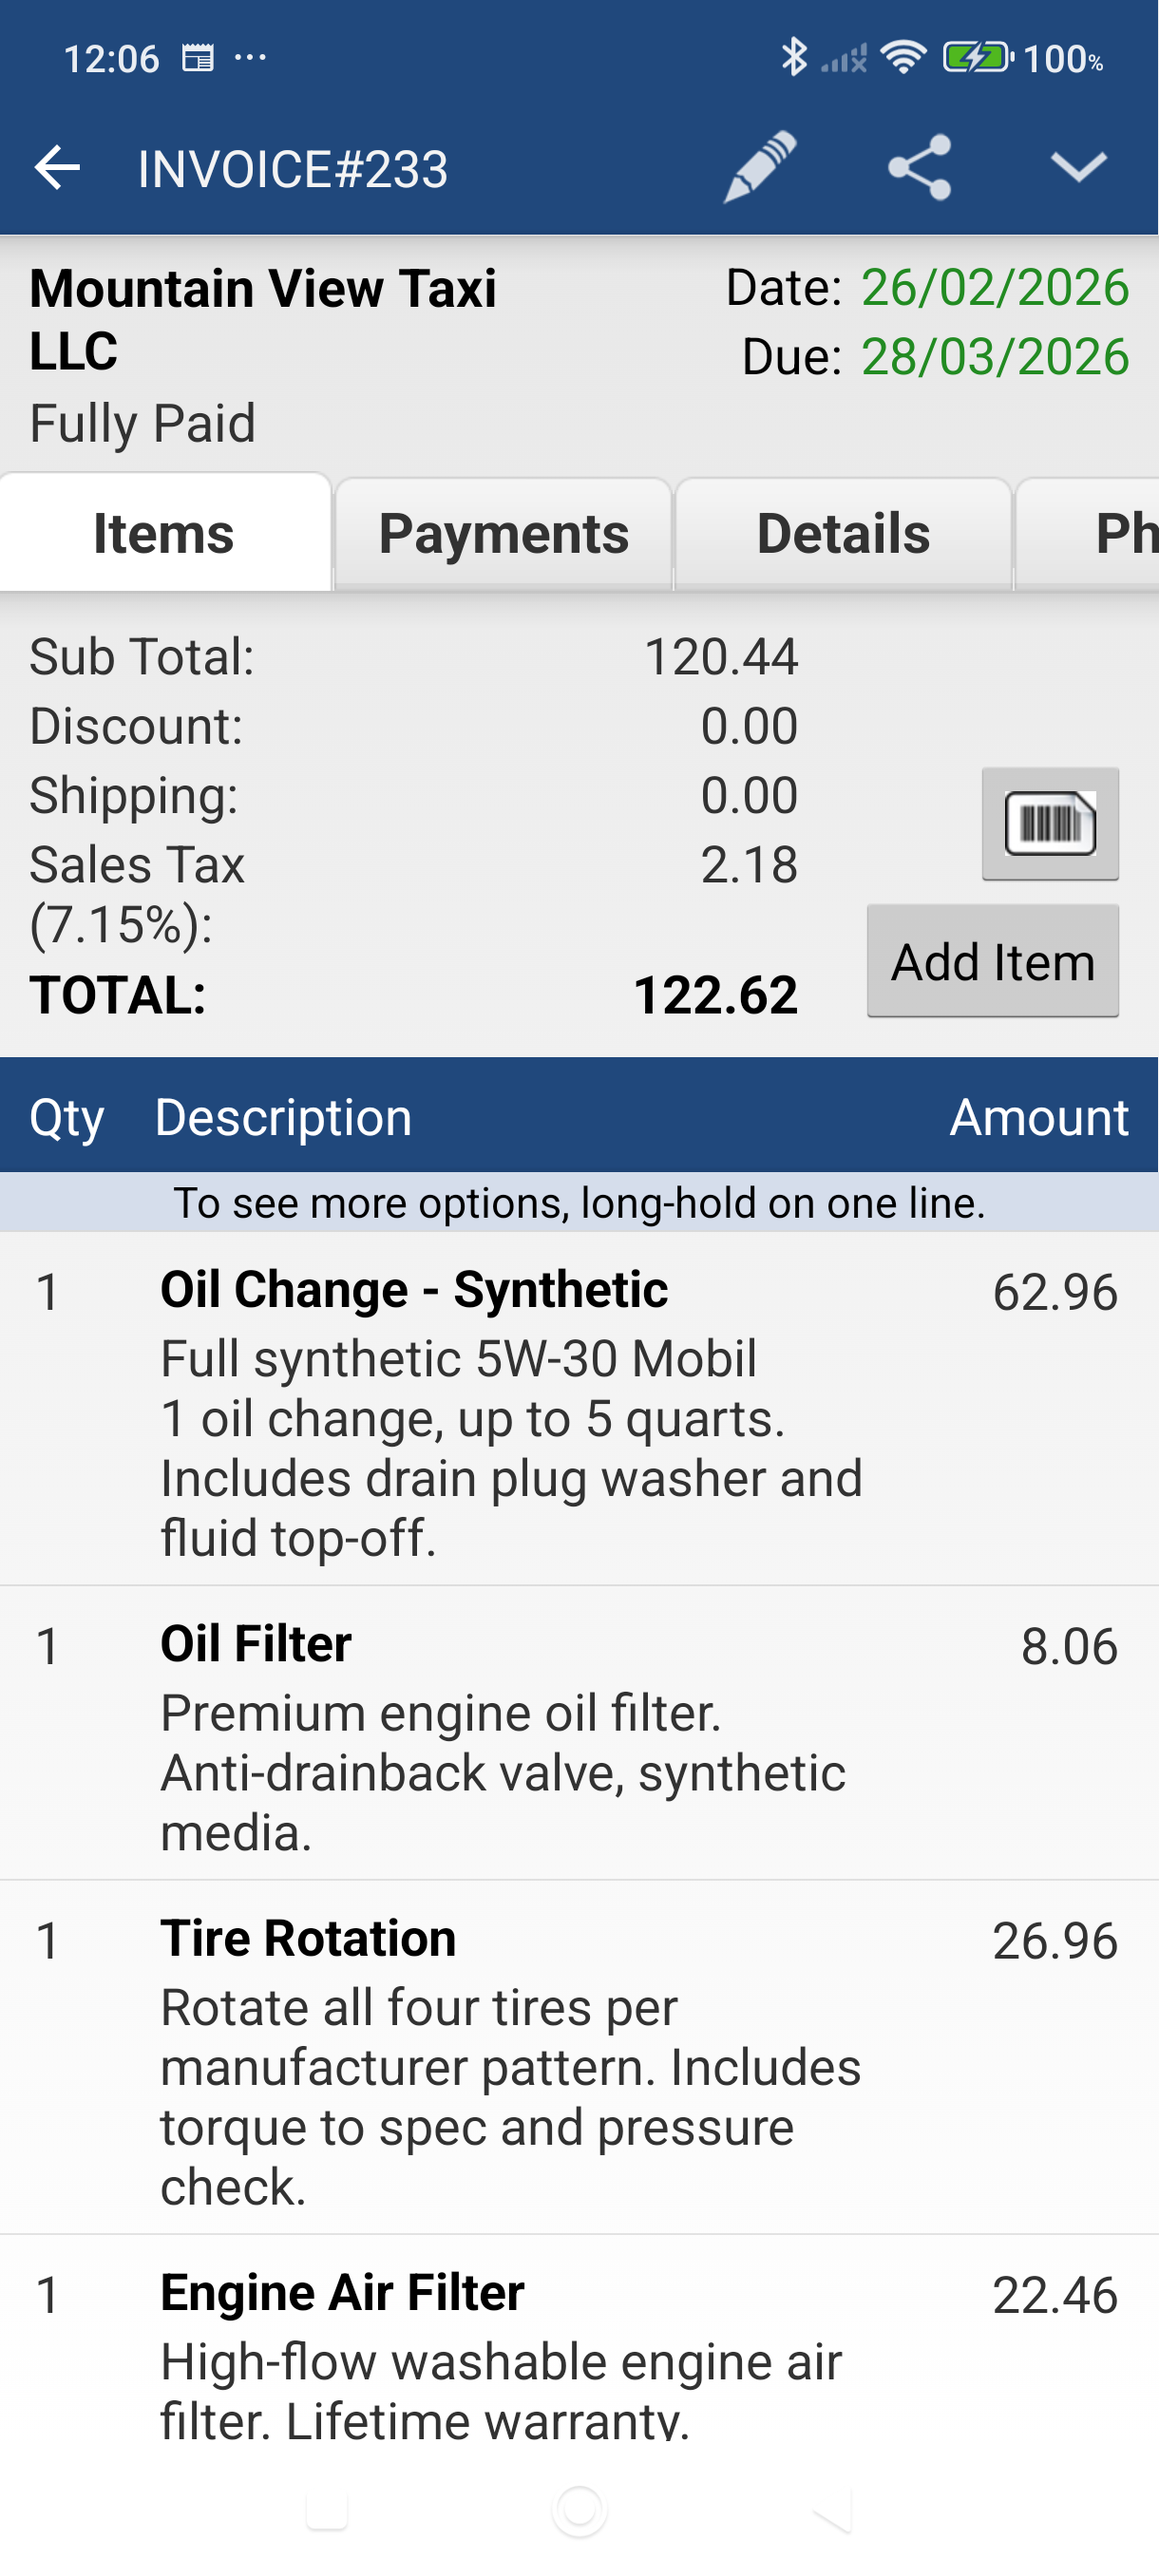
Open or create an invoice from the Sales screen.
-
Tap the barcode icon in the action bar on the invoice.
-
Enter a quantity when prompted — this is how many units you're scanning.
-
Point your camera at the item's barcode. Once recognized, the item is added to the invoice automatically with the quantity you entered.
-
Tap the line item to review or adjust the quantity and price if needed.
-
Repeat for each item you want to add.
Good to Know
- Each item can only have one barcode stored. Rescanning replaces the previous value.
- If a scanned barcode doesn't match any item, nothing is added — you'll need to link the barcode to an item first (see Part 1 above).
- Barcode scanning works on invoices, quotes, sales orders, and cash sales — anywhere you can add line items.
- Good lighting helps. If the camera has trouble reading the barcode, try moving closer or increasing screen brightness.
Still stuck? Contact Support for help.