Automatic backups protect your invoices, customers, and items if your phone is ever lost or replaced. You can run them on a schedule to Dropbox (free for all users) or Google Drive (requires a Plus subscription).
What You'll Need
Before you start: Connect at least one cloud account before enabling auto-backup. For Dropbox (free for all users), see How to Back Up to Dropbox. For Google Drive, see How to Back Up to Google Drive.
Steps
-
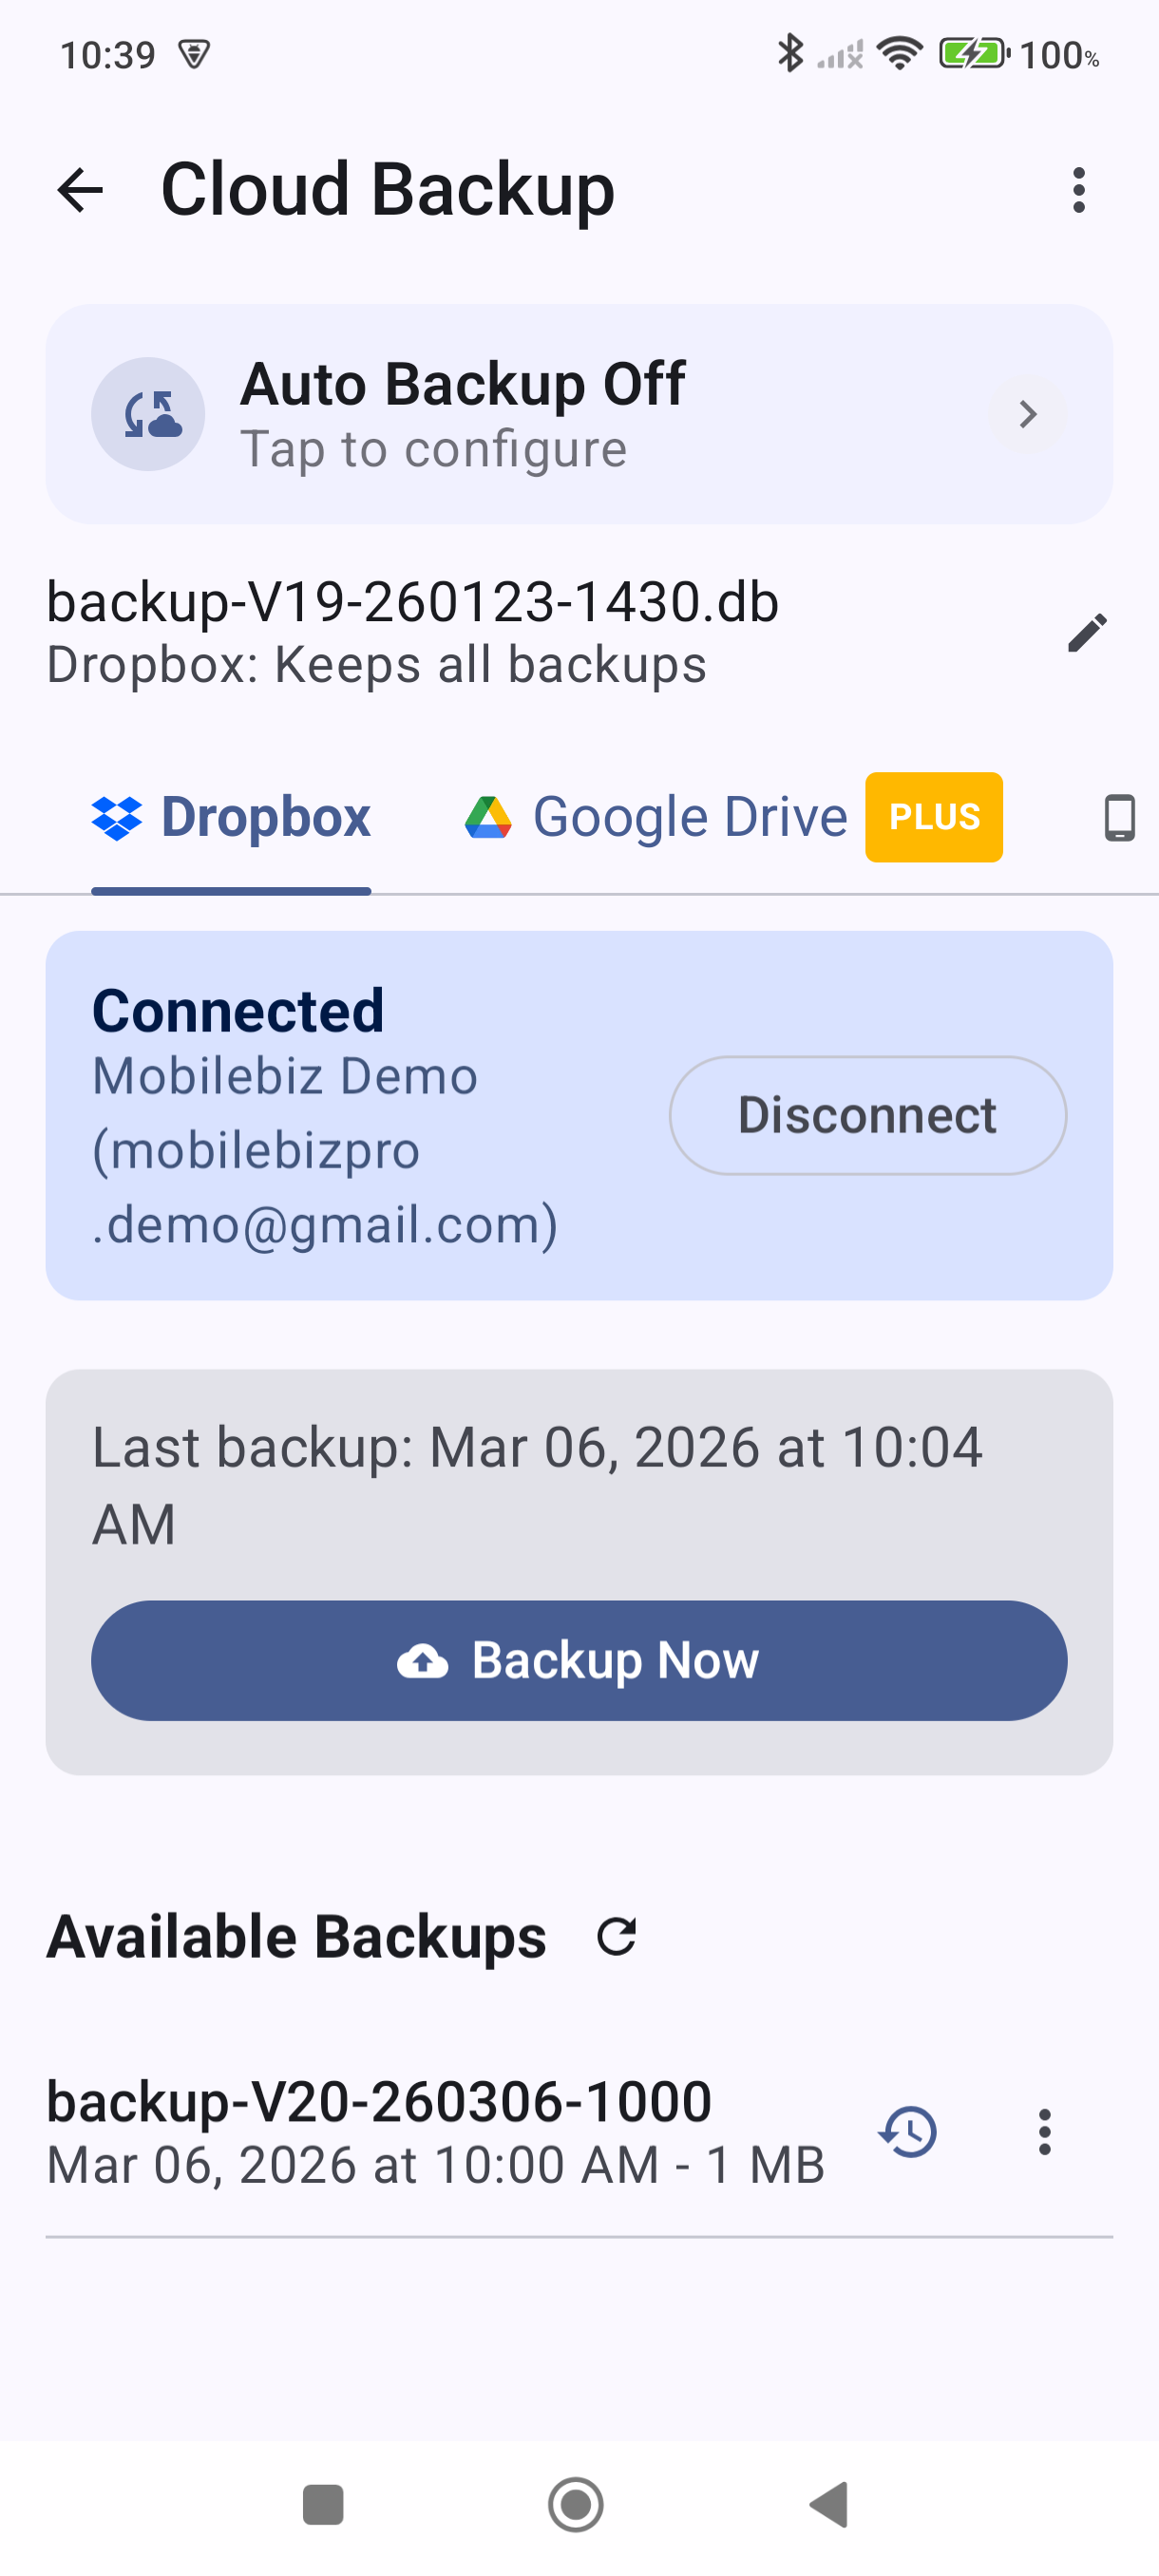
Open the side menu and tap Settings (under the More heading), scroll to Data & backup, then tap Backup & restore. The Cloud Backup screen opens, with tabs for Dropbox, Google Drive, and Device.
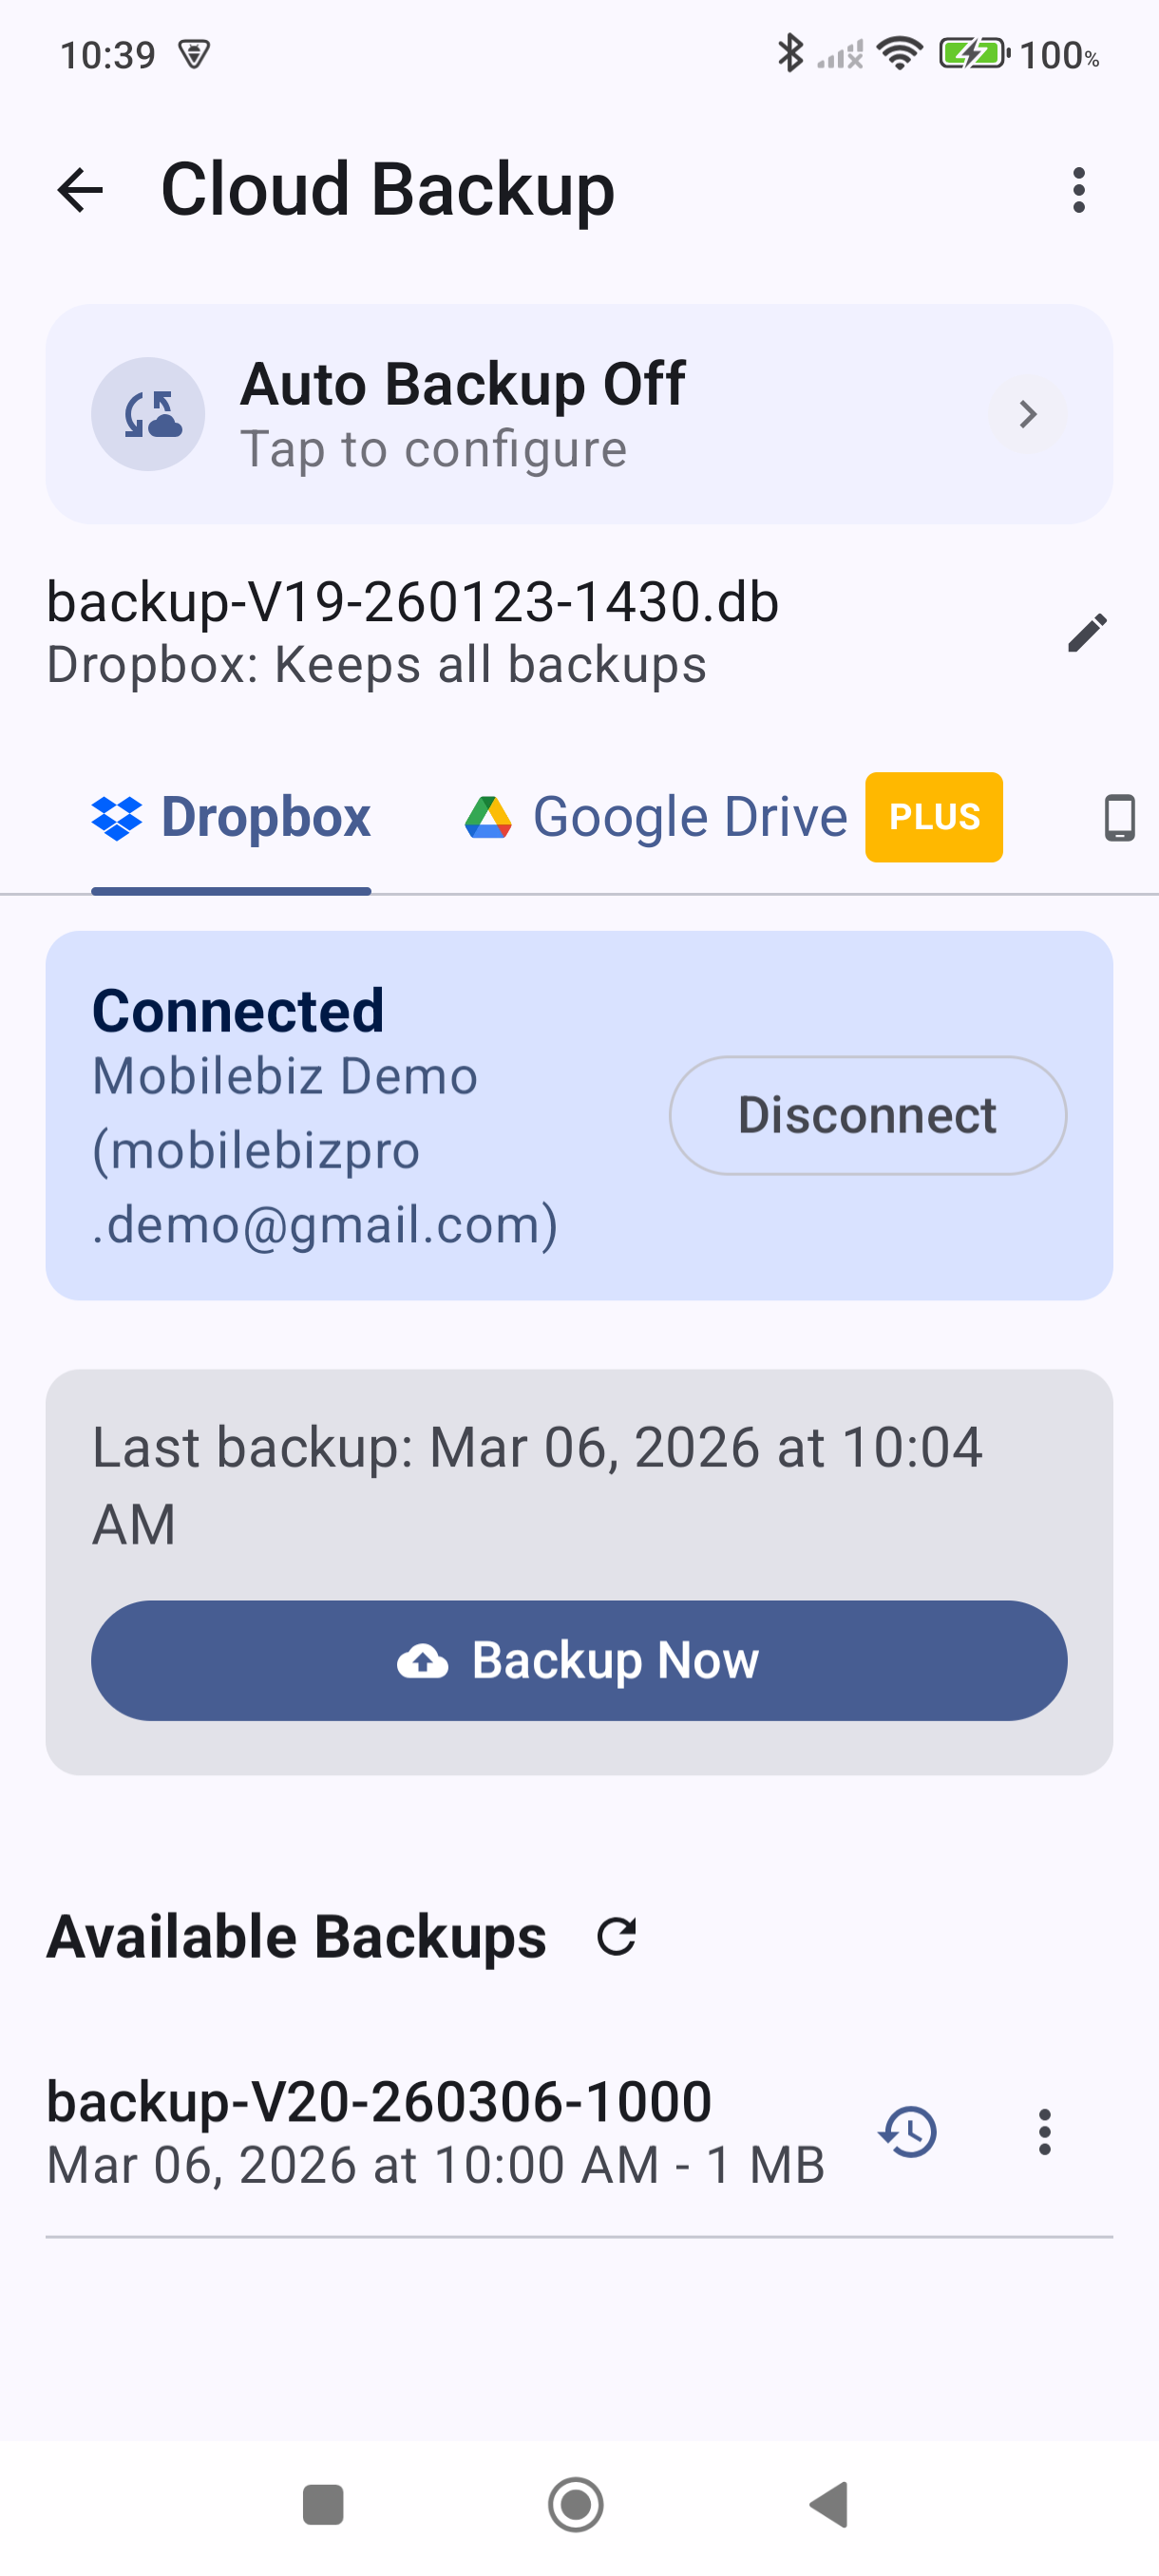
If you haven't connected Dropbox yet, tap the Dropbox tab and tap Connect to link your account before continuing. See How to Back Up to Dropbox for full connection steps.
-
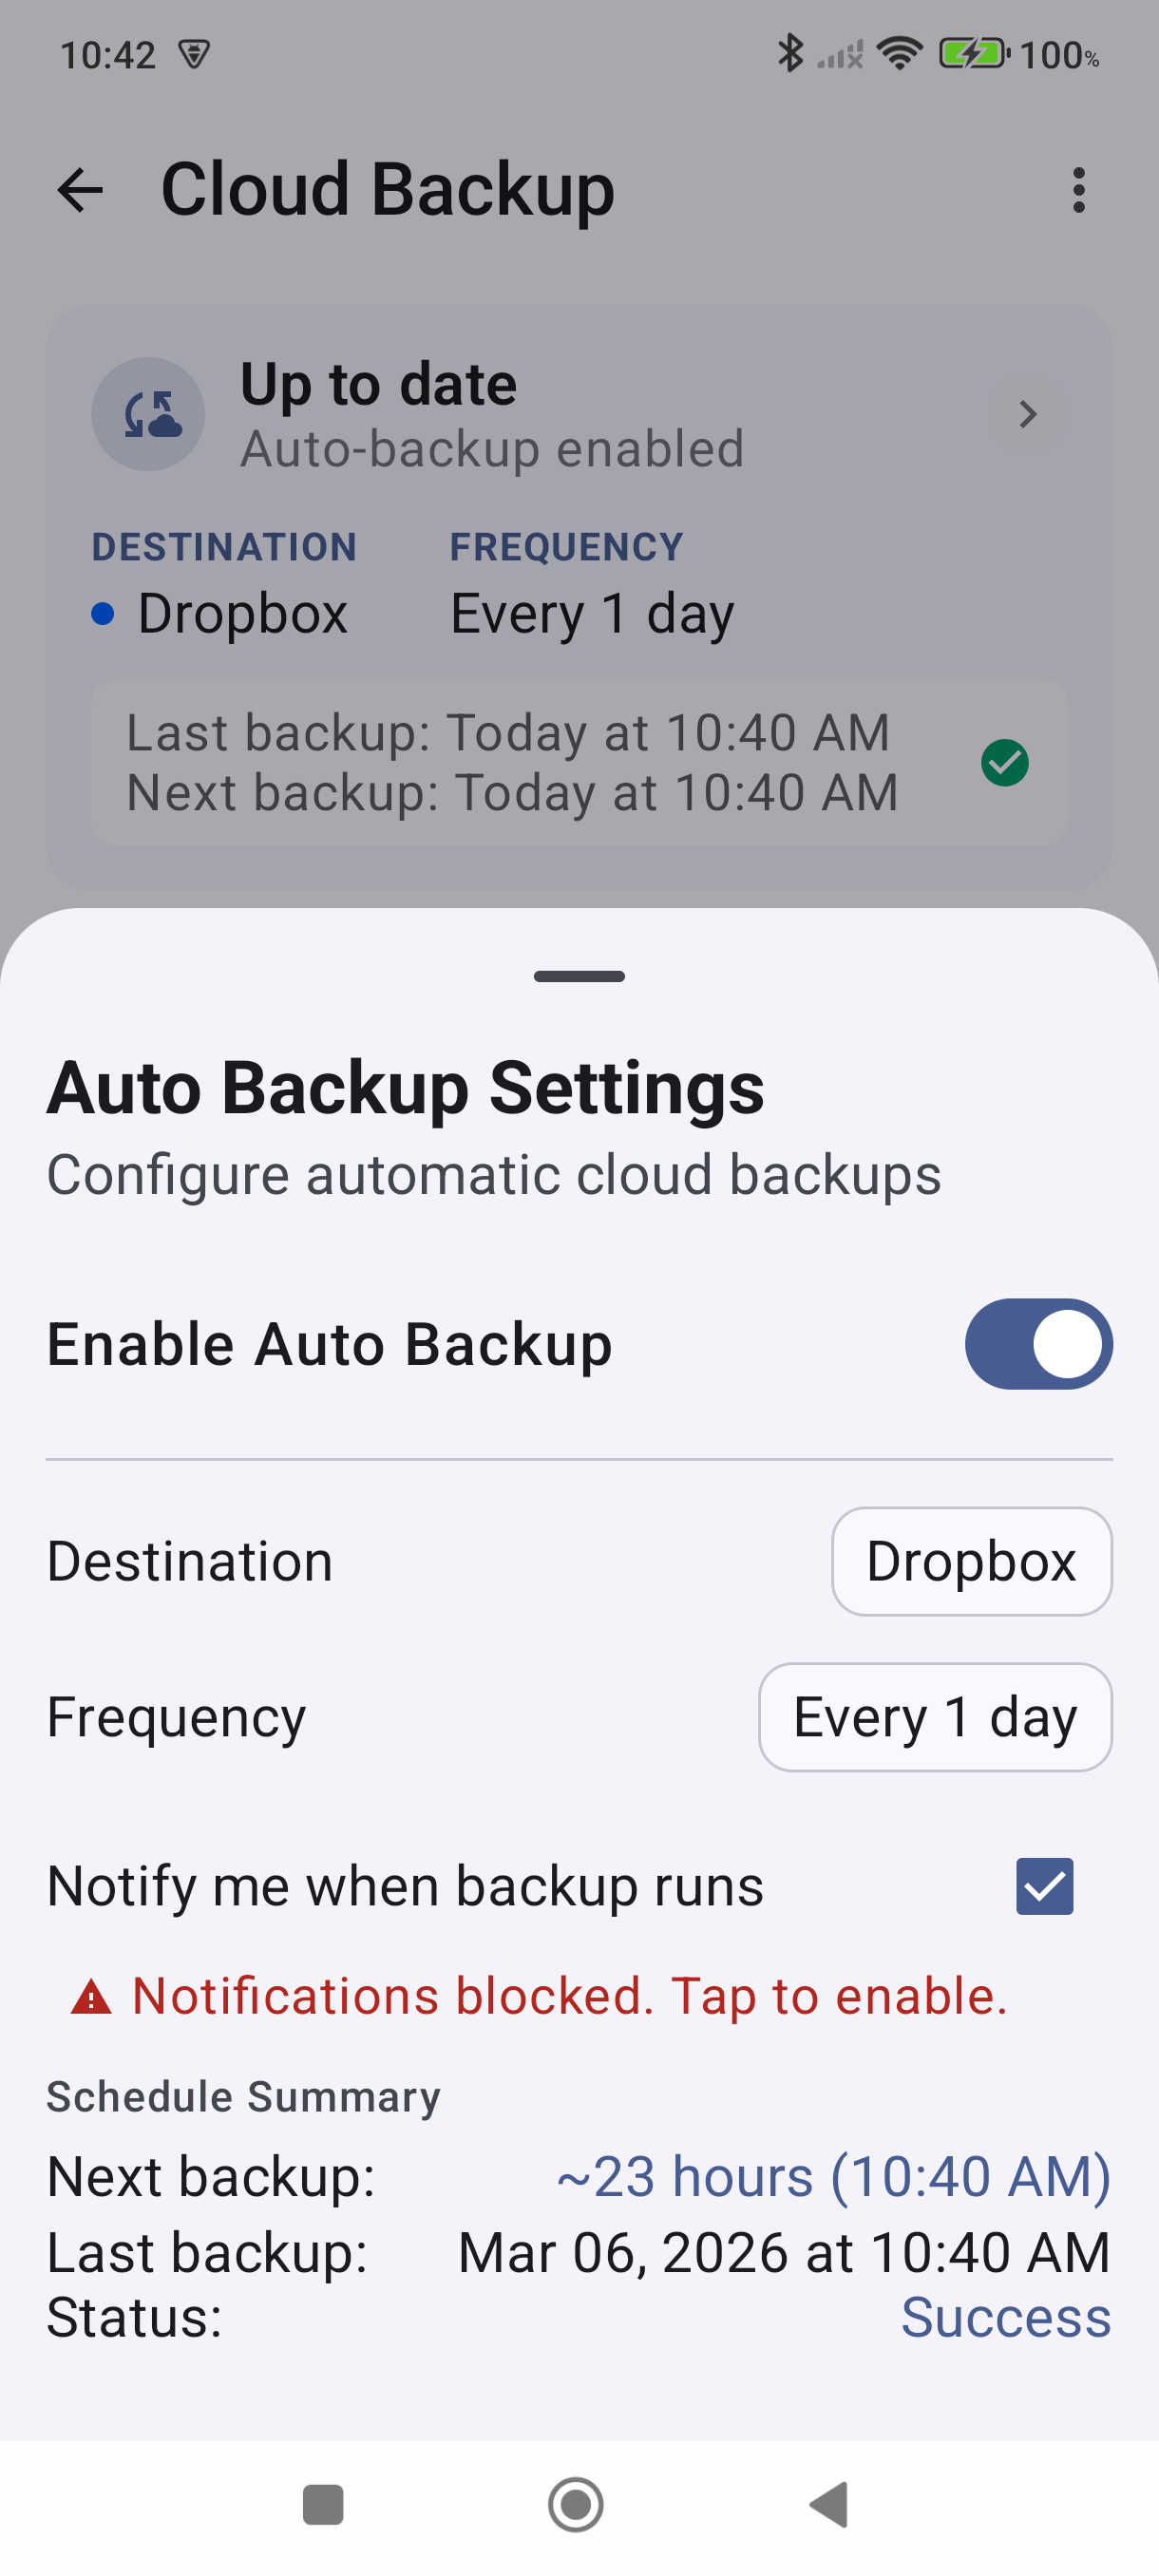
Tap the auto-backup status bar near the top of the screen — it shows your current schedule, or that automatic backup is off. The Backup Settings sheet opens ("Set where and how often to back up").
-
Toggle "Cloud backup" on. These options appear below the toggle:
- Back up when I close the app — saves your latest changes each time you exit the app.
- Destination — tap to choose Dropbox or Google Drive.
- Also run on a schedule — choose how often backups run. Options range from every 15 minutes to every 7 days. Daily is a good default for most users.
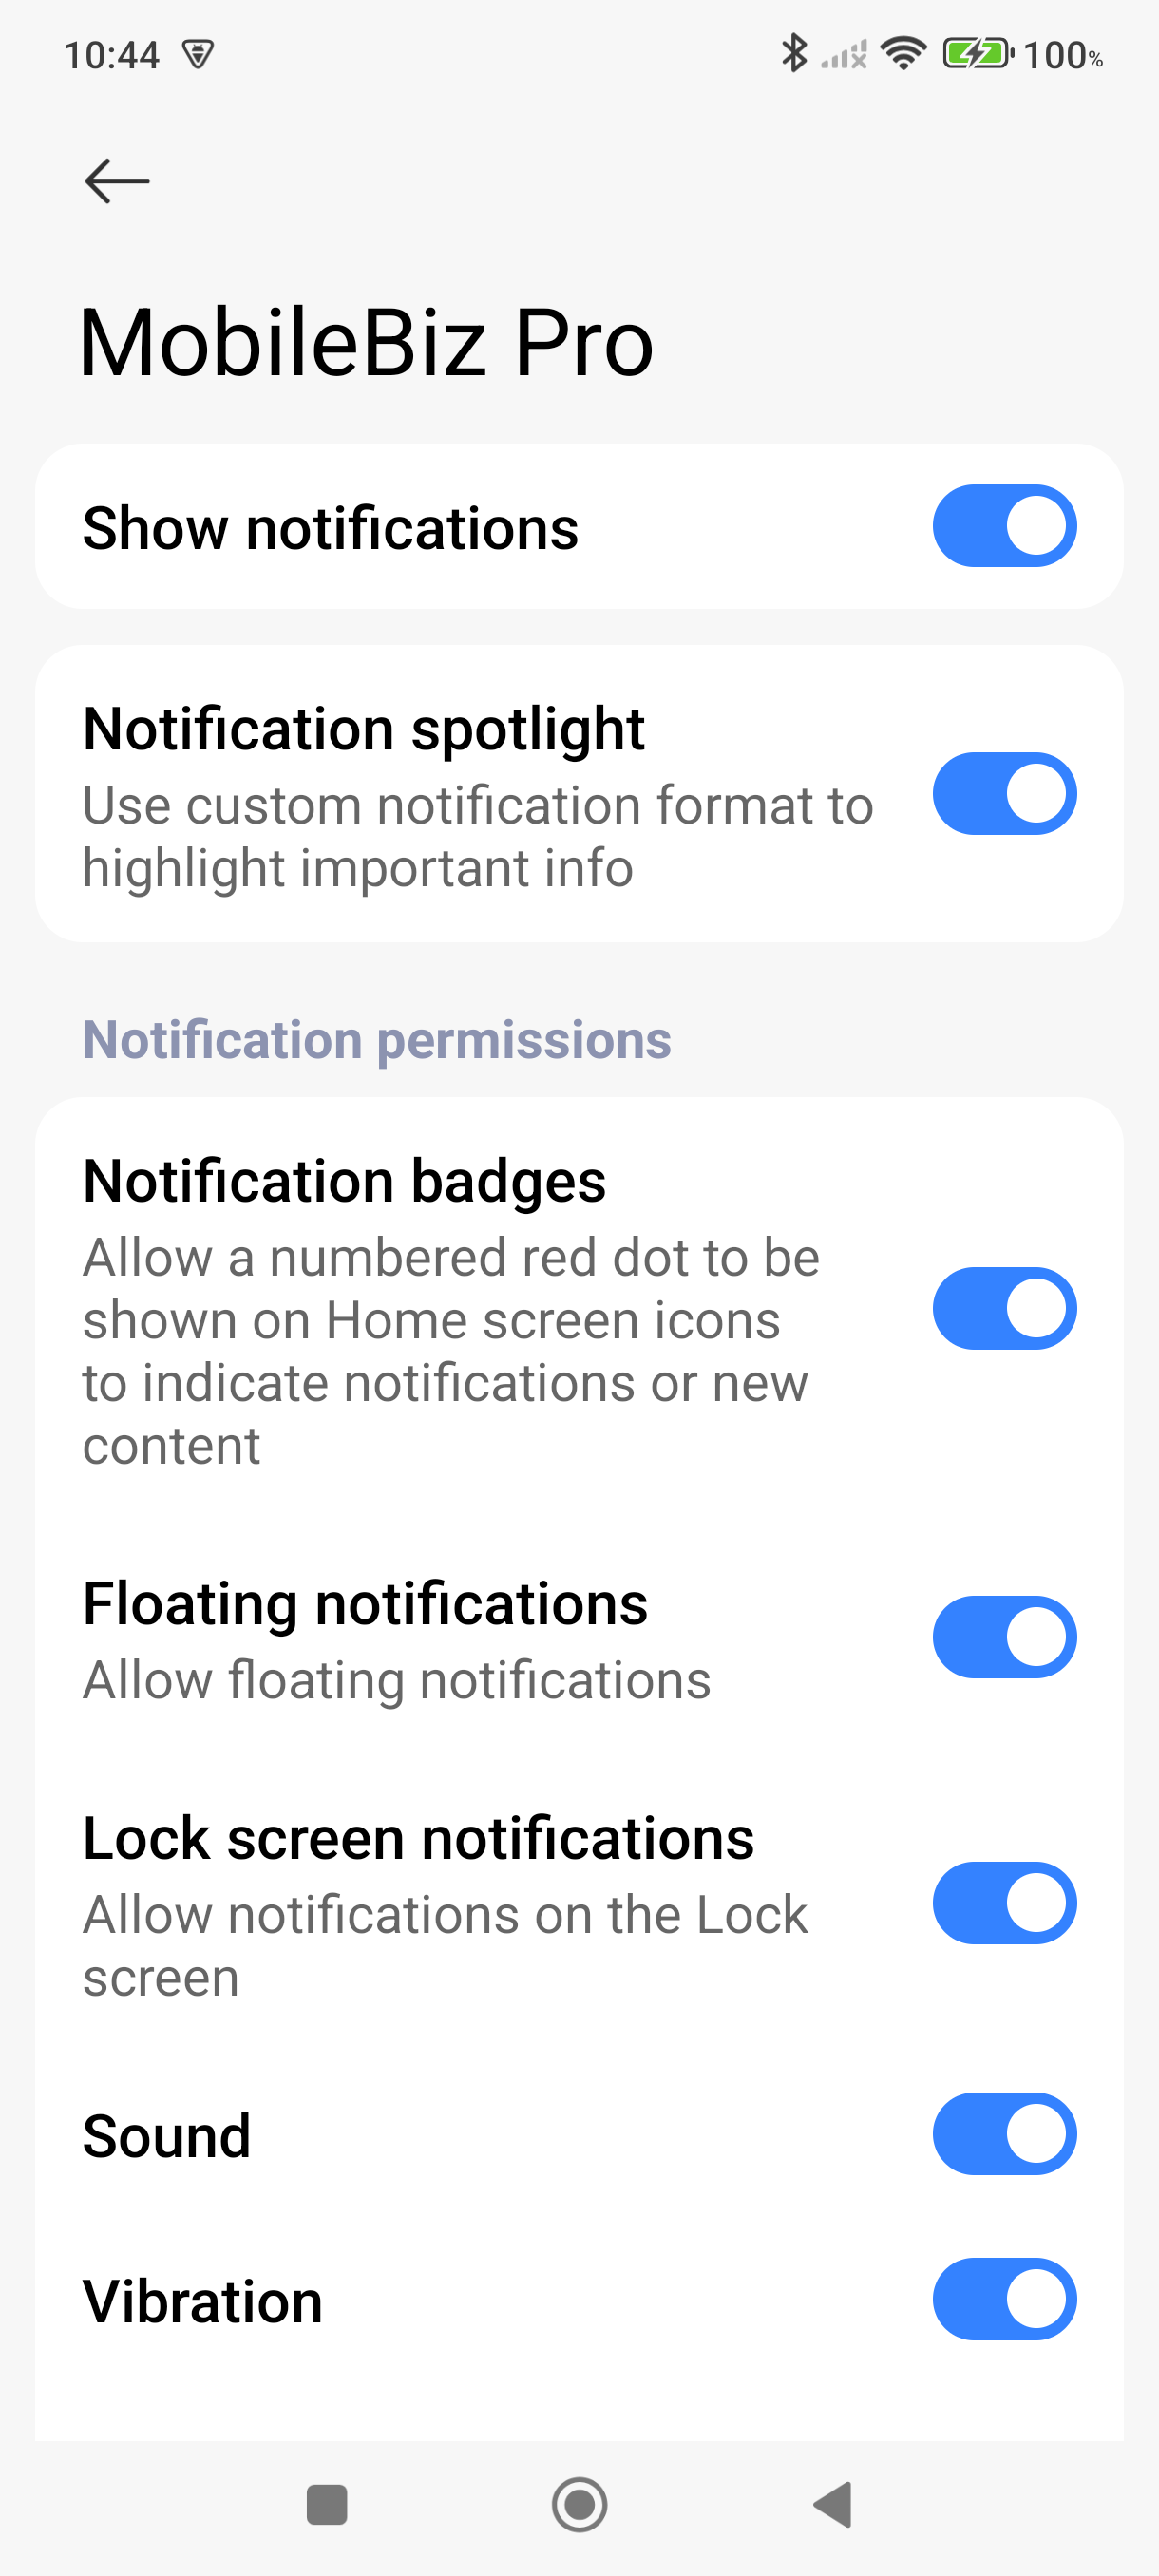
- Notify me when backup runs — check this to receive a notification each time a backup completes. If you see a "Notifications blocked" warning, tap it to open Android's notification settings and turn All MobileBiz Pro notifications on.
-
Dismiss the sheet by swiping it down or tapping outside it. The status bar updates to show your destination and frequency. Auto-backup is now active.
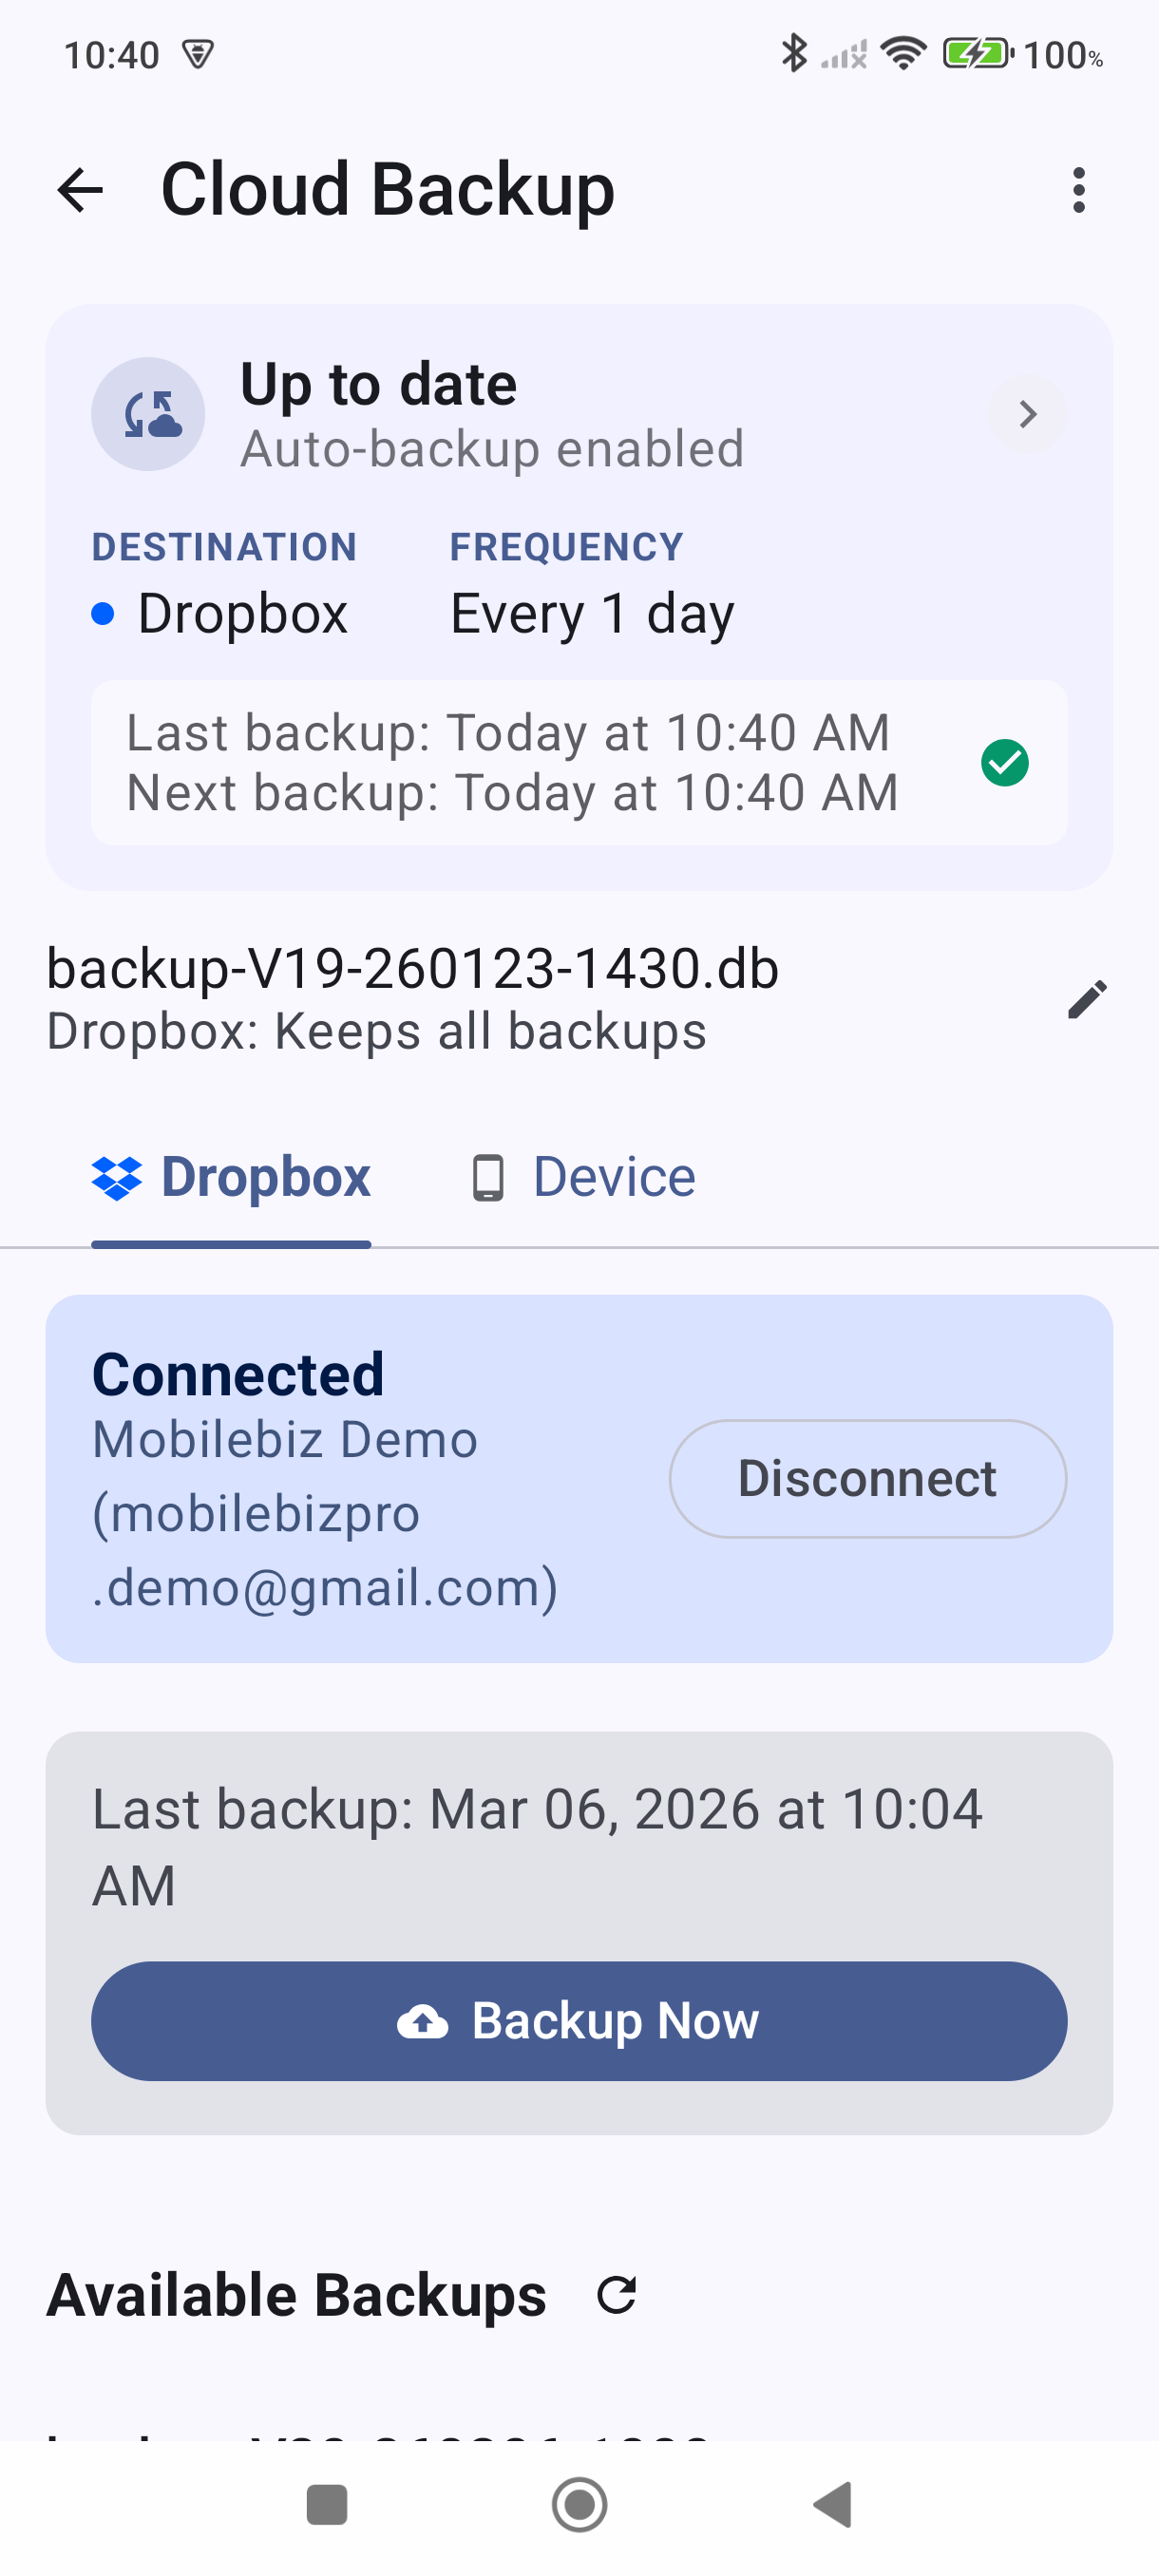
Backup Options
Below the auto-backup status bar, you'll always see a Backup Options row showing an example filename and a short description of how many backups are kept. Tap it to open the Backup Options dialog.
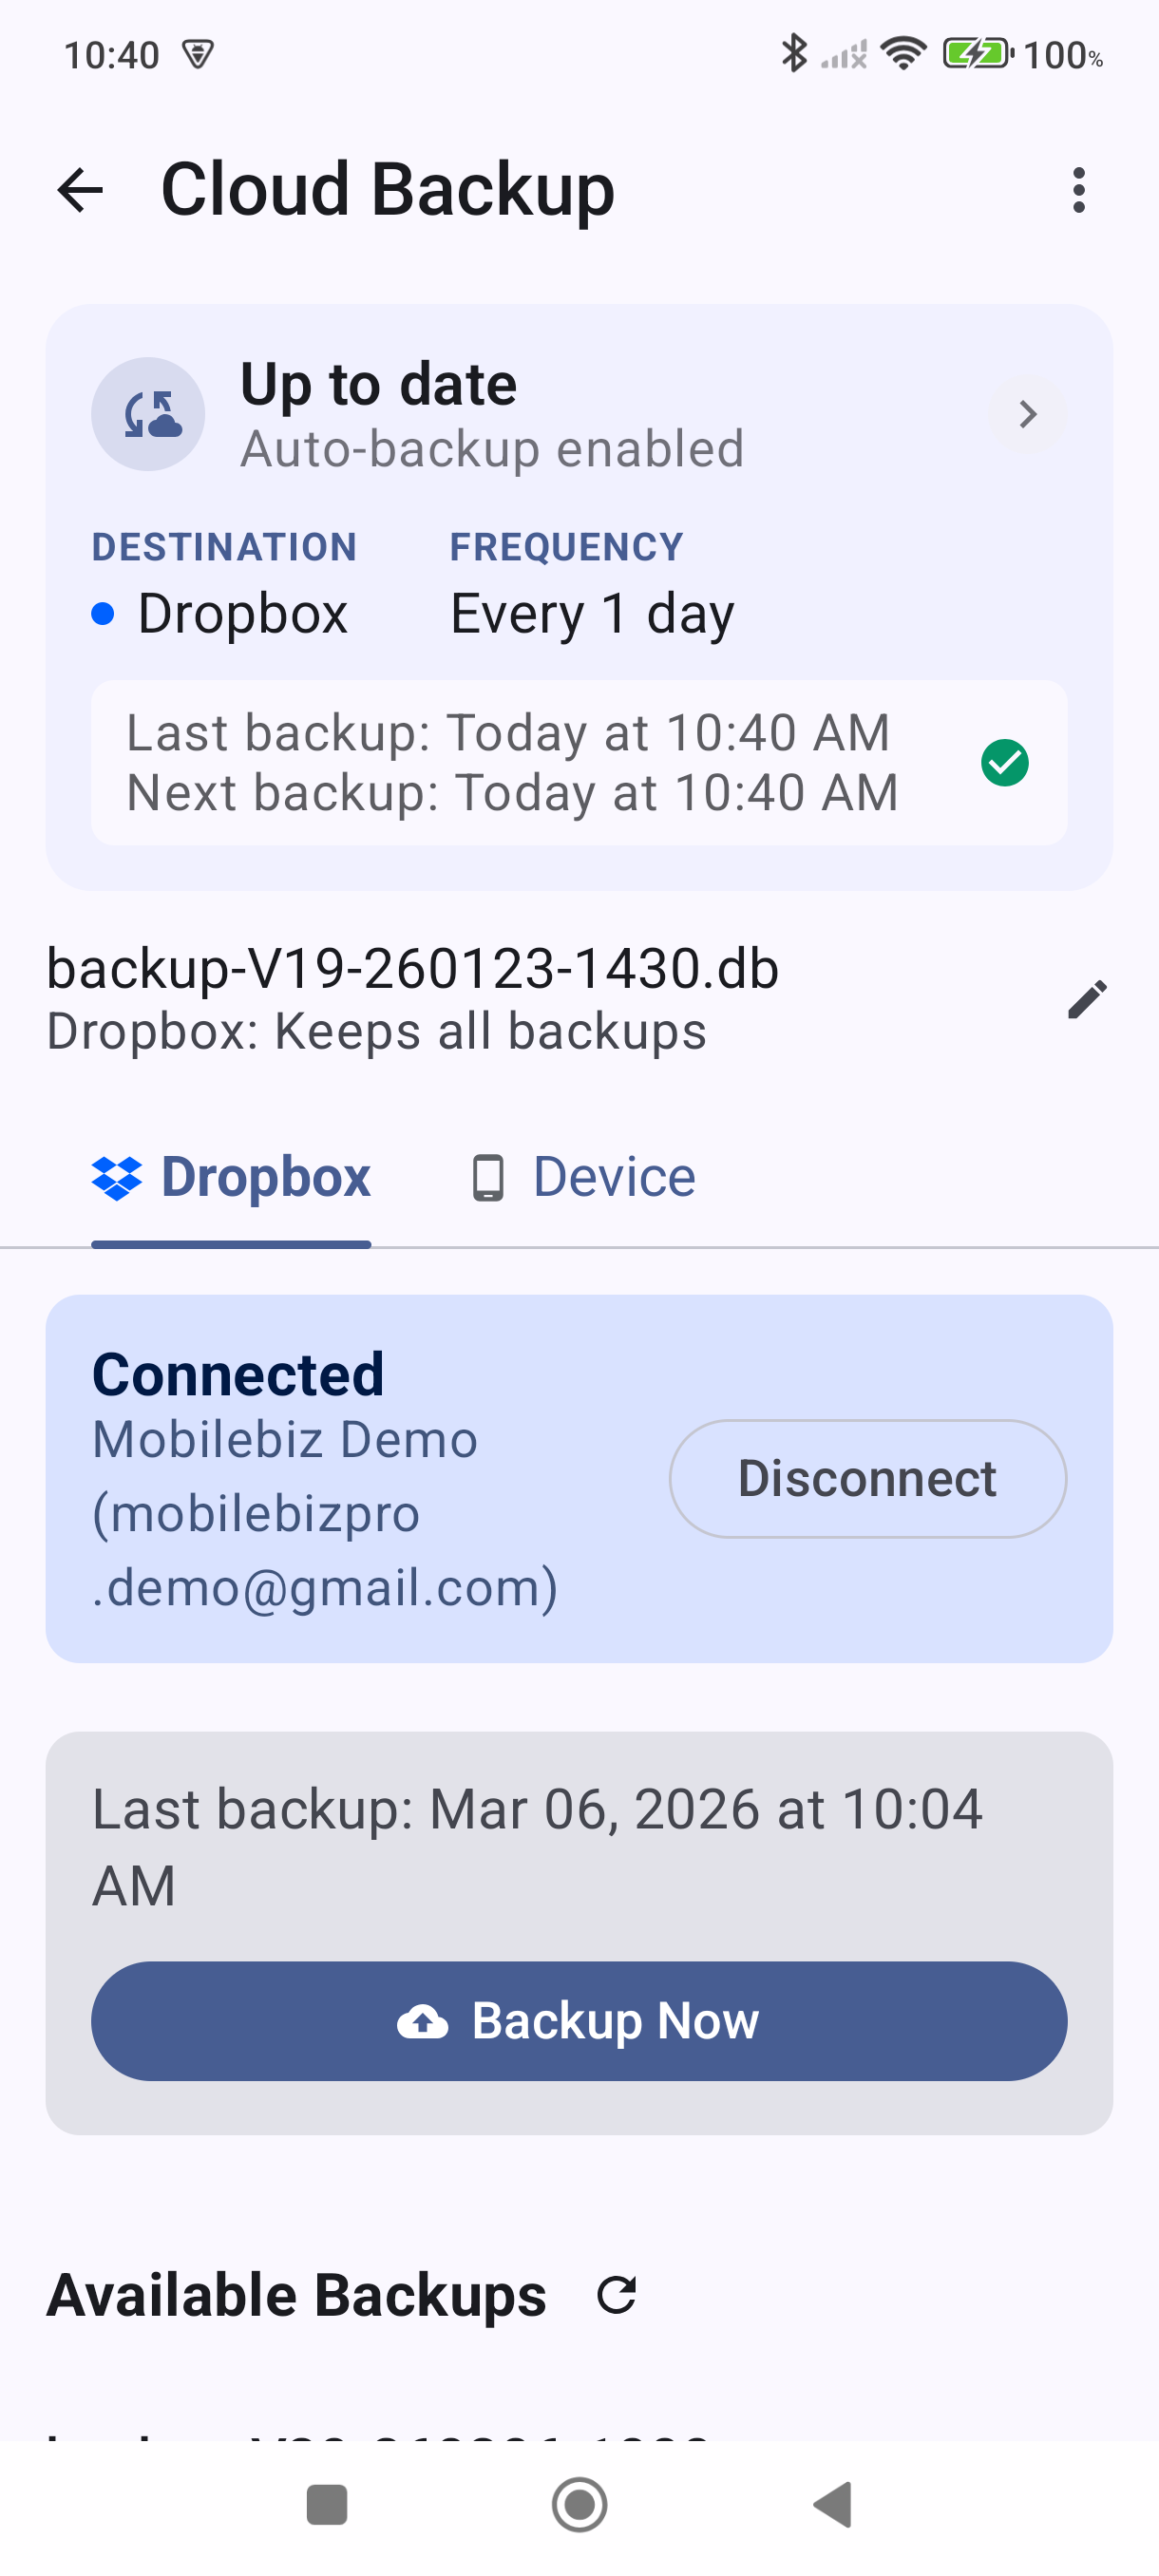
The dialog has two settings:
Backup name prefix
An optional word or code added to every backup filename so you can tell your backups apart — useful if multiple people back up to the same Dropbox folder. With the default Keep all retention, a prefix of john gives you filenames like backup-V24-john-260123-1405 — the trailing numbers are the date and time of the backup. Leave the prefix blank to use the default filename format.
Backup retention
Controls whether each new backup replaces the previous one or adds to it. The options are:
| Option | What it does |
|---|---|
| Keep all | Adds a full timestamp to every filename — each backup is saved as a new file. Files accumulate over time, so this uses the most cloud storage space. This is the default. |
| Keep only 1 | No timestamp — each backup overwrites the last. Only one file ever exists in your cloud account, so storage use stays minimal. Plus subscription required. |
| Keep daily | One backup per day — new backups on the same day overwrite the earlier one. You'll end up with roughly one file per day of the month. Plus subscription required. |
| Keep weekly | One backup per week — new backups in the same week overwrite the earlier one. You'll end up with roughly one file per week of the month. Plus subscription required. |
The retention setting is saved separately for Dropbox and Google Drive. A live filename preview updates as you change the settings in the dialog.
Good to Know
- Scheduled Dropbox backup is free for all users — no Plus subscription required.
- Google Drive auto-backup requires Plus. Free users can run one free manual Google Drive backup, but automatic scheduling requires an active Plus subscription. See How to Back Up to Google Drive.
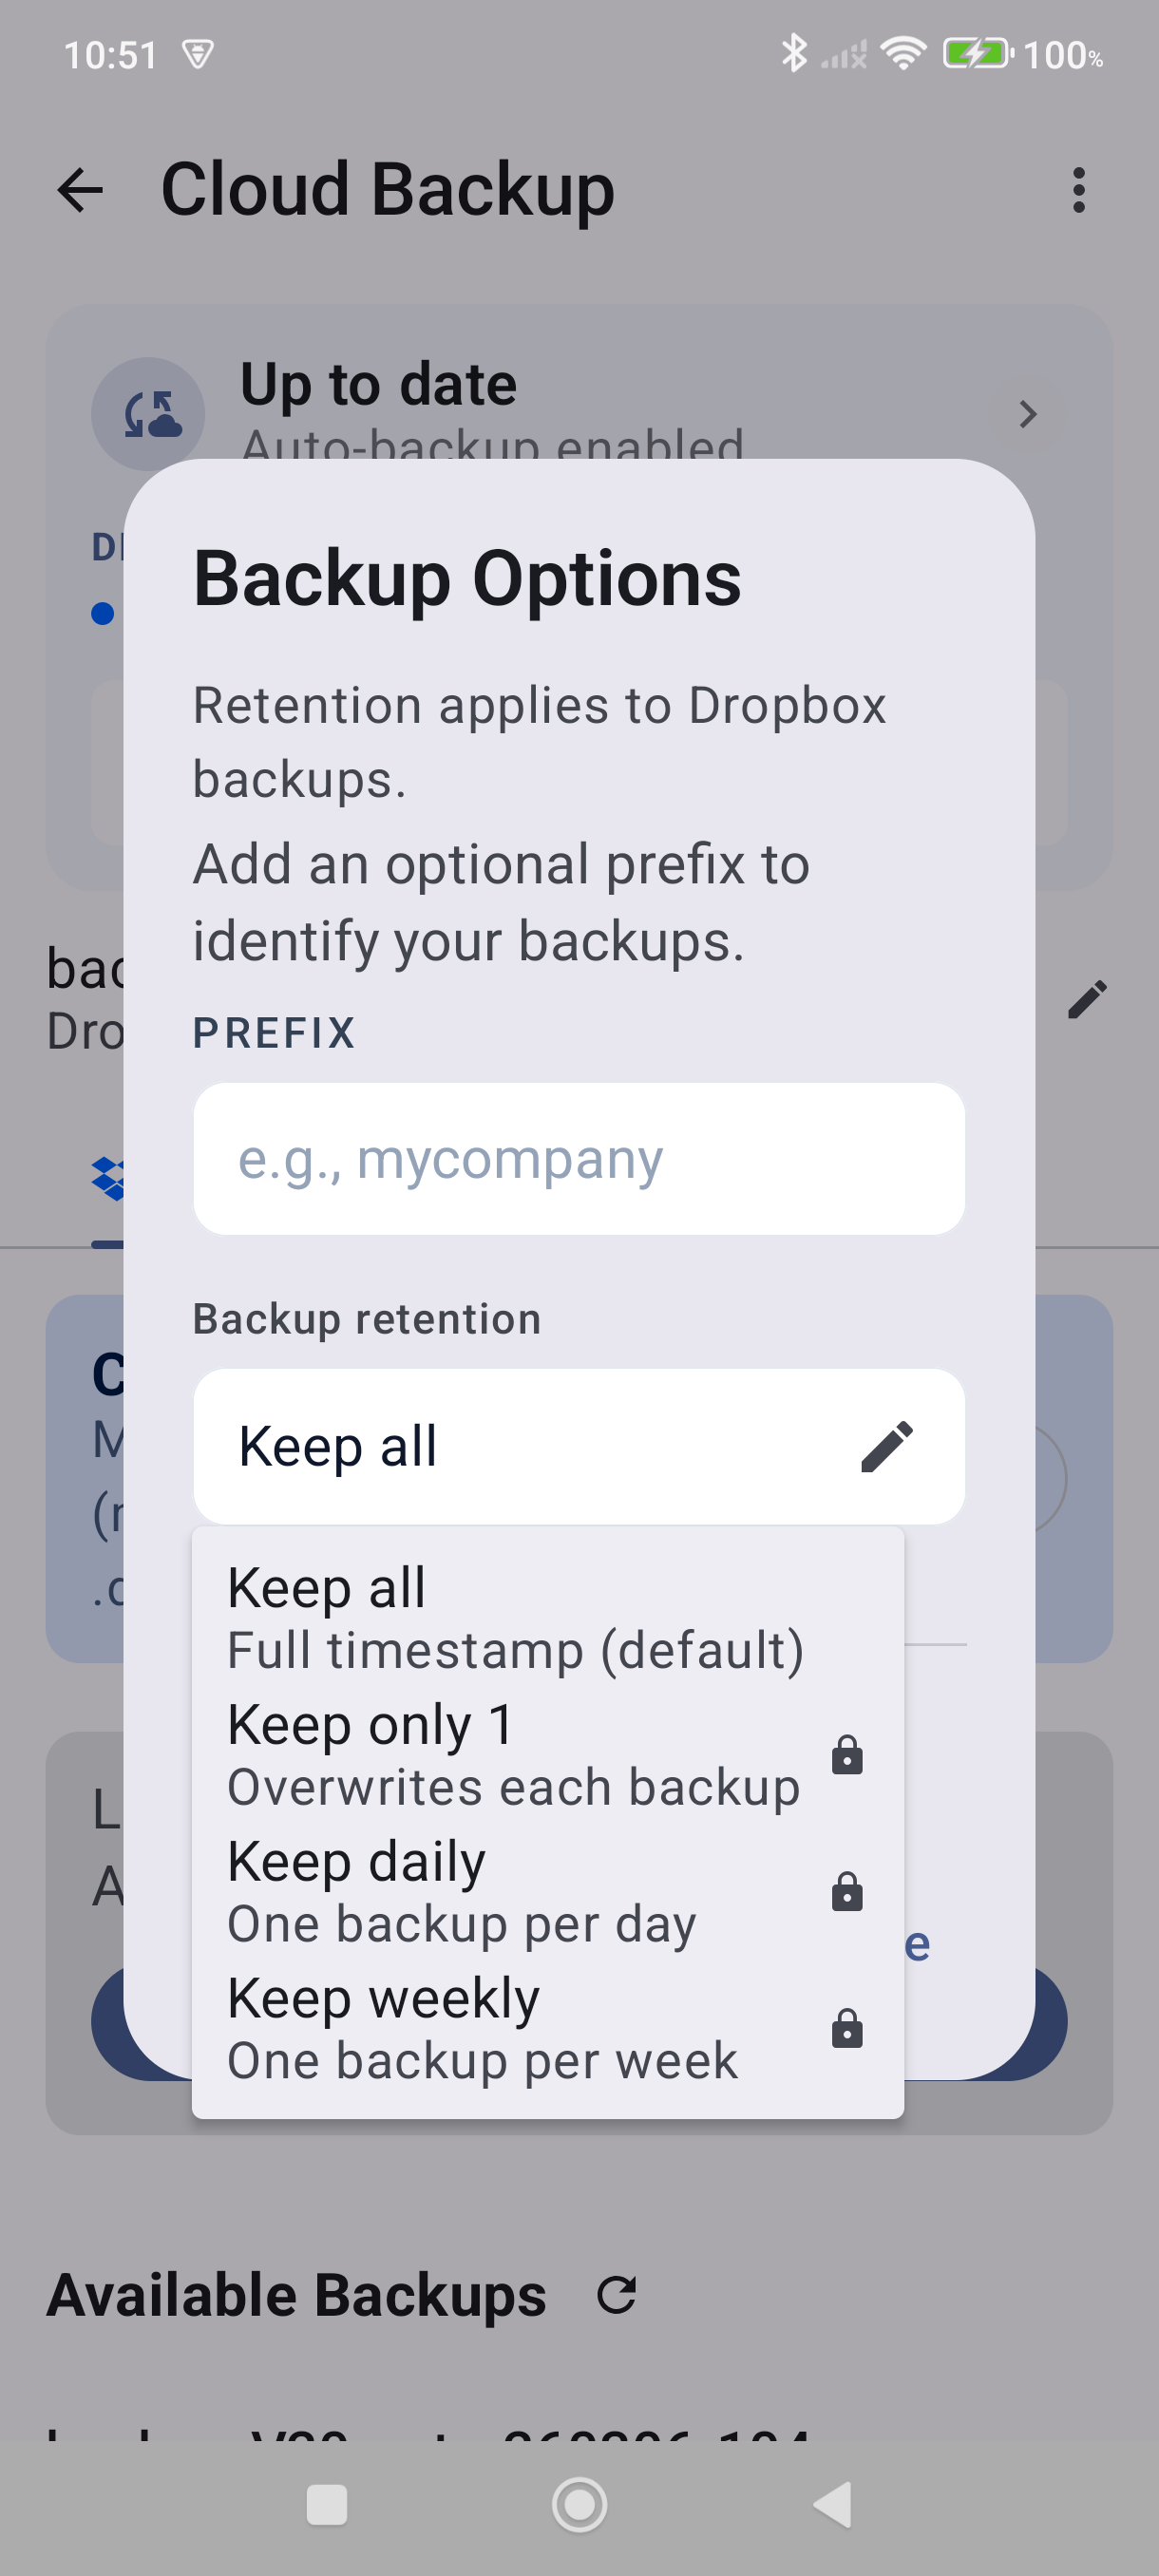
- When auto-backup is enabled, the Cloud Backup screen hides the tab for the provider you are not using — this is expected.
- Your backup files are saved to a MobileBiz Pro folder in whichever cloud service you chose. You can browse them any time in the Dropbox or Google Drive app.
- Back up when I close the app is a separate switch from the schedule — with both on, your data is saved on exit and on the schedule you picked. That switch is part of Plus; the schedule itself is free on Dropbox.
- To restore from a backup, go to Settings > Data & backup > Backup & restore, select the appropriate tab, and choose a backup file from the list.
Still stuck? Contact Support for help.