Saved reports in MobileBiz Pro can be filtered, sorted, and configured with the exact columns you need — then saved so you can run the same report again in seconds.
What You'll Need
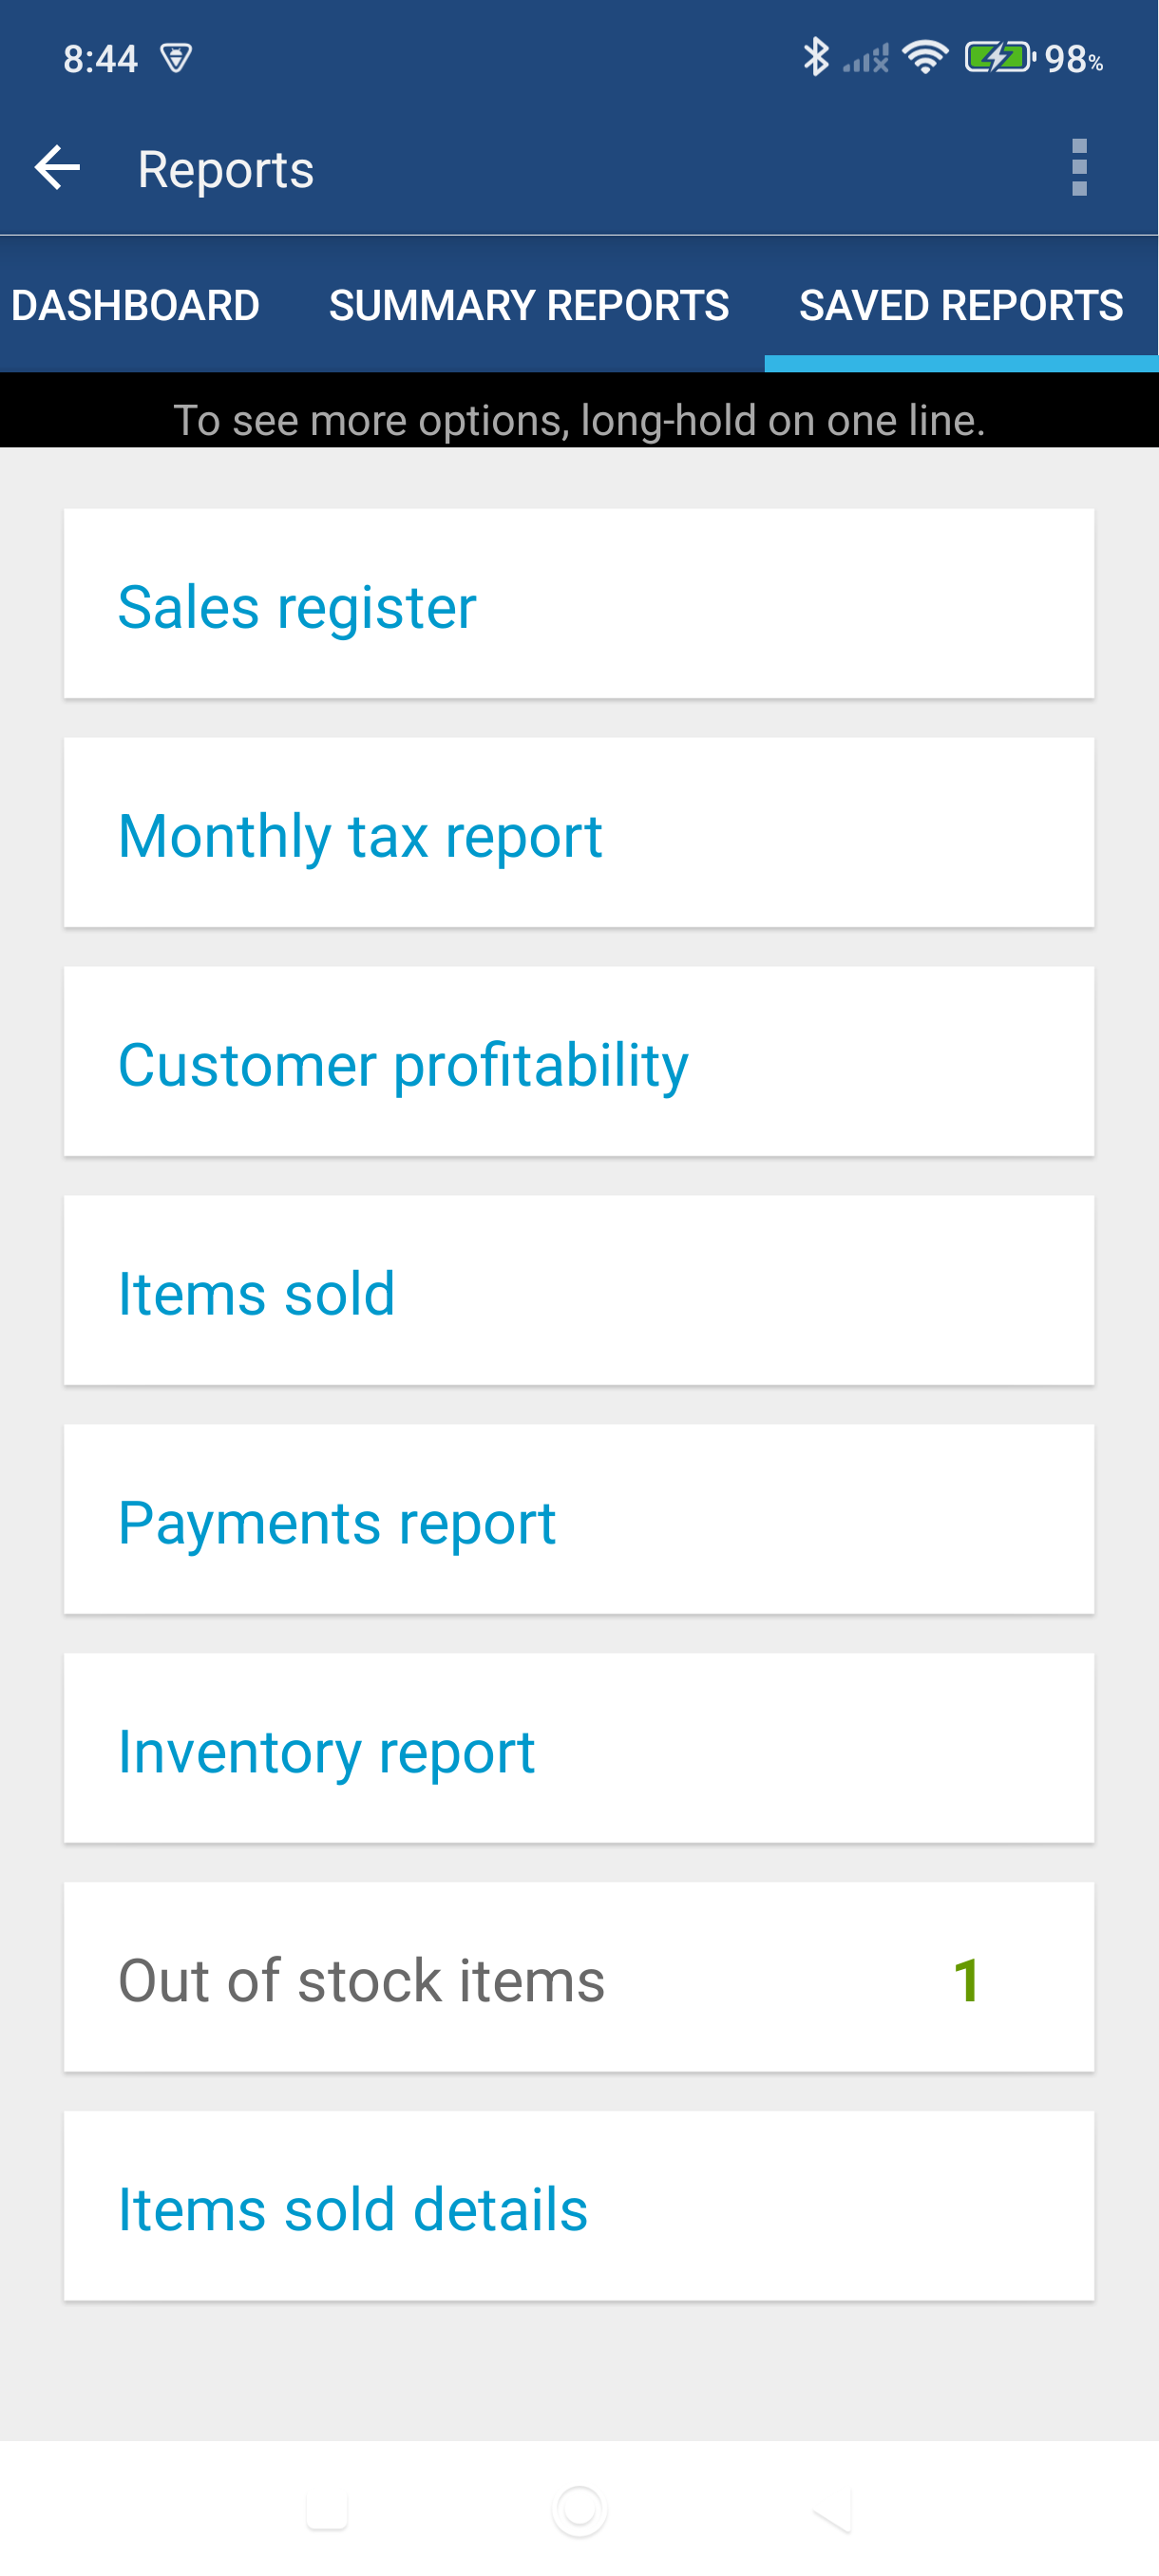
Before you start: Open the side menu and tap Saved reports under Reports. You'll see the built-in report templates listed there.
Steps
Filter a Report
-
Tap any report on the Saved Reports tab to open it.
-
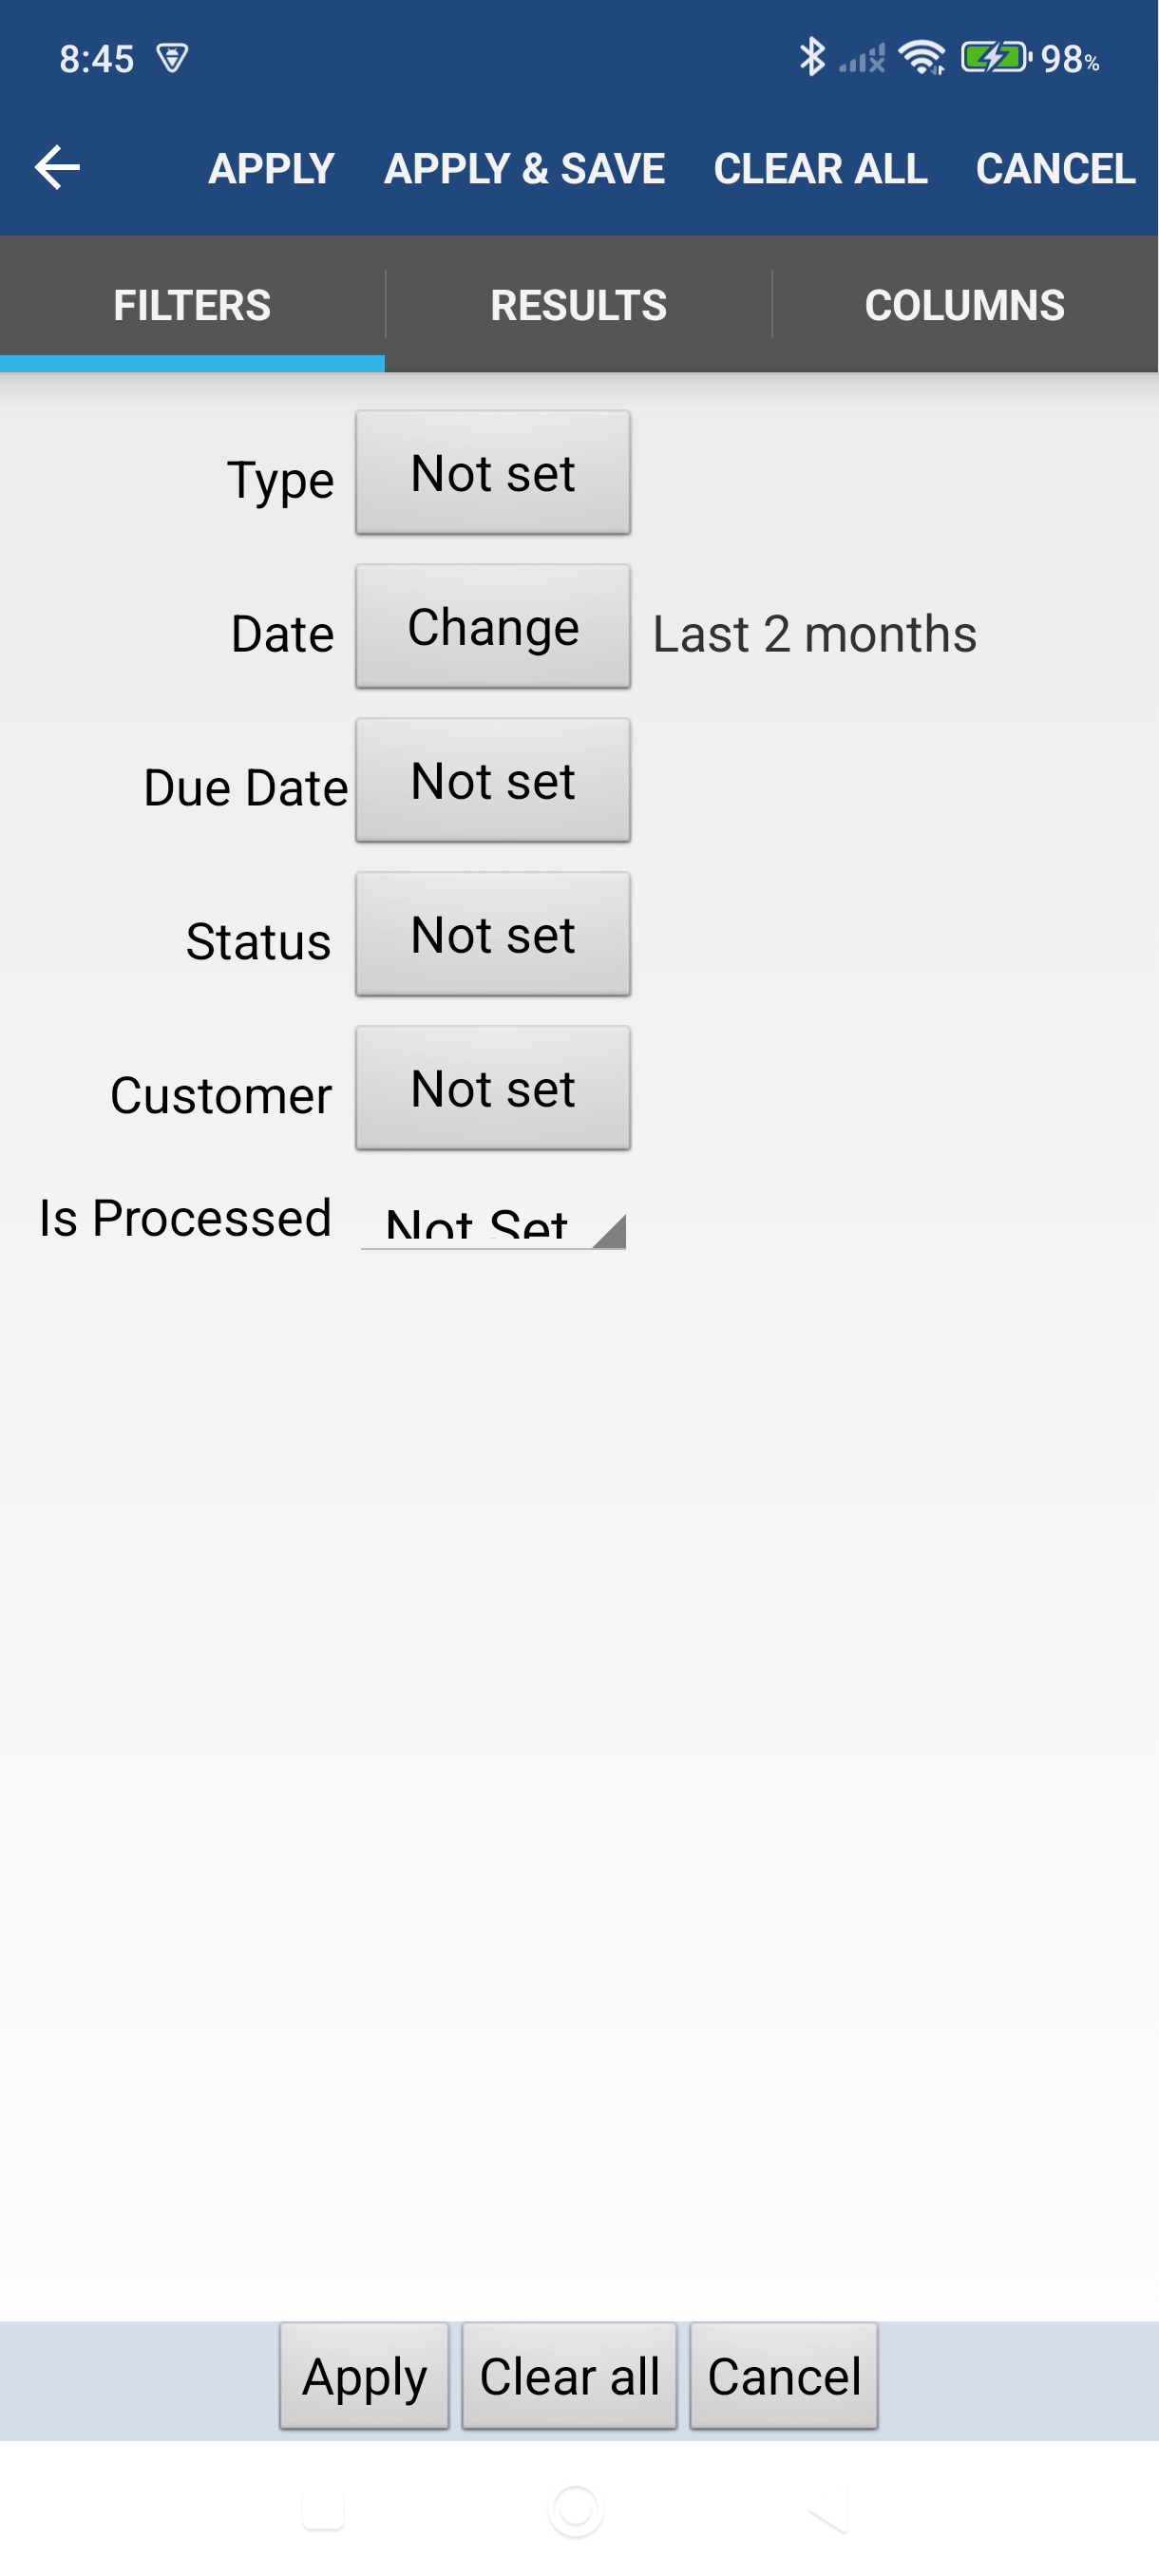
Tap the Filter icon in the action bar (top right). This opens the filter screen.
-
Set your filters on the FILTERS tab — the rows vary by report type but typically include:
- Type — include or exclude specific transaction types
- Date and Due Date — tap Change to set a range
- Status — filter by paid, unpaid, void, etc.
- Customer — narrow to a single customer
Sorting lives on the RESULTS tab (Sort by and Max Results), and the columns the report shows are checkboxes on the COLUMNS tab.
-
Tap Apply — the report refreshes with your settings applied.
Save a Custom Report
-
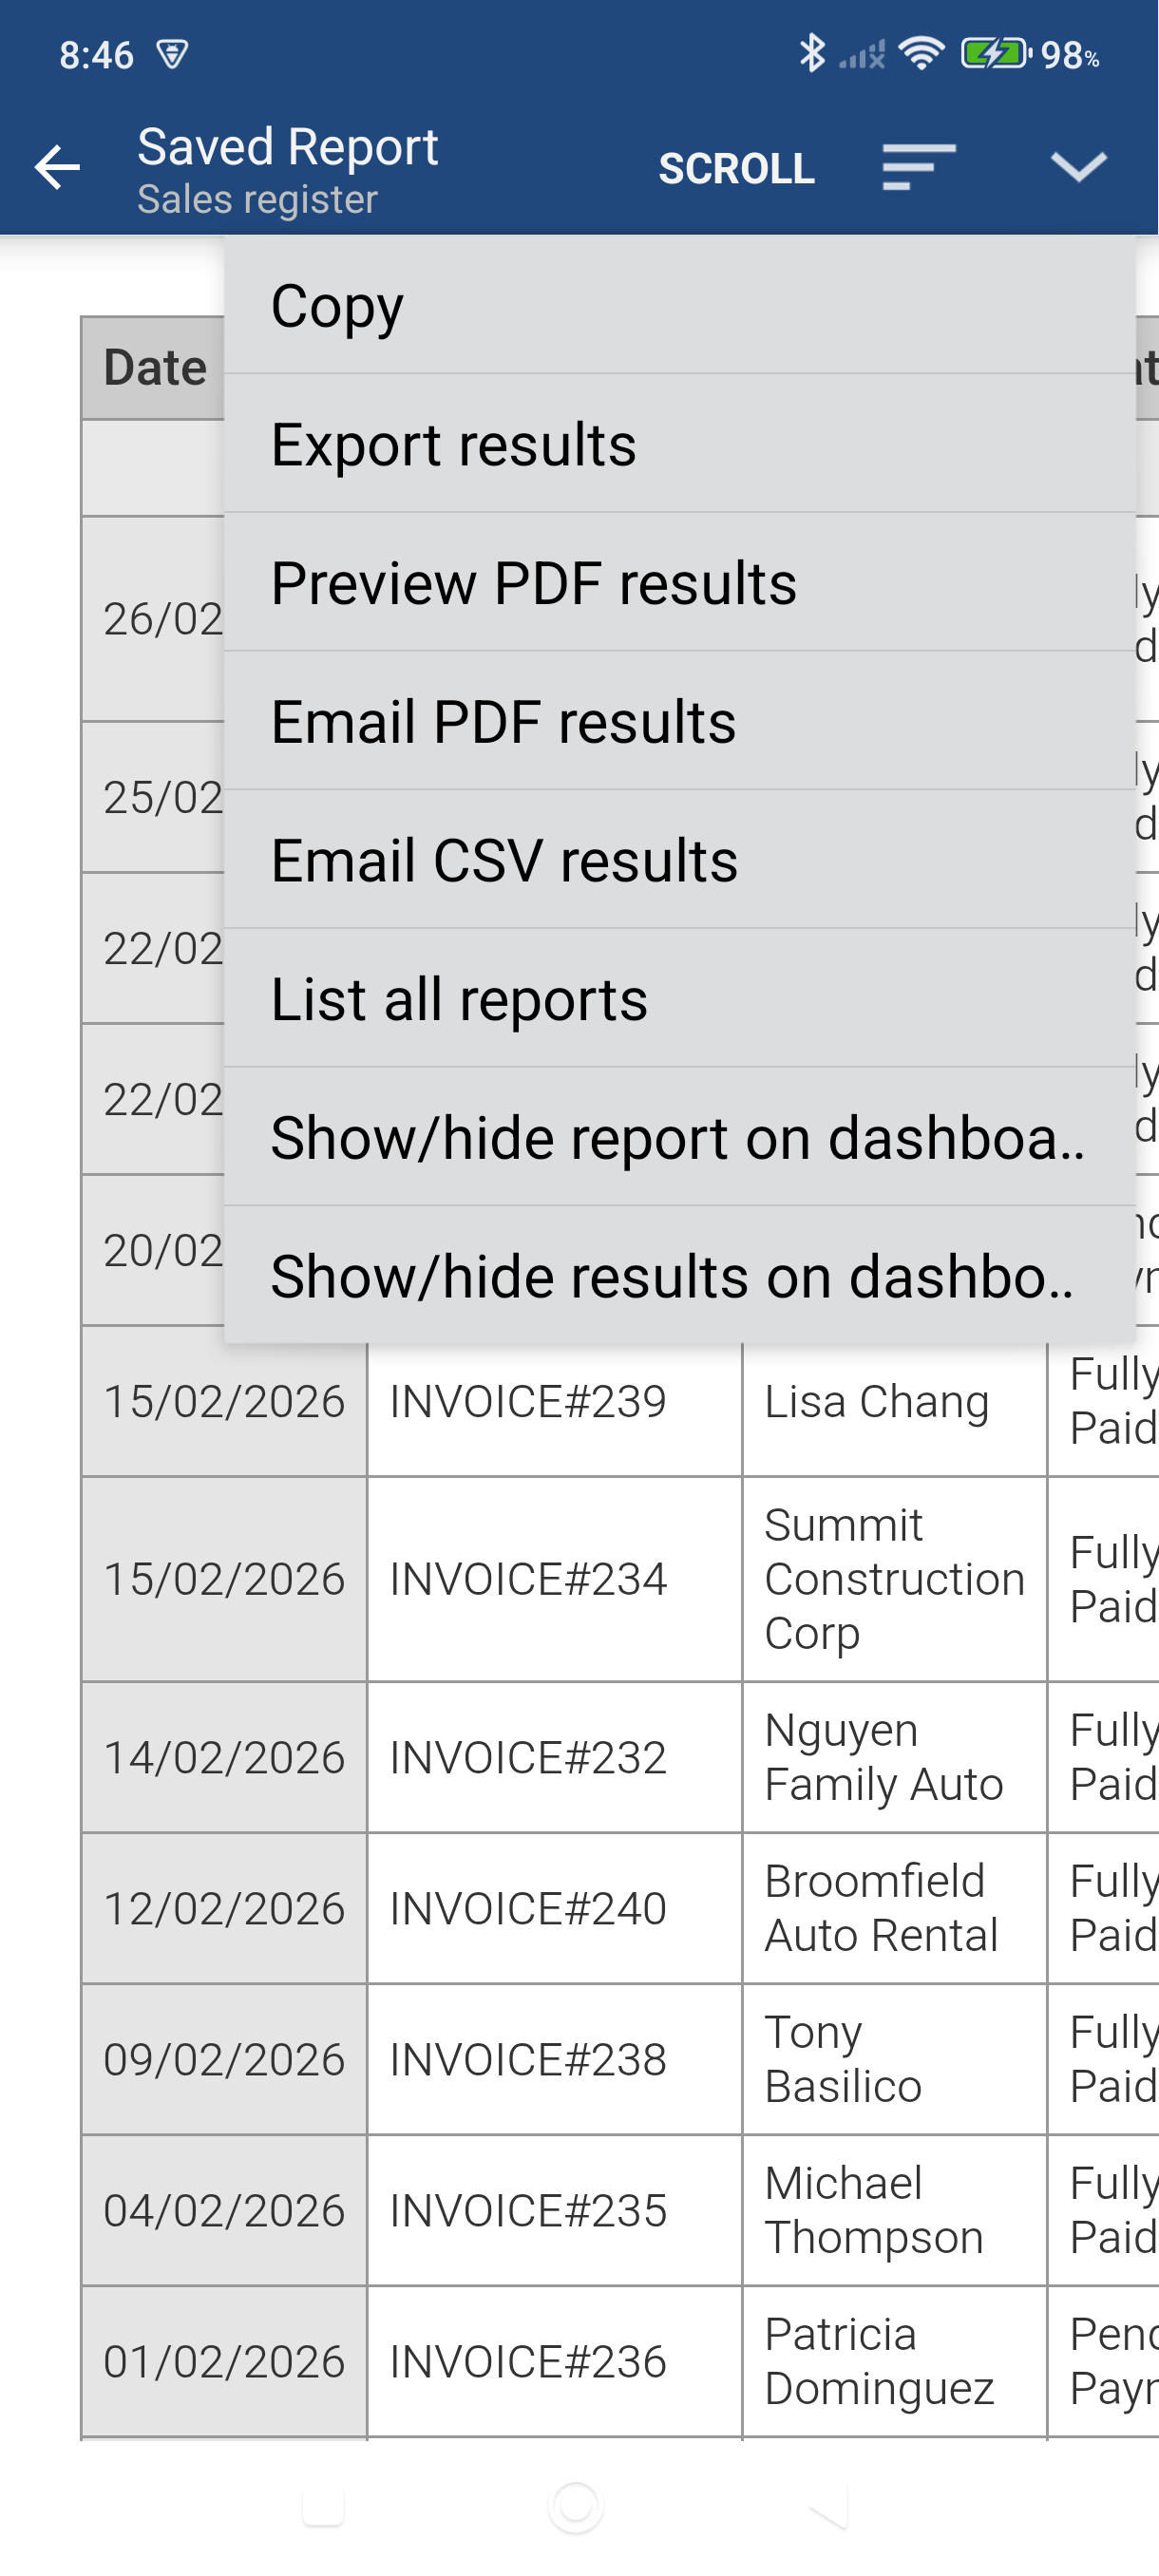
Tap the More menu (the expand icon in the action bar) and choose Save report as. This opens the Save Report screen, where you name a new report based on the current one.
-
Type a name in Title of report.
-
Optional: tick either dashboard checkbox.
- Show a link to report in dashboard — puts a link to the report on your app home screen.
- Show number of results in dashboard — shows how many results the report returns, right on that home screen link.
-
Tap Save — your custom report now appears on the Saved Reports tab.
Update an Existing Custom Report
If you've already saved a custom report and want to tweak its filters:
- Open the report from the Saved Reports tab.
- Tap the Filter icon and adjust your settings.
- Tap Apply & Save to write the changes back to the same report (plain Apply runs them once without saving).
Good to Know
- Built-in templates (shown in blue) cannot be deleted — use Save report as to keep your version under a new name before customizing.
- Pin to your home screen — long-press any saved report and choose Show in dashboard for a link to it, or Show results in dashboard to show its result count too.
- Date range for Summary Reports (Sales By Month, Sales By Customer, etc.) is set via the Year menu in the action bar — not the filter screen.
- PDF export requires internet. If you're offline, use the Export results option (CSV) from the More menu instead.
- Exporting a Sales list itself (Invoices, Estimates, etc.) rather than a saved report? See How to Export Sales to CSV.
- All saved reports belong to the currently active company — switch companies before running reports if you manage more than one.
Still stuck? Contact Support for help.