Create a new invoice from scratch in just a few taps. The whole process takes under two minutes once your customer and items are in the app.
What You'll Need
Before you start: Make sure you've added at least one customer and one item or service. The app can't create invoices without them. See How to Add a Customer and How to Add an Item if you need to do that first.
Steps
-
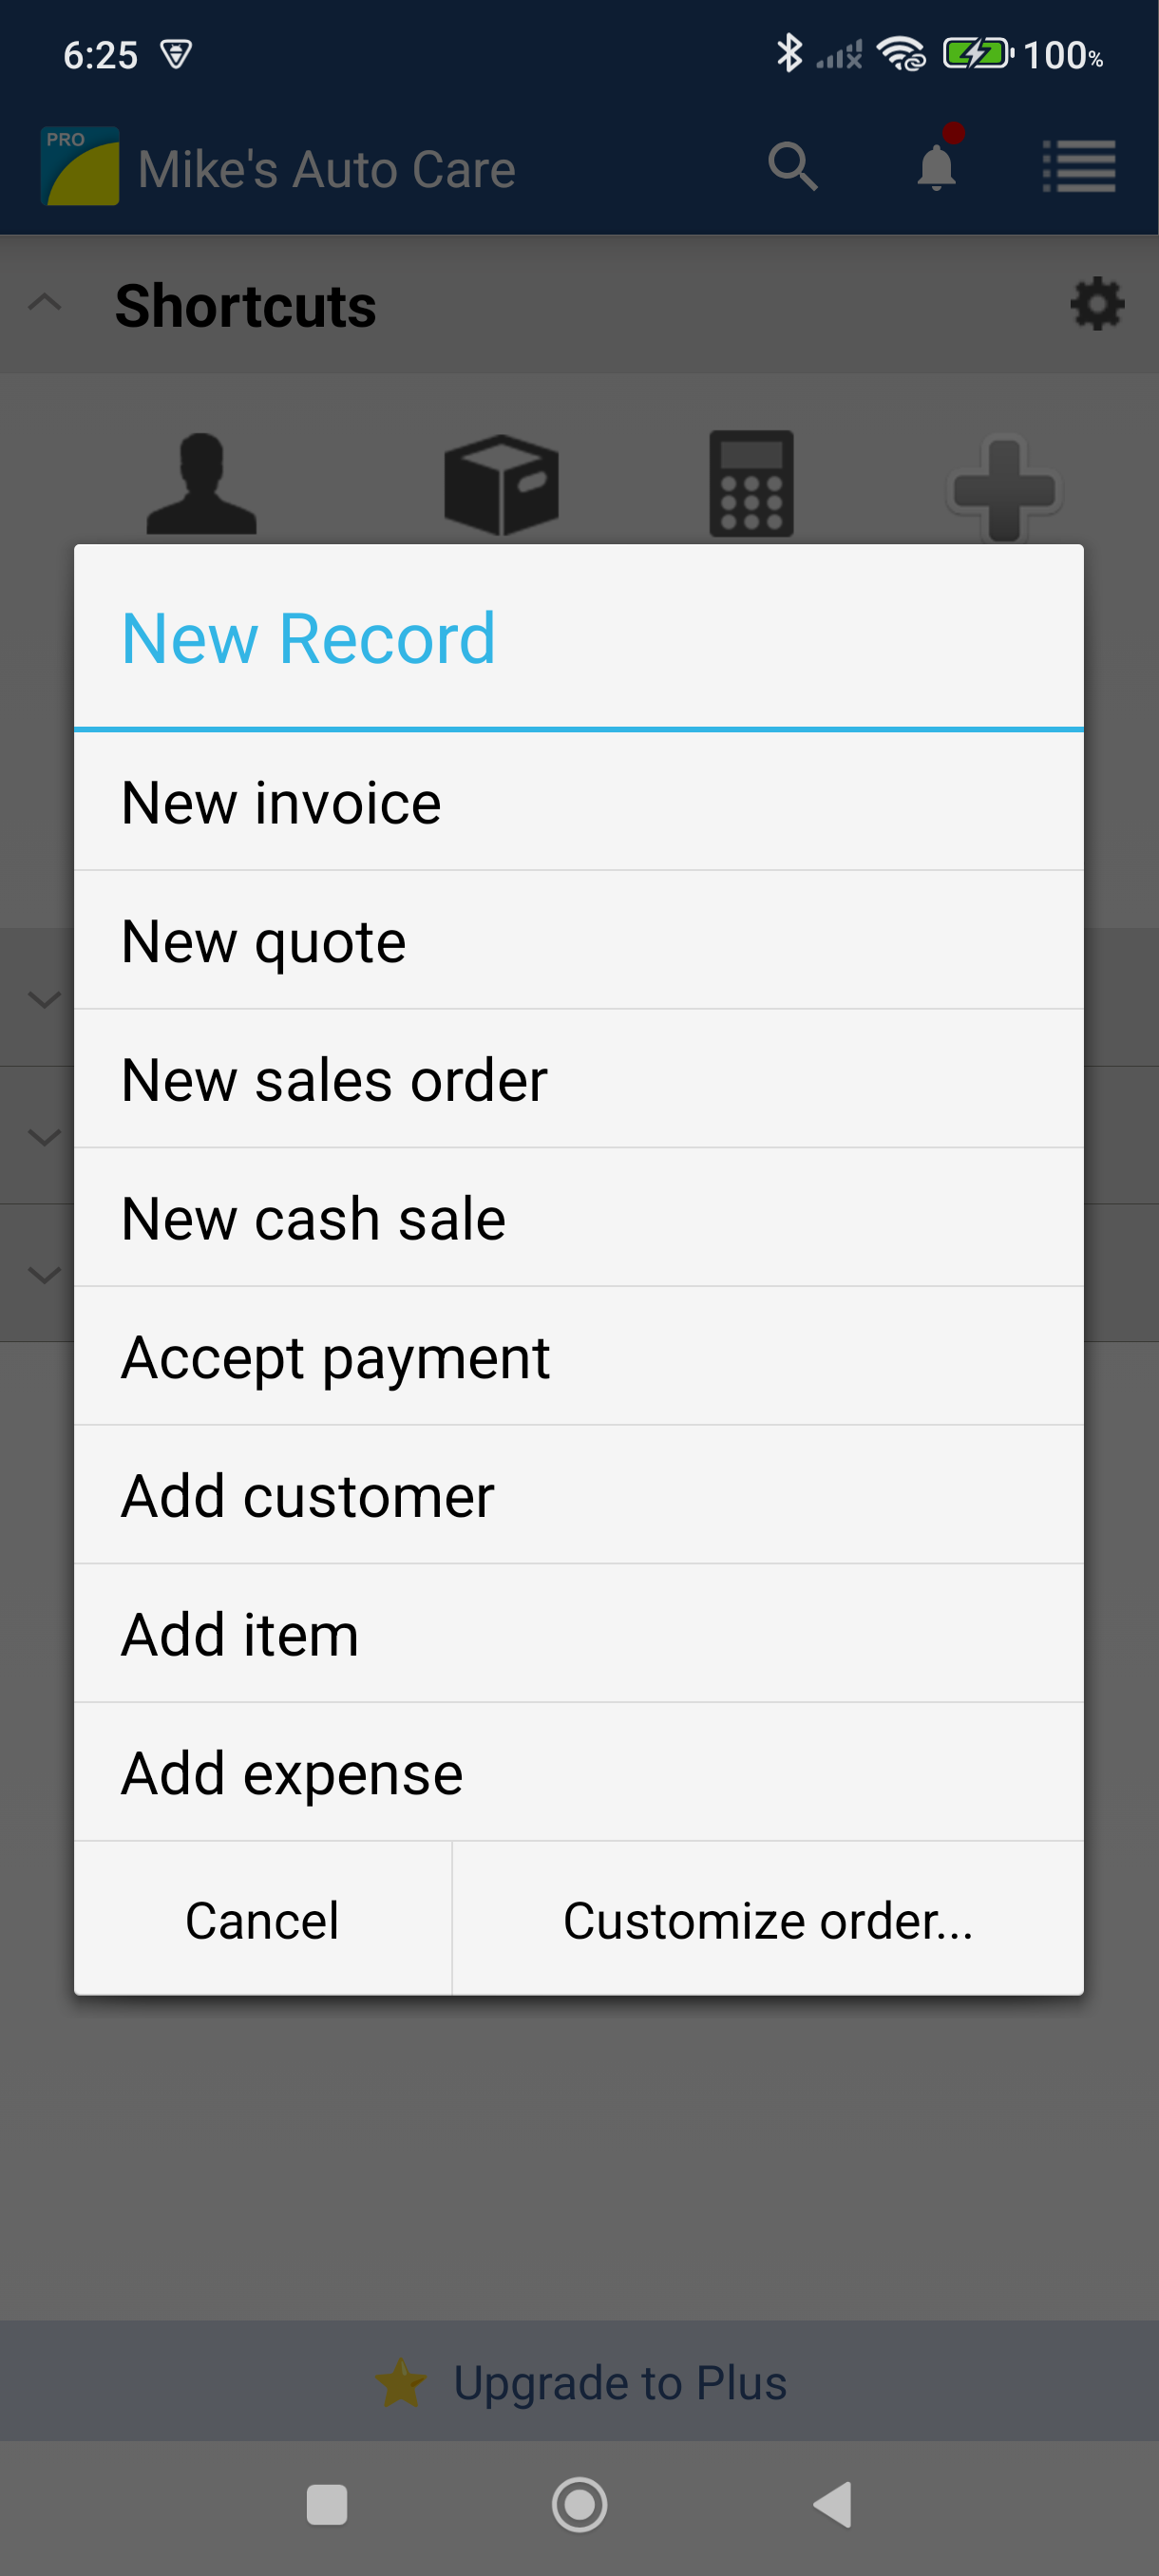
From the Dashboard, tap the + (New) button at the bottom of the screen — a dialog appears with record types.
-
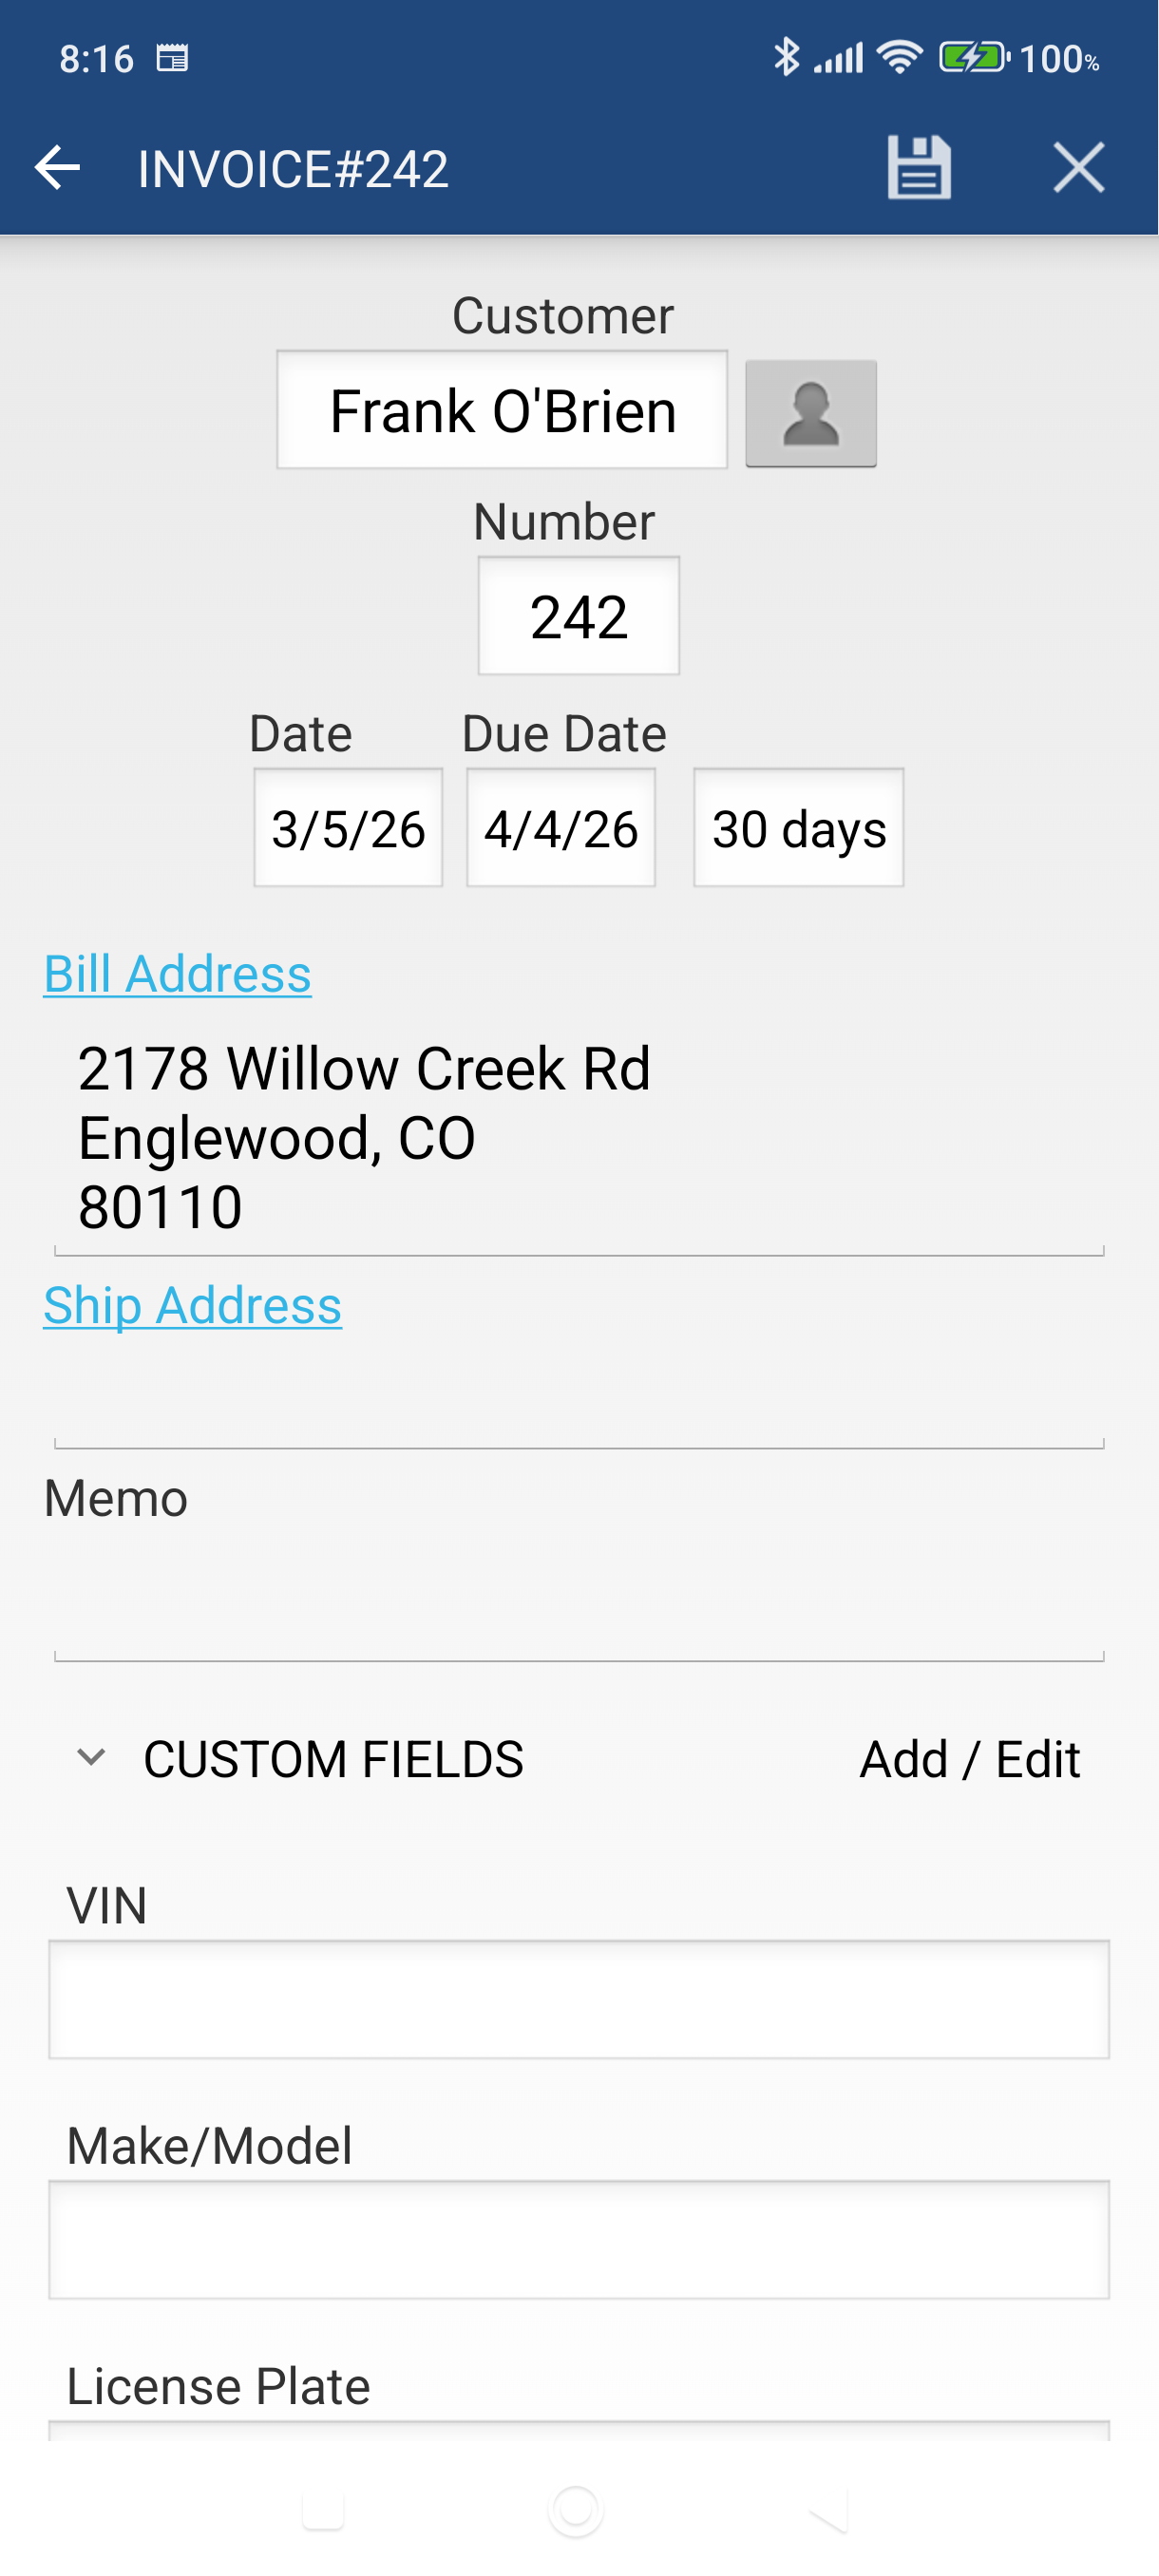
Tap New invoice — the invoice header screen opens.
-
Tap the Customer field and select your customer from the list. Their billing address and payment terms fill in automatically.
-
Confirm the Date and Due Date — both default to today and auto-calculate from your payment terms. Tap either field to change it.
-
Tap Save (the checkmark icon in the action bar) — the app creates the invoice and takes you to the invoice view screen.
-
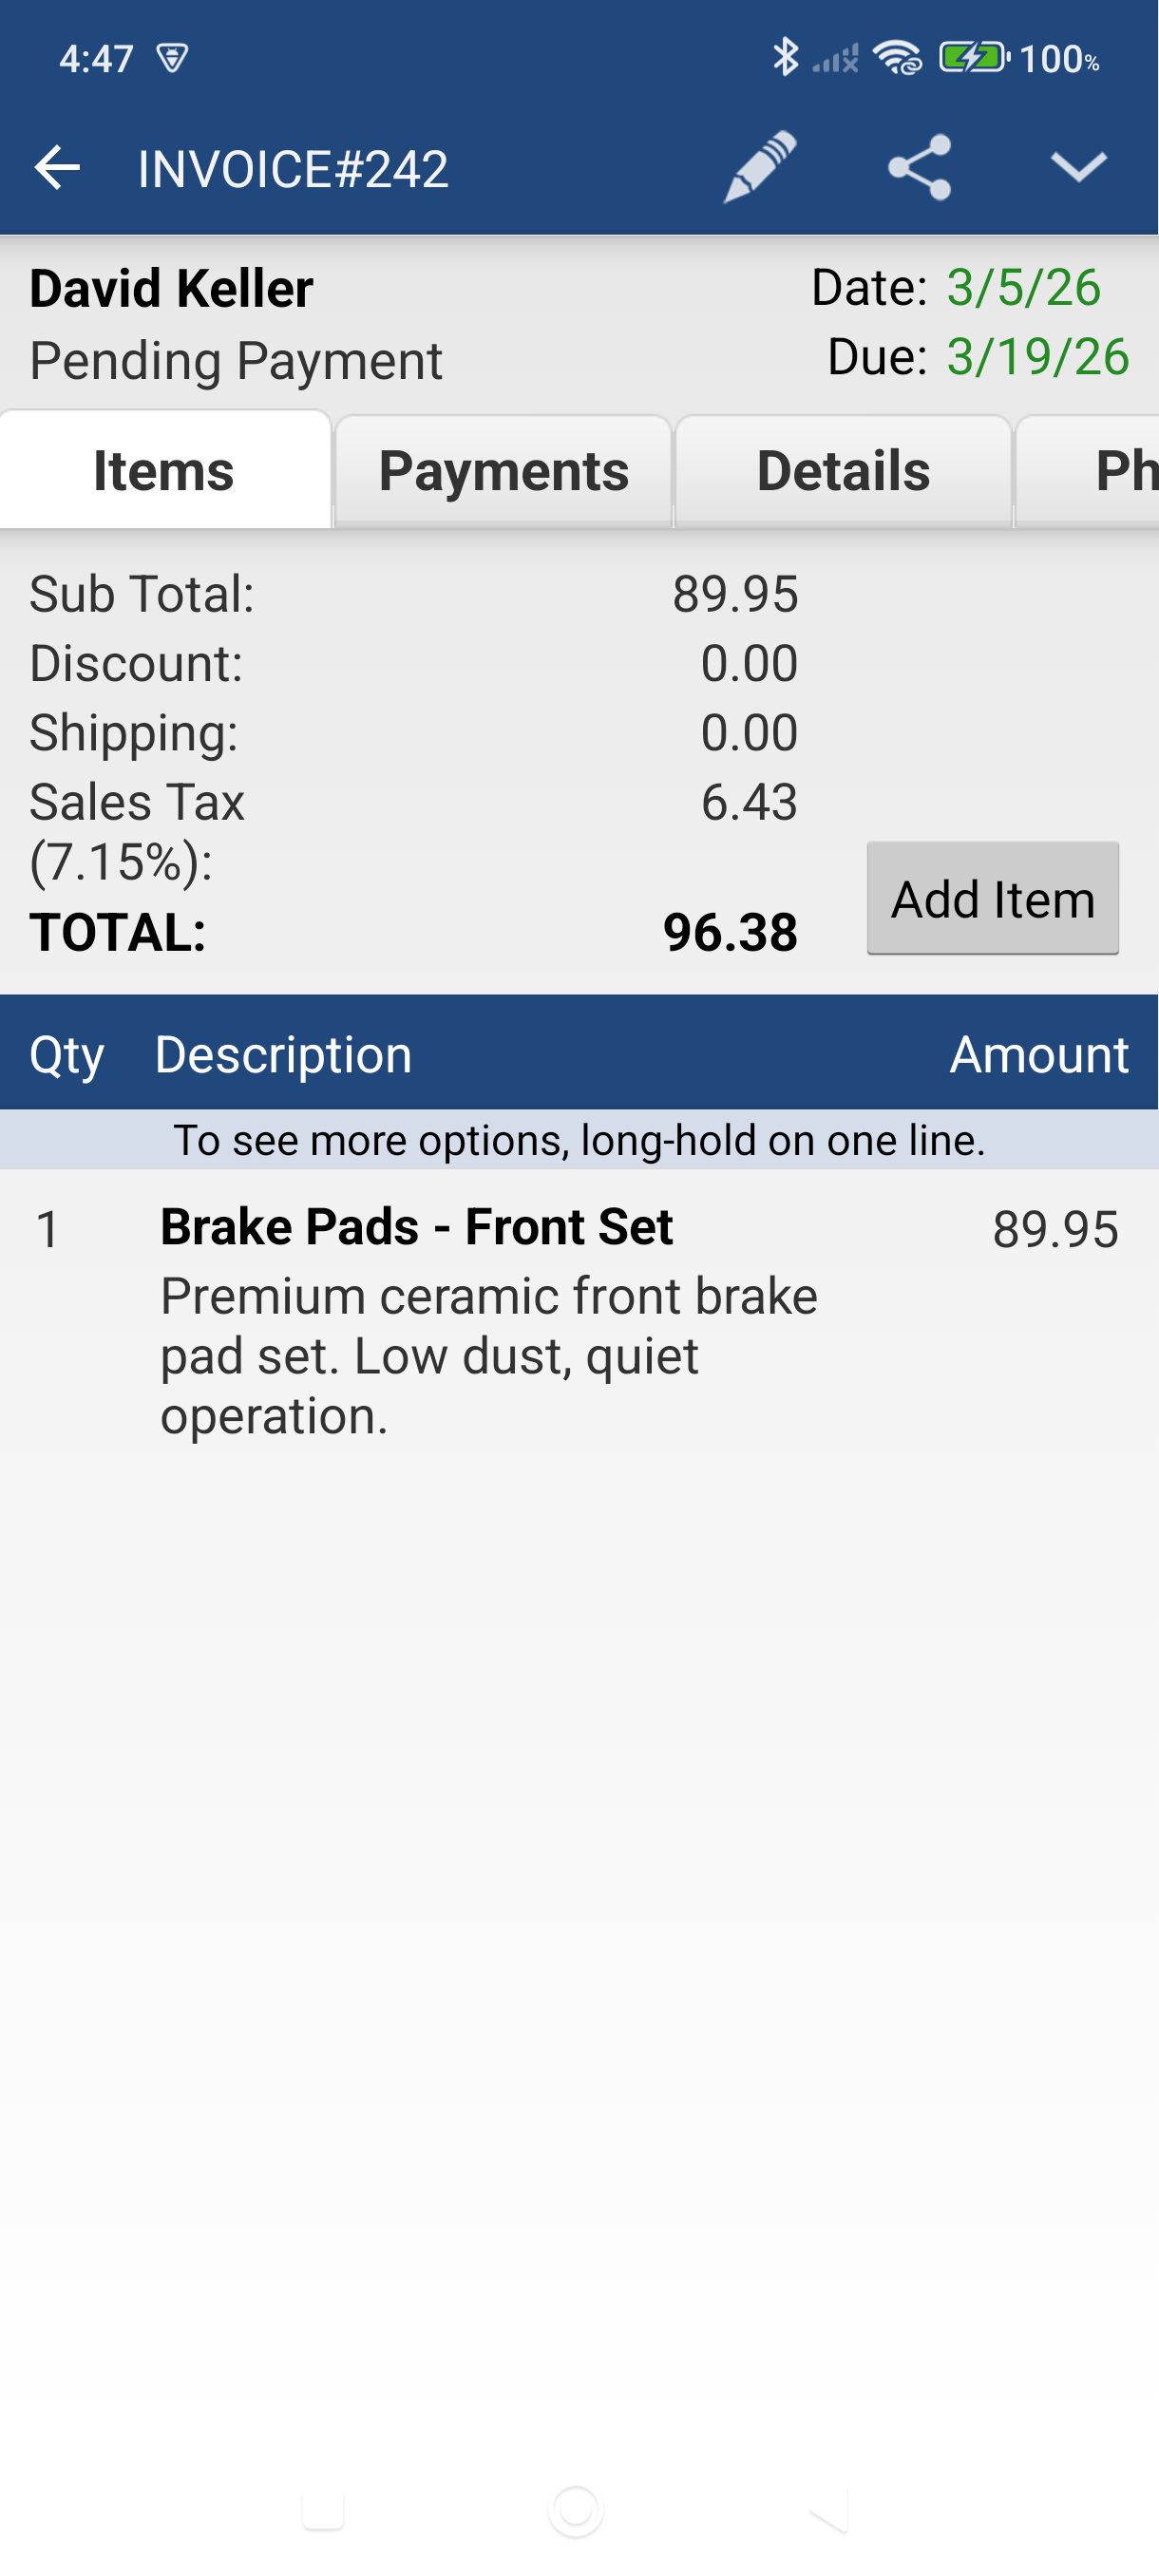
Tap the Items tab, then tap the + button to add your first line item.
-
Tap the item selector at the top of the line item screen and pick a product or service from your list. The rate and description fill in automatically.
-
Enter the Quantity, adjust the Rate if needed, then tap Save. Tap Save & New instead to immediately add another item.

-
Repeat step 6–8 until all your line items are added. The running total appears at the top of the Items tab.
Good to Know
- You can apply a tax to all line items at once: tap the Edit (pencil) icon > Apply tax.
- To apply a transaction-level discount: tap Edit > Apply discount.
- Tap Edit > Print Preview to see exactly how the invoice will look as a PDF before sending.
- Quotes, Sales Orders, and Cash Sales follow the same creation flow — just tap New quote, New sales order, or New cash sale instead in step 2.
Still stuck? Contact Support for help.