You need at least one customer before you can create an invoice. The good news: adding a customer takes under a minute. Only a name is required to get started.
Steps
-
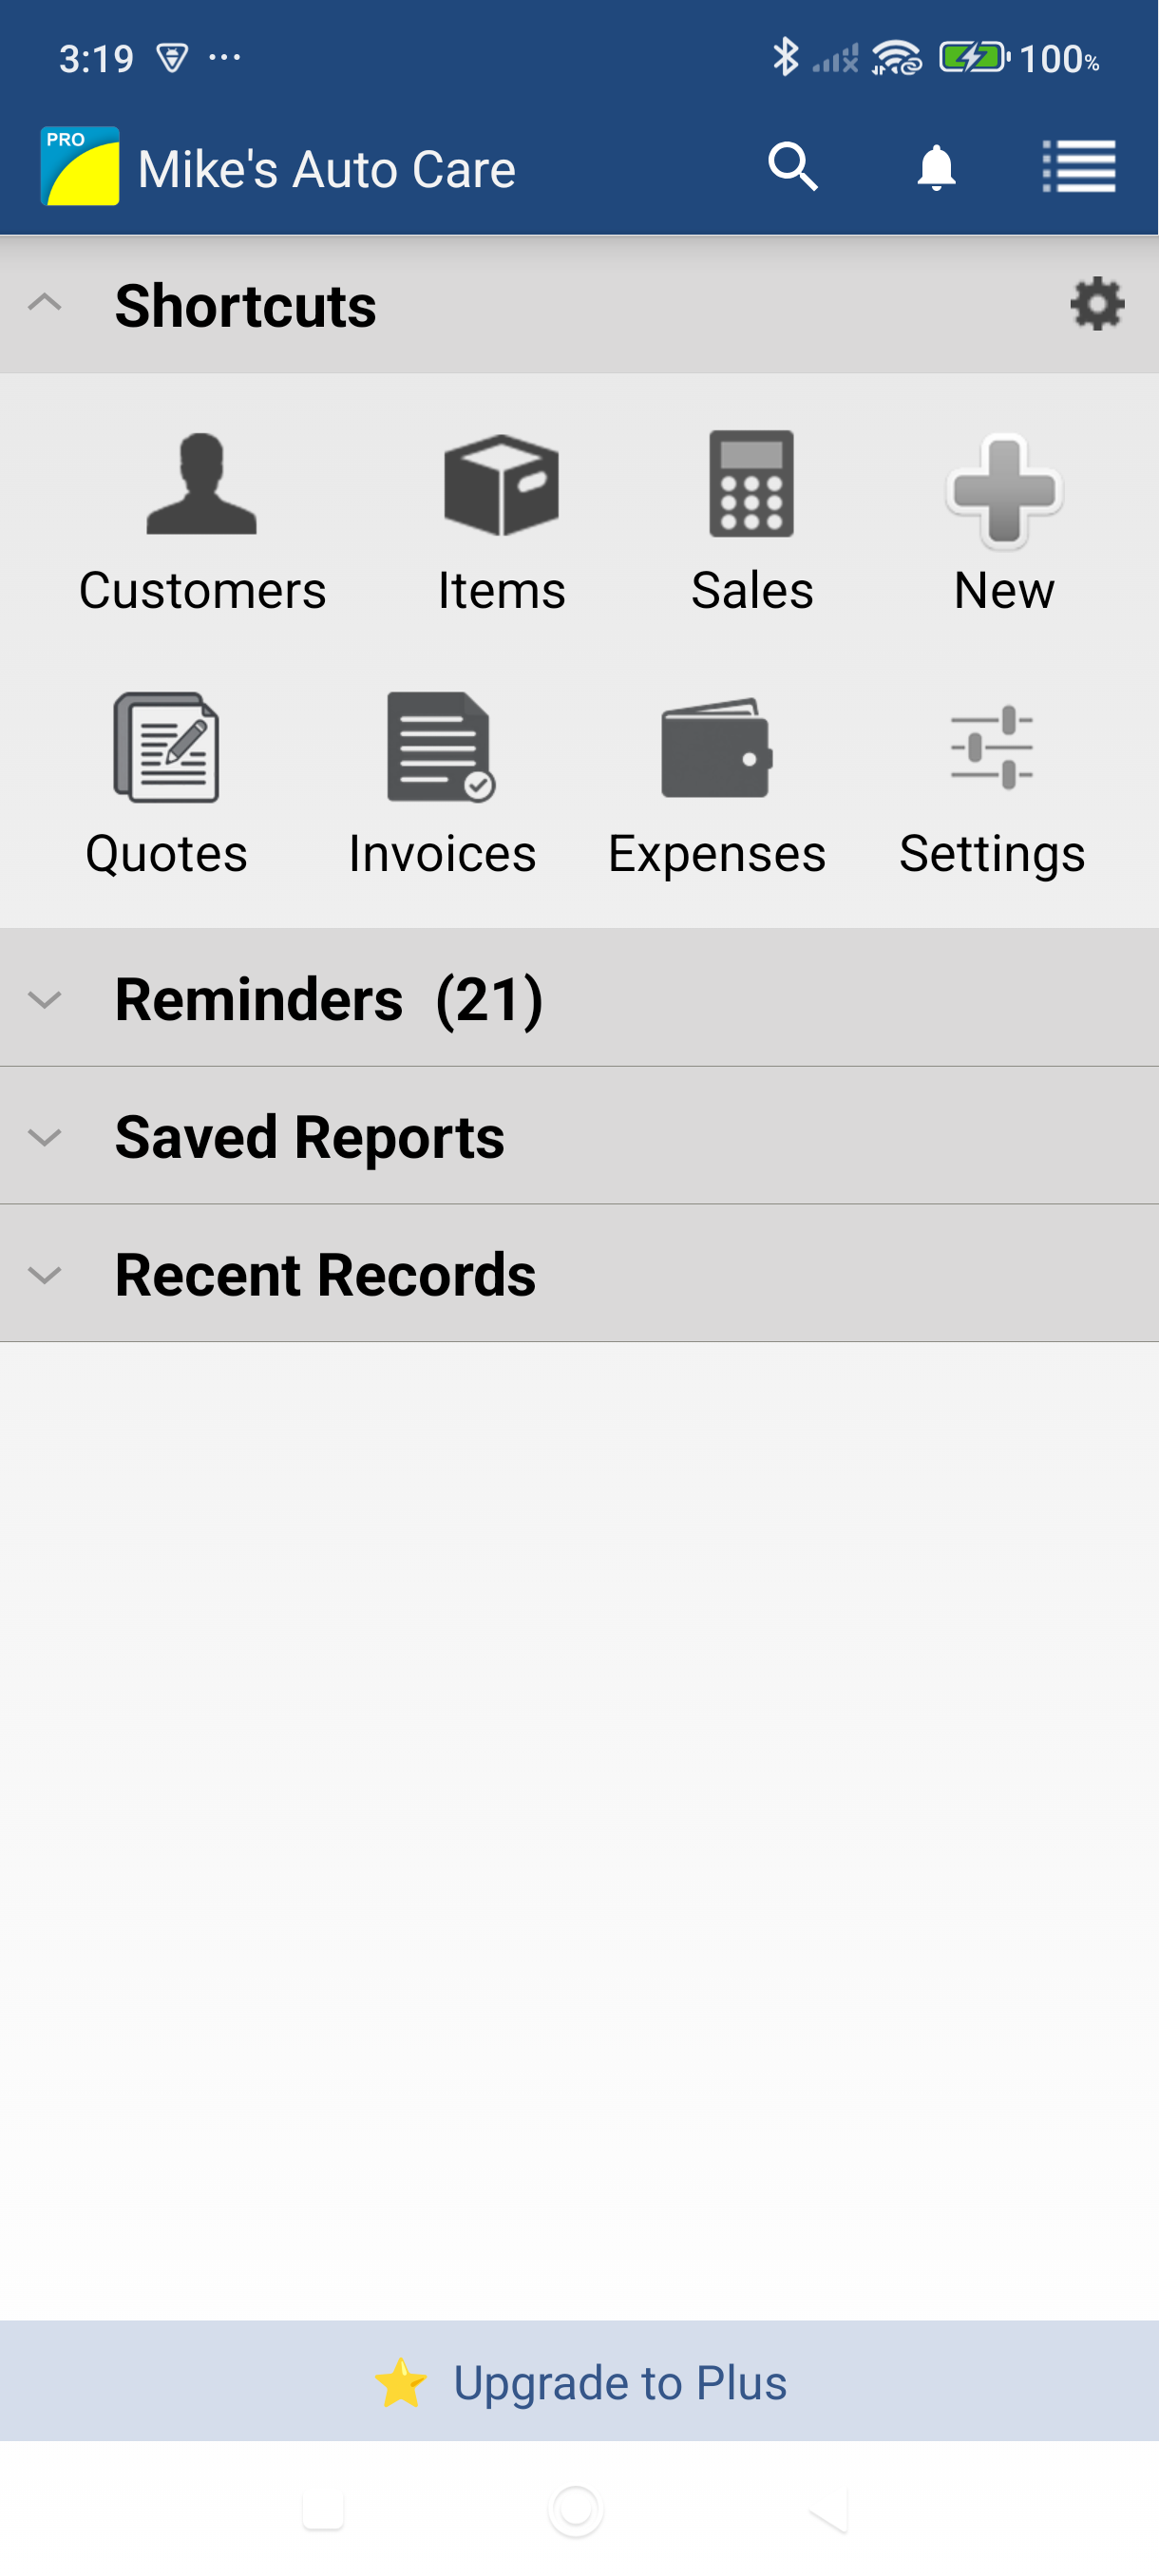
From the Dashboard, tap "Customers" in the shortcut row, or swipe from the left edge and tap Customers in the navigation menu.
-
Tap the + icon in the top action bar to open the New Contact screen.

-
Enter the customer's name — this is the only required field. Then fill in as many additional details as you have.
Field Why it matters Name Required. Appears on all invoices for this customer. Email Invoices will be sent here — saves typing every time. Phone For your reference. Address Populates the billing address on invoices automatically. Payment Terms Sets the default due date on new invoices (e.g., Net 30). Is Taxable Uncheck if this customer is tax-exempt. 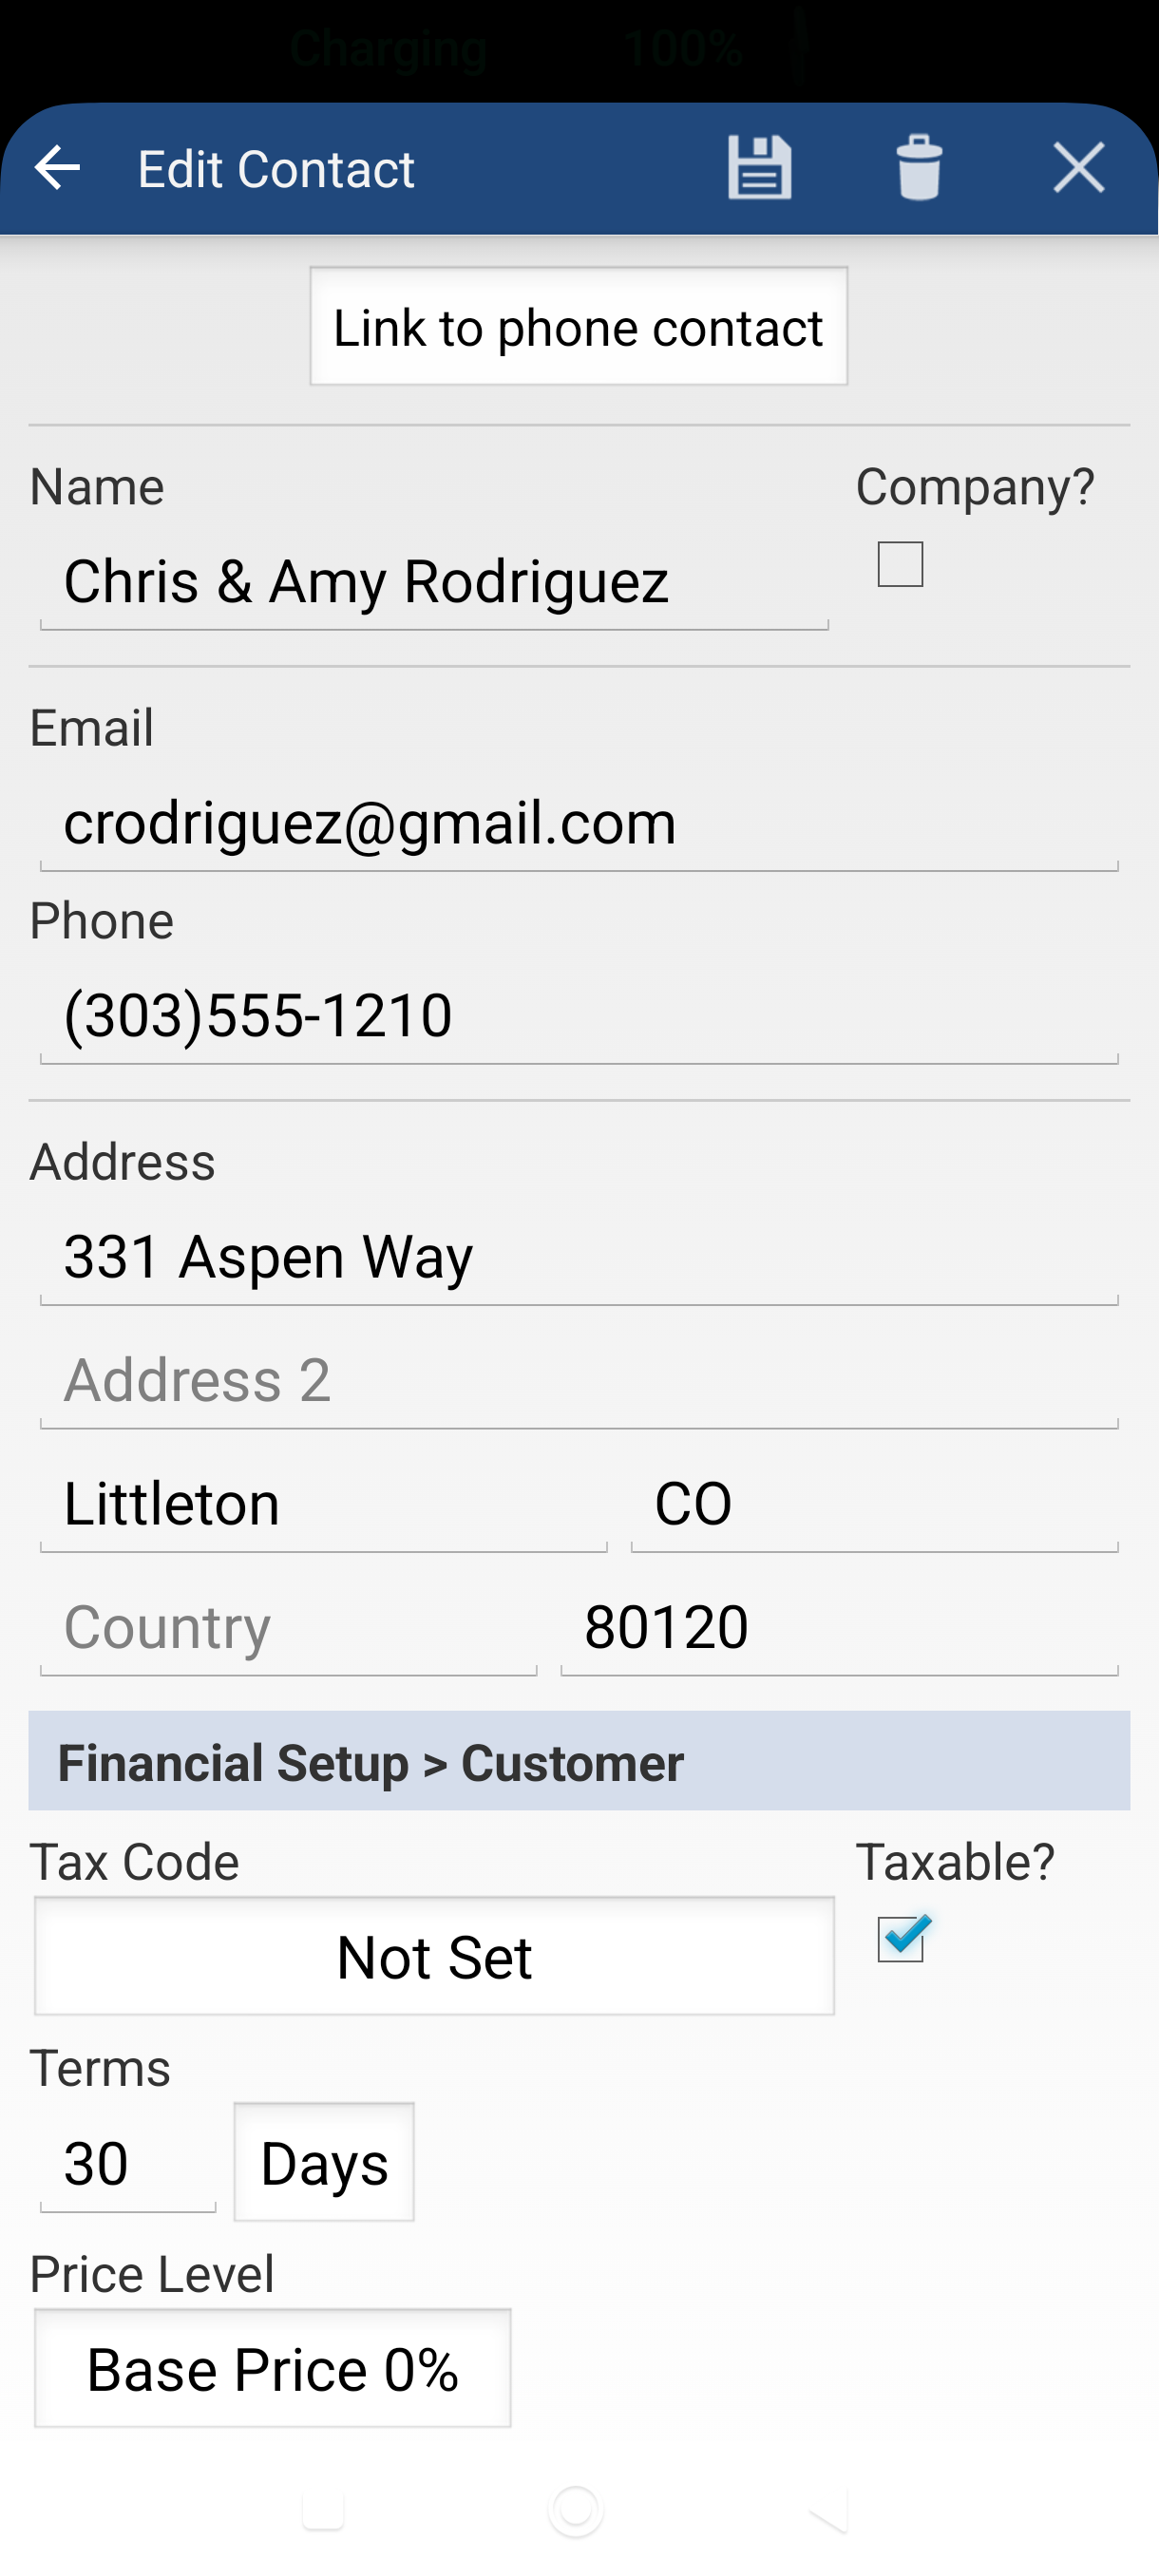
-
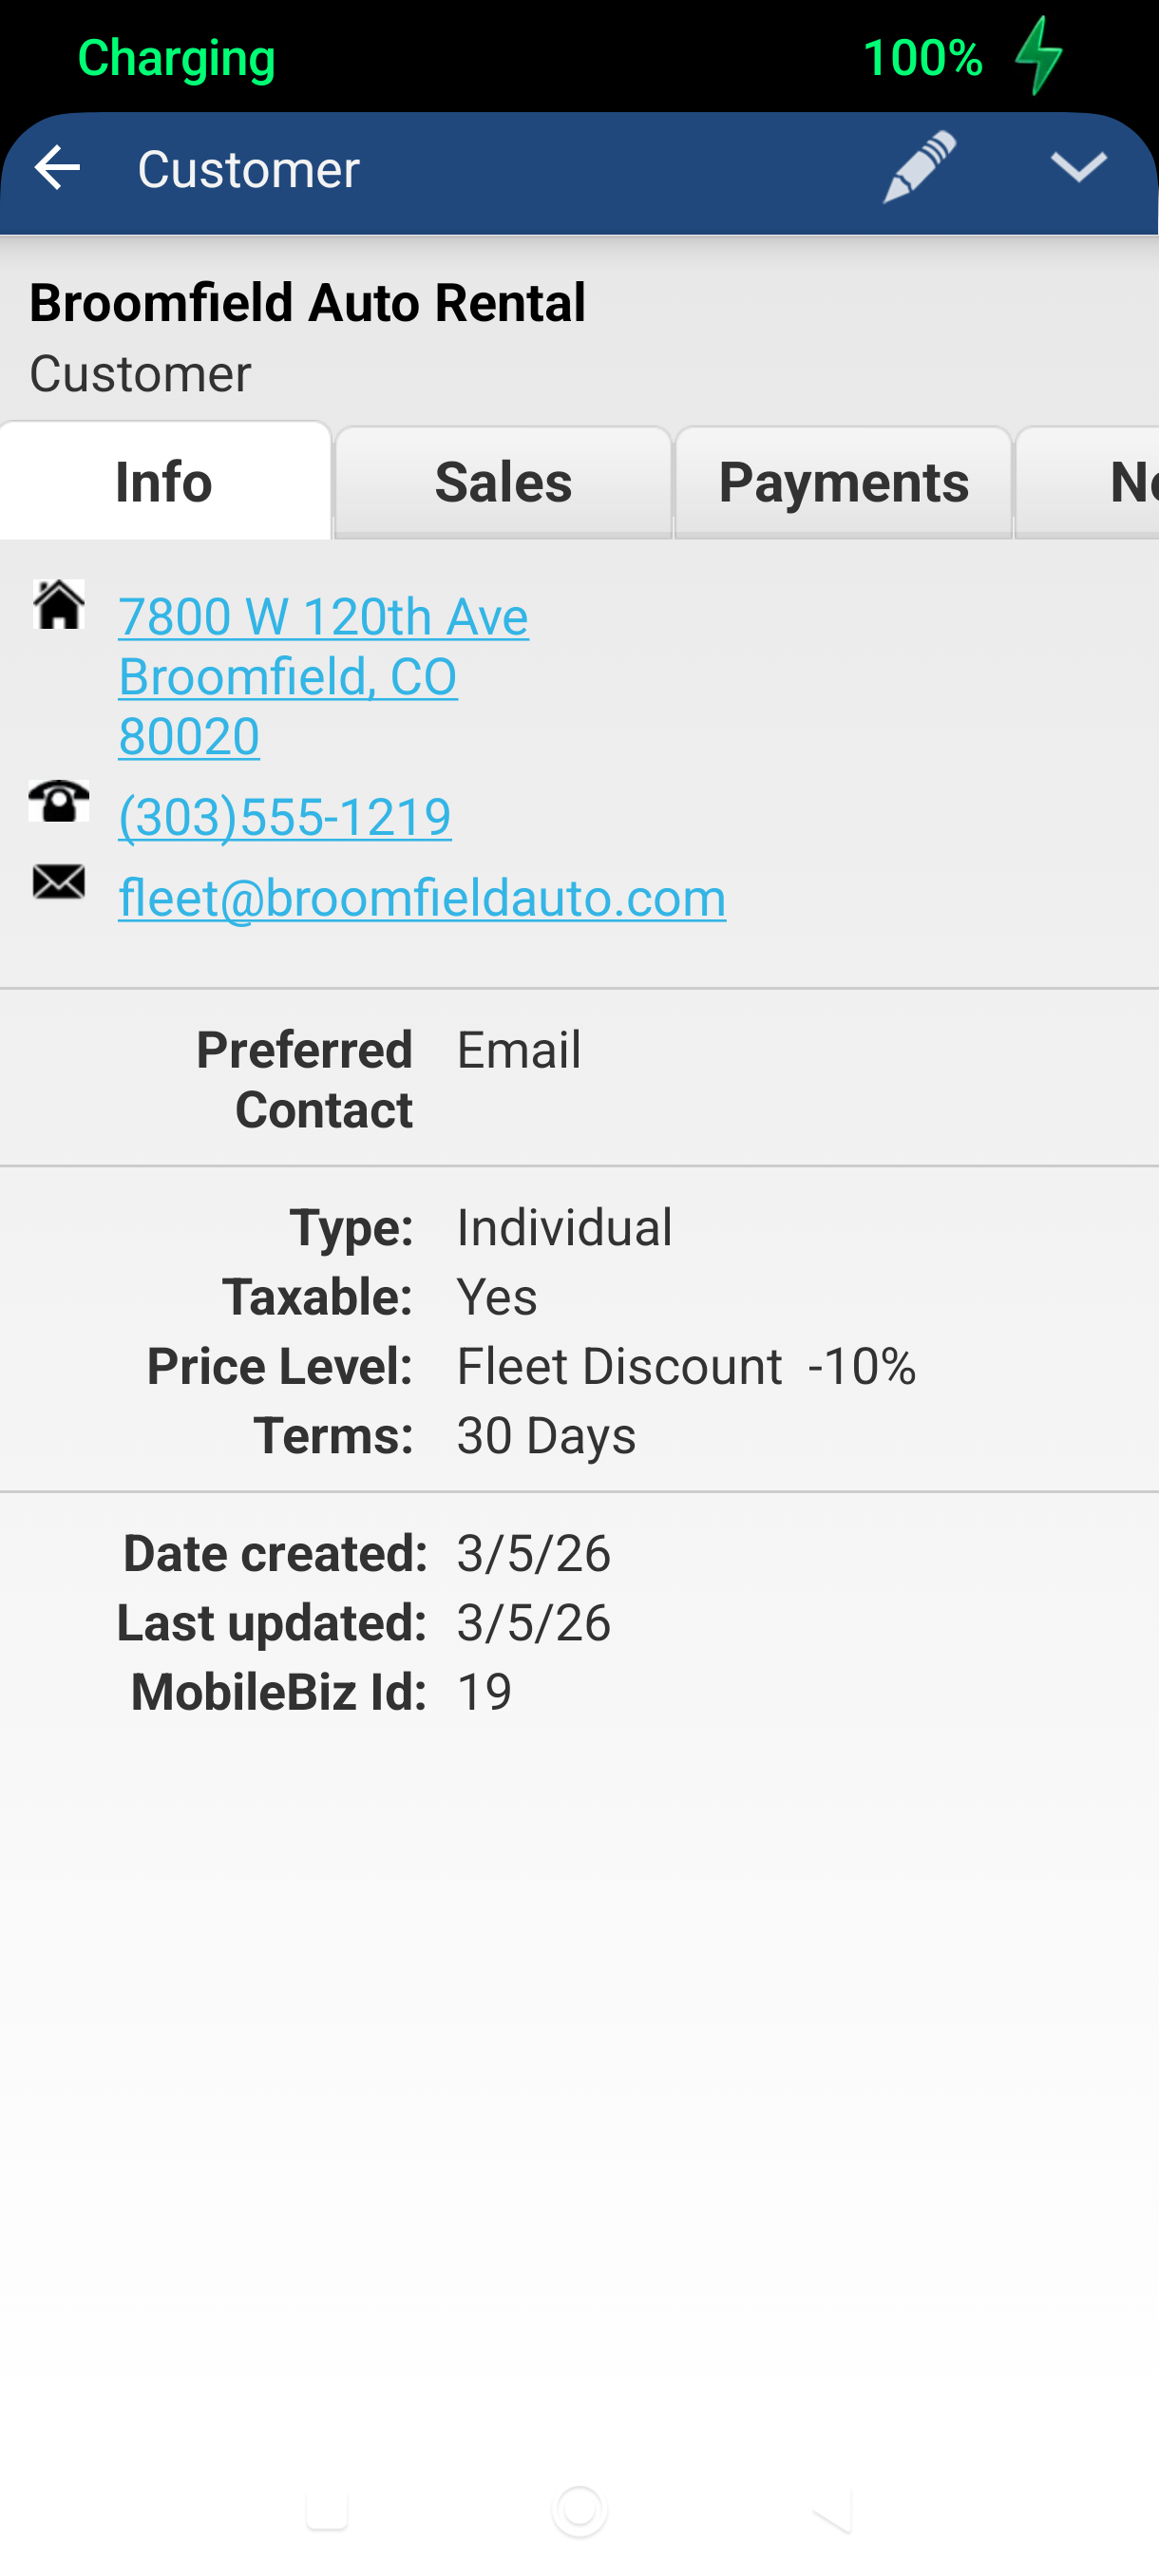
Tap the checkmark (Save) in the action bar. You're taken to the new customer's detail screen — they're ready to invoice.
Good to Know
- Already have this customer in your phone's contacts? Tap the phone book button next to the Name field to import their details automatically — name, email, phone, and address all fill in at once.
- Customers cannot be created mid-invoice. If you realize you forgot to add a customer while building an invoice, save your work, add the customer, then come back.
- You can edit customer details any time by tapping the pencil icon on their detail screen.
- To quickly start a new invoice for a customer, long-press their name in the customer list and tap Create an invoice.
Still stuck? Contact Support for help.