Items are the products and services you bill for. To add one, open Items from Home, tap the + button, type a name, and tap Save — a name is the only thing the app asks for. Everything else you fill in, like price, description, and tax settings, auto-fills every time you add that item to an invoice.
Steps
-
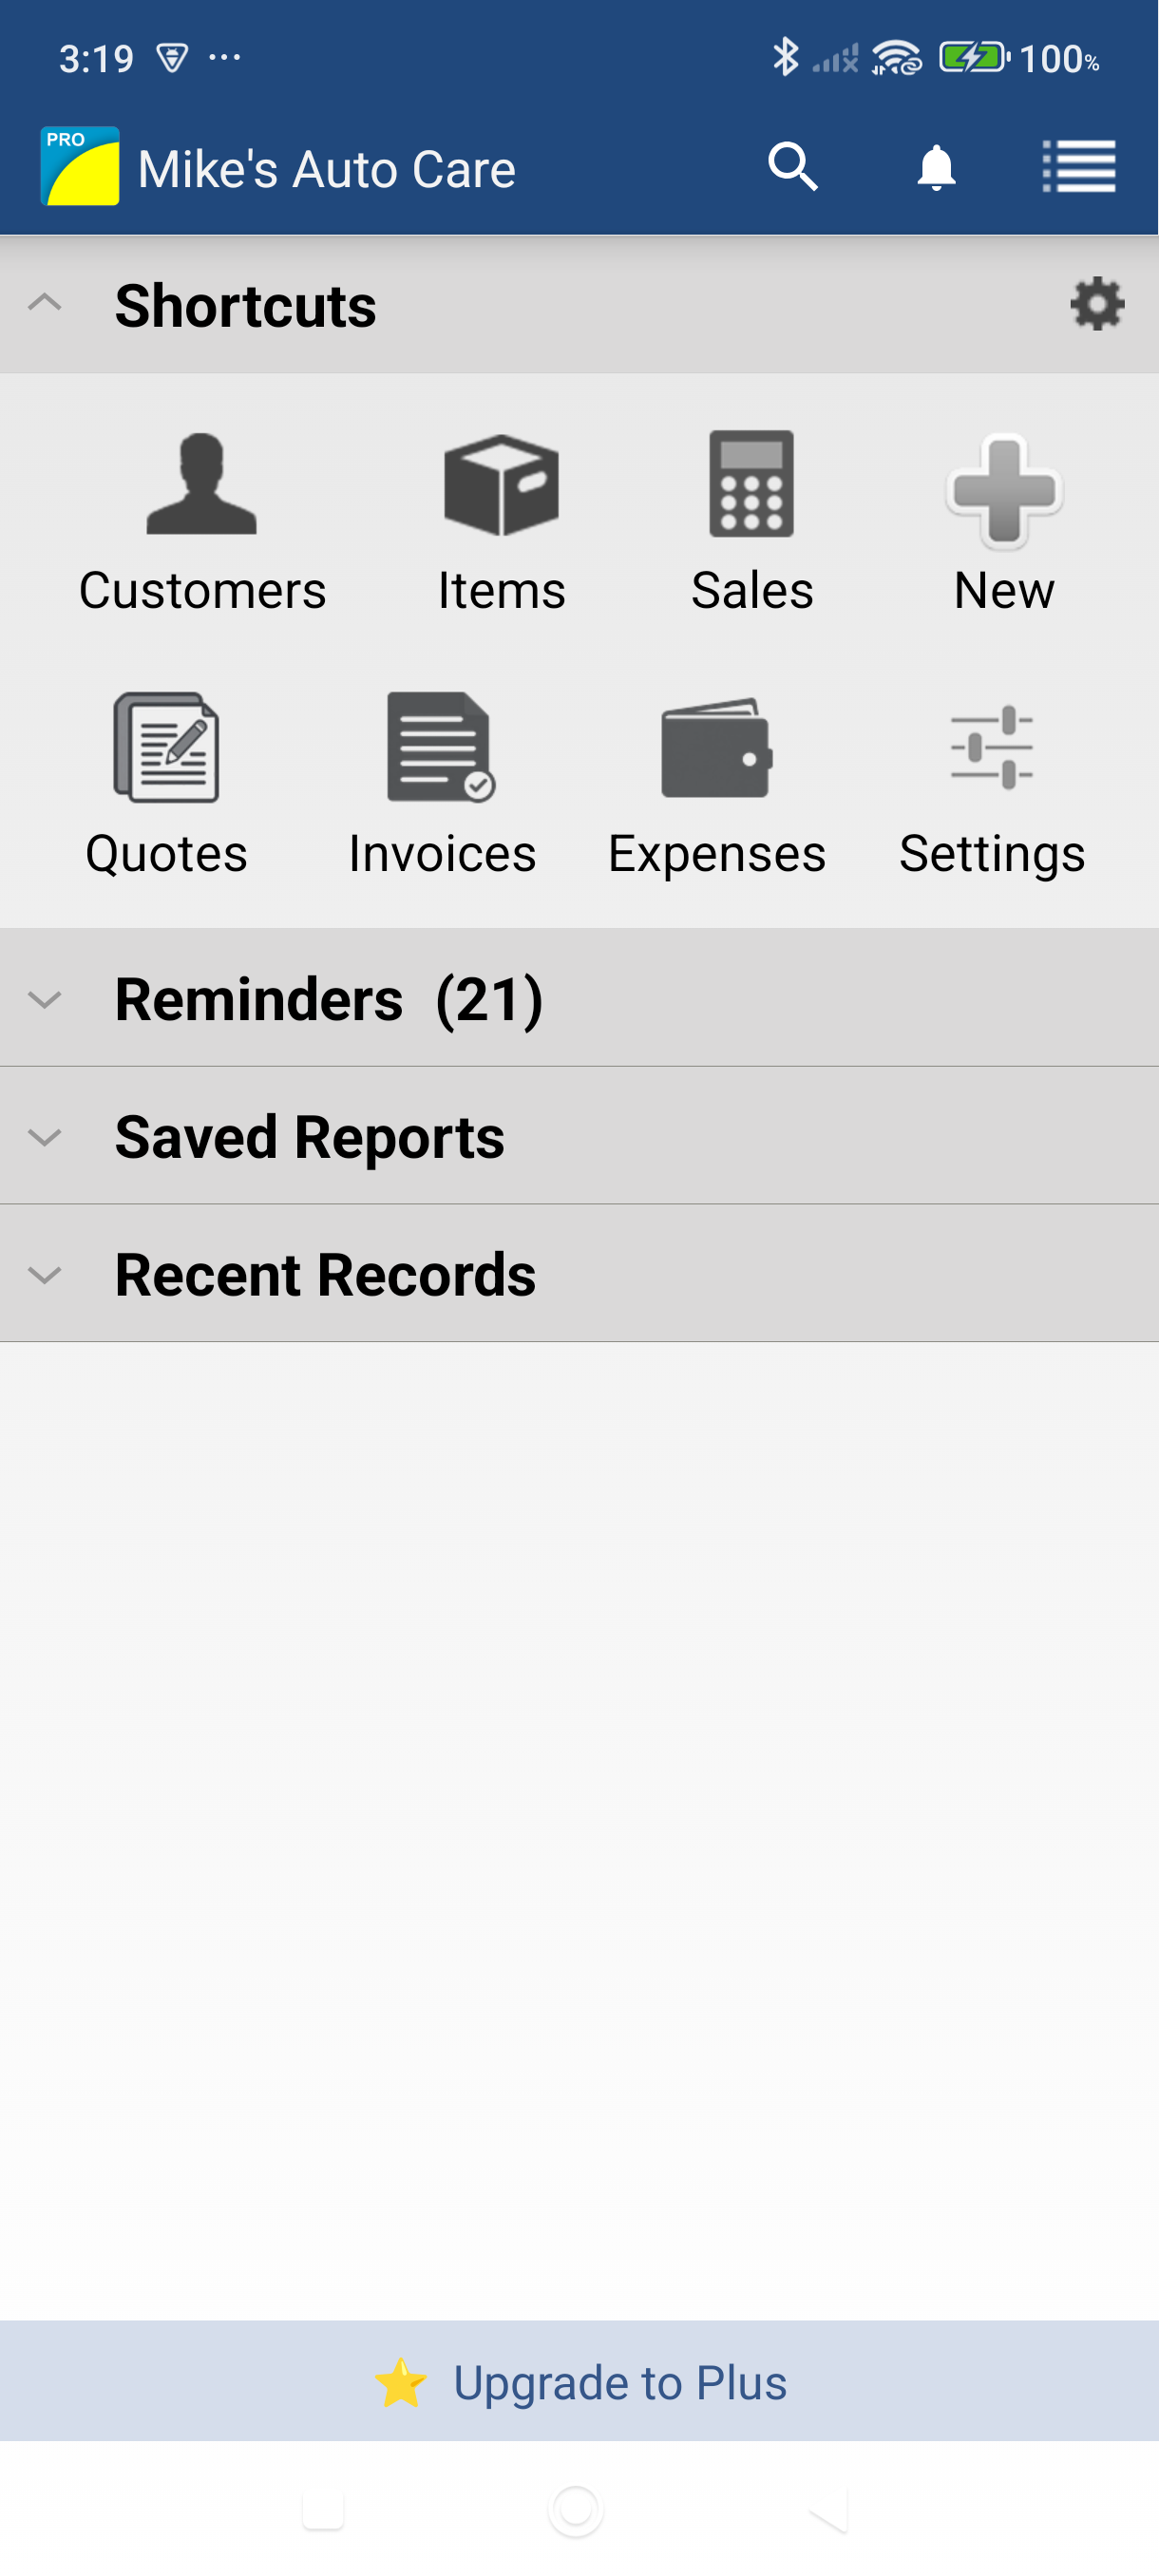
From Home, tap the Items tile in the shortcuts grid. You can also tap the menu icon in the top-left corner and choose Items.
-
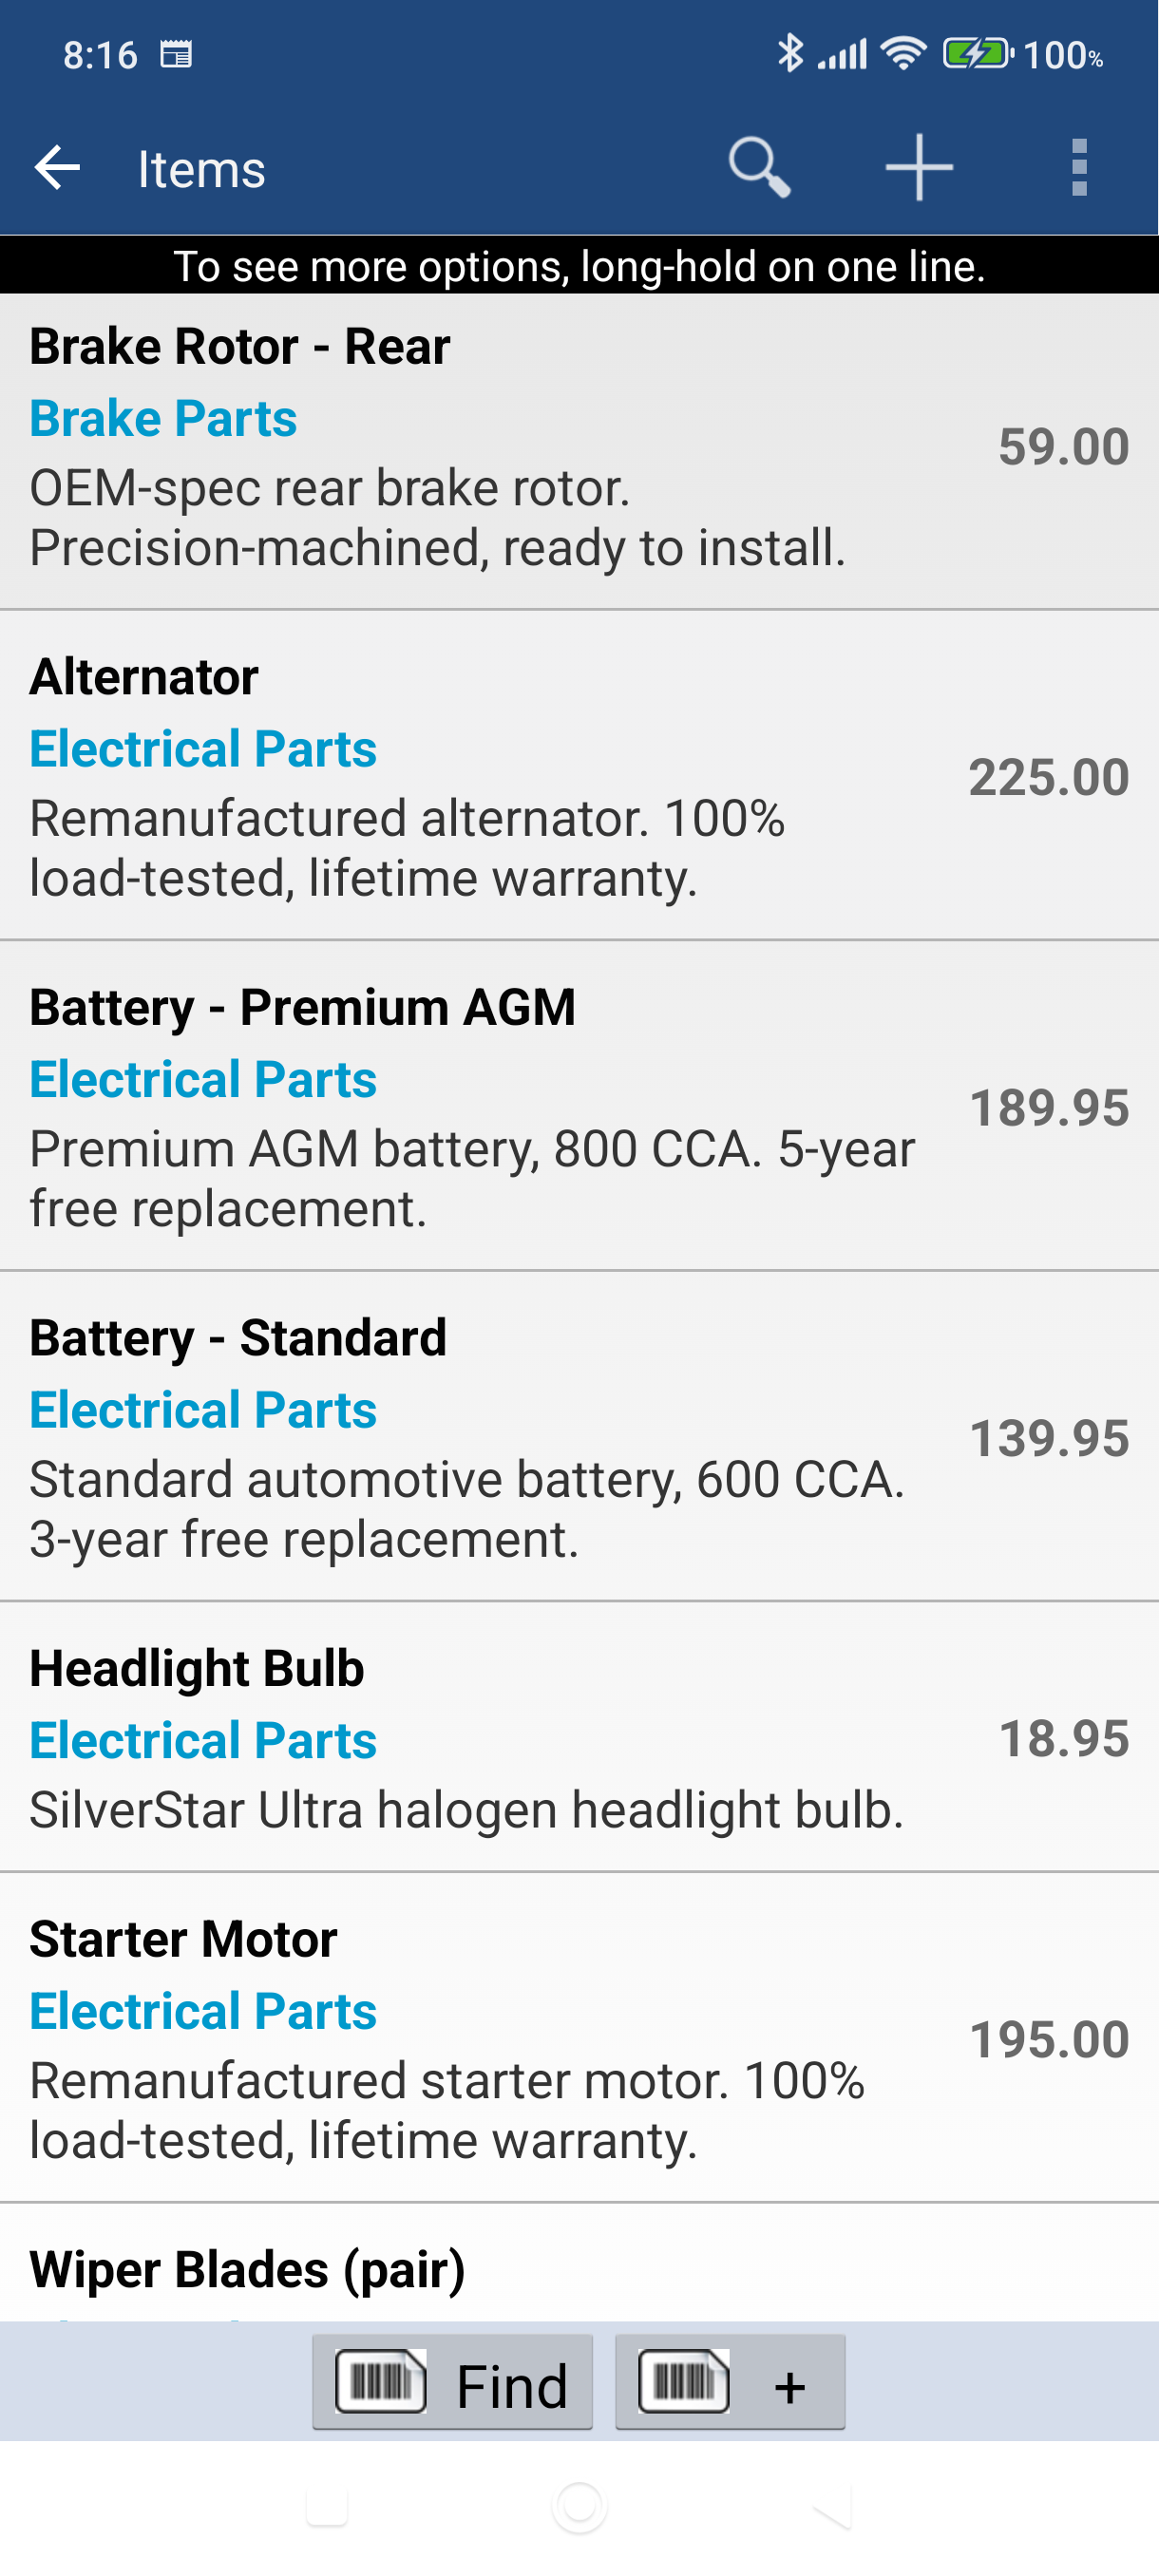
Tap the + button in the bottom-right corner of the Items list. This opens the Add Item screen.
Your Items list also has item type chips above the search box, All / Active / Inactive chips below it, and an All Categories picker — handy once your catalog grows.
-
Enter a Name — this is the only required field. Then fill in the details that apply.
Field Notes Name Required. This is what appears on your invoices. Sales description Auto-fills on invoices when you select this item. Type A button showing Non-inventory Item — tap it to change (see below). Active A tick box, ticked by default. Clear it to retire an item without deleting it. Category Starts as Uncategorized. Tap the button to file the item under a category. Under Financial Setup:
Field Notes Sales Price The price per unit. You can override it on individual invoices. Price Unit A label for the unit of measure (e.g., "hour", "case", "sq ft"). Cost Your cost for this item — used in profit reports, never shown on invoices. Taxable? A Yes / No button, set to Yes by default. Tap it to switch to No if this item is never taxed. Tax (optional) Leave it as Not Set to use your company tax, or tap it to pick a specific tax code for this item. 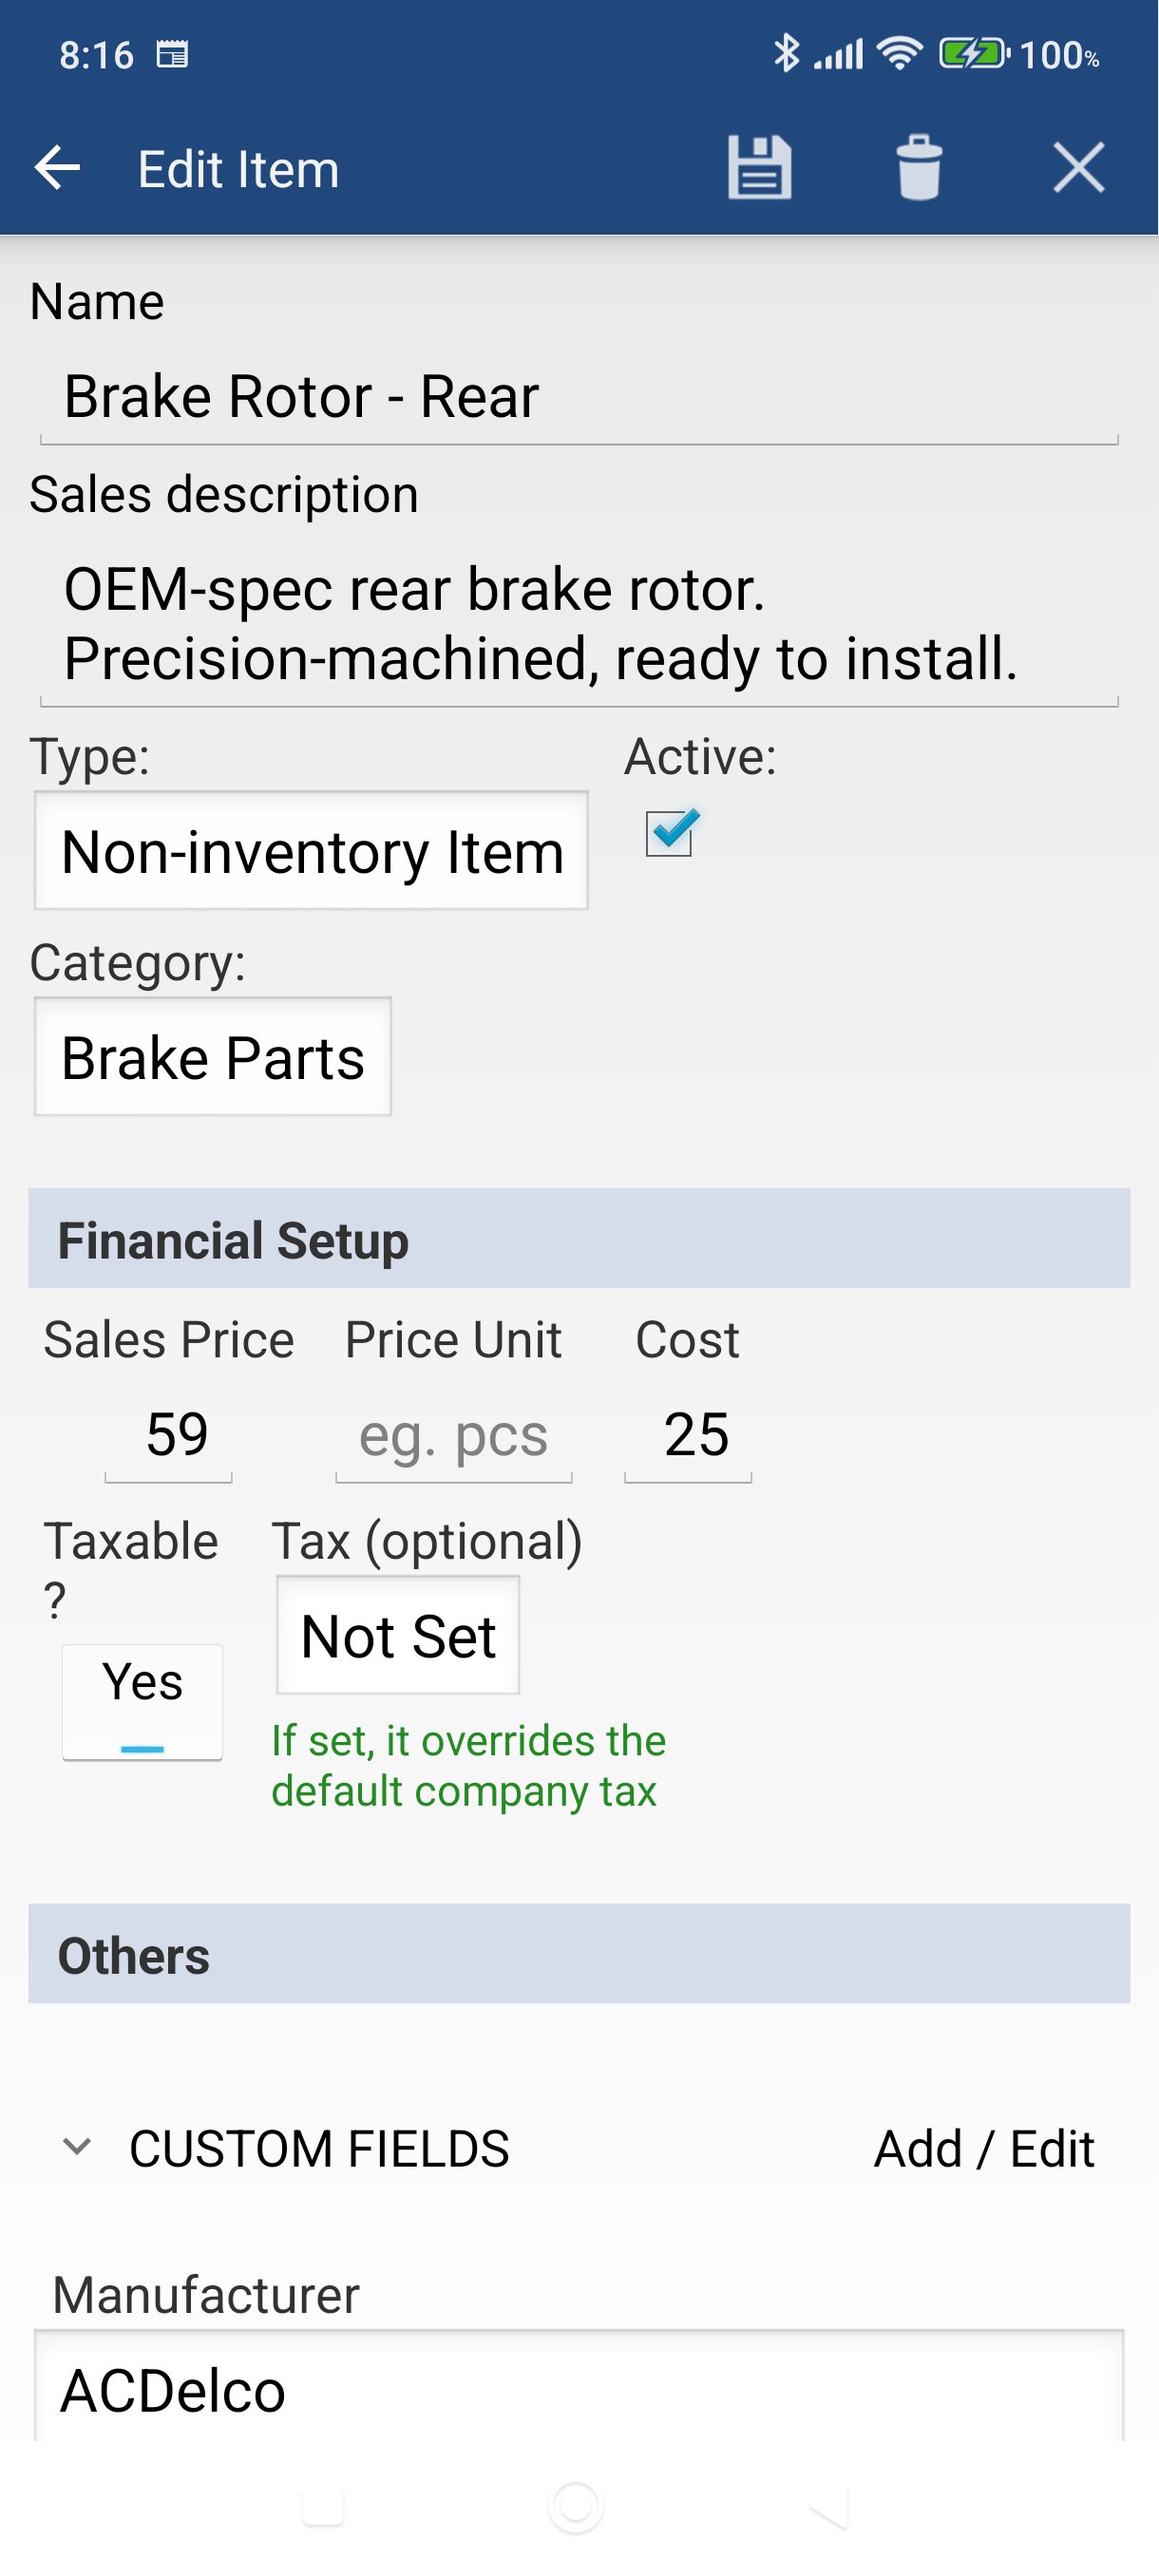
-
Choose an item type by tapping the Type button.
Type Best for Non-inventory Item Products sold without tracking stock (default). Inventory Item Products where you want to track quantities you own. Service Item Labor, consulting hours, or any service-based work. Shipping Item Delivery and shipping charges. Description Item Text-only lines — useful for section headers or notes on invoices. 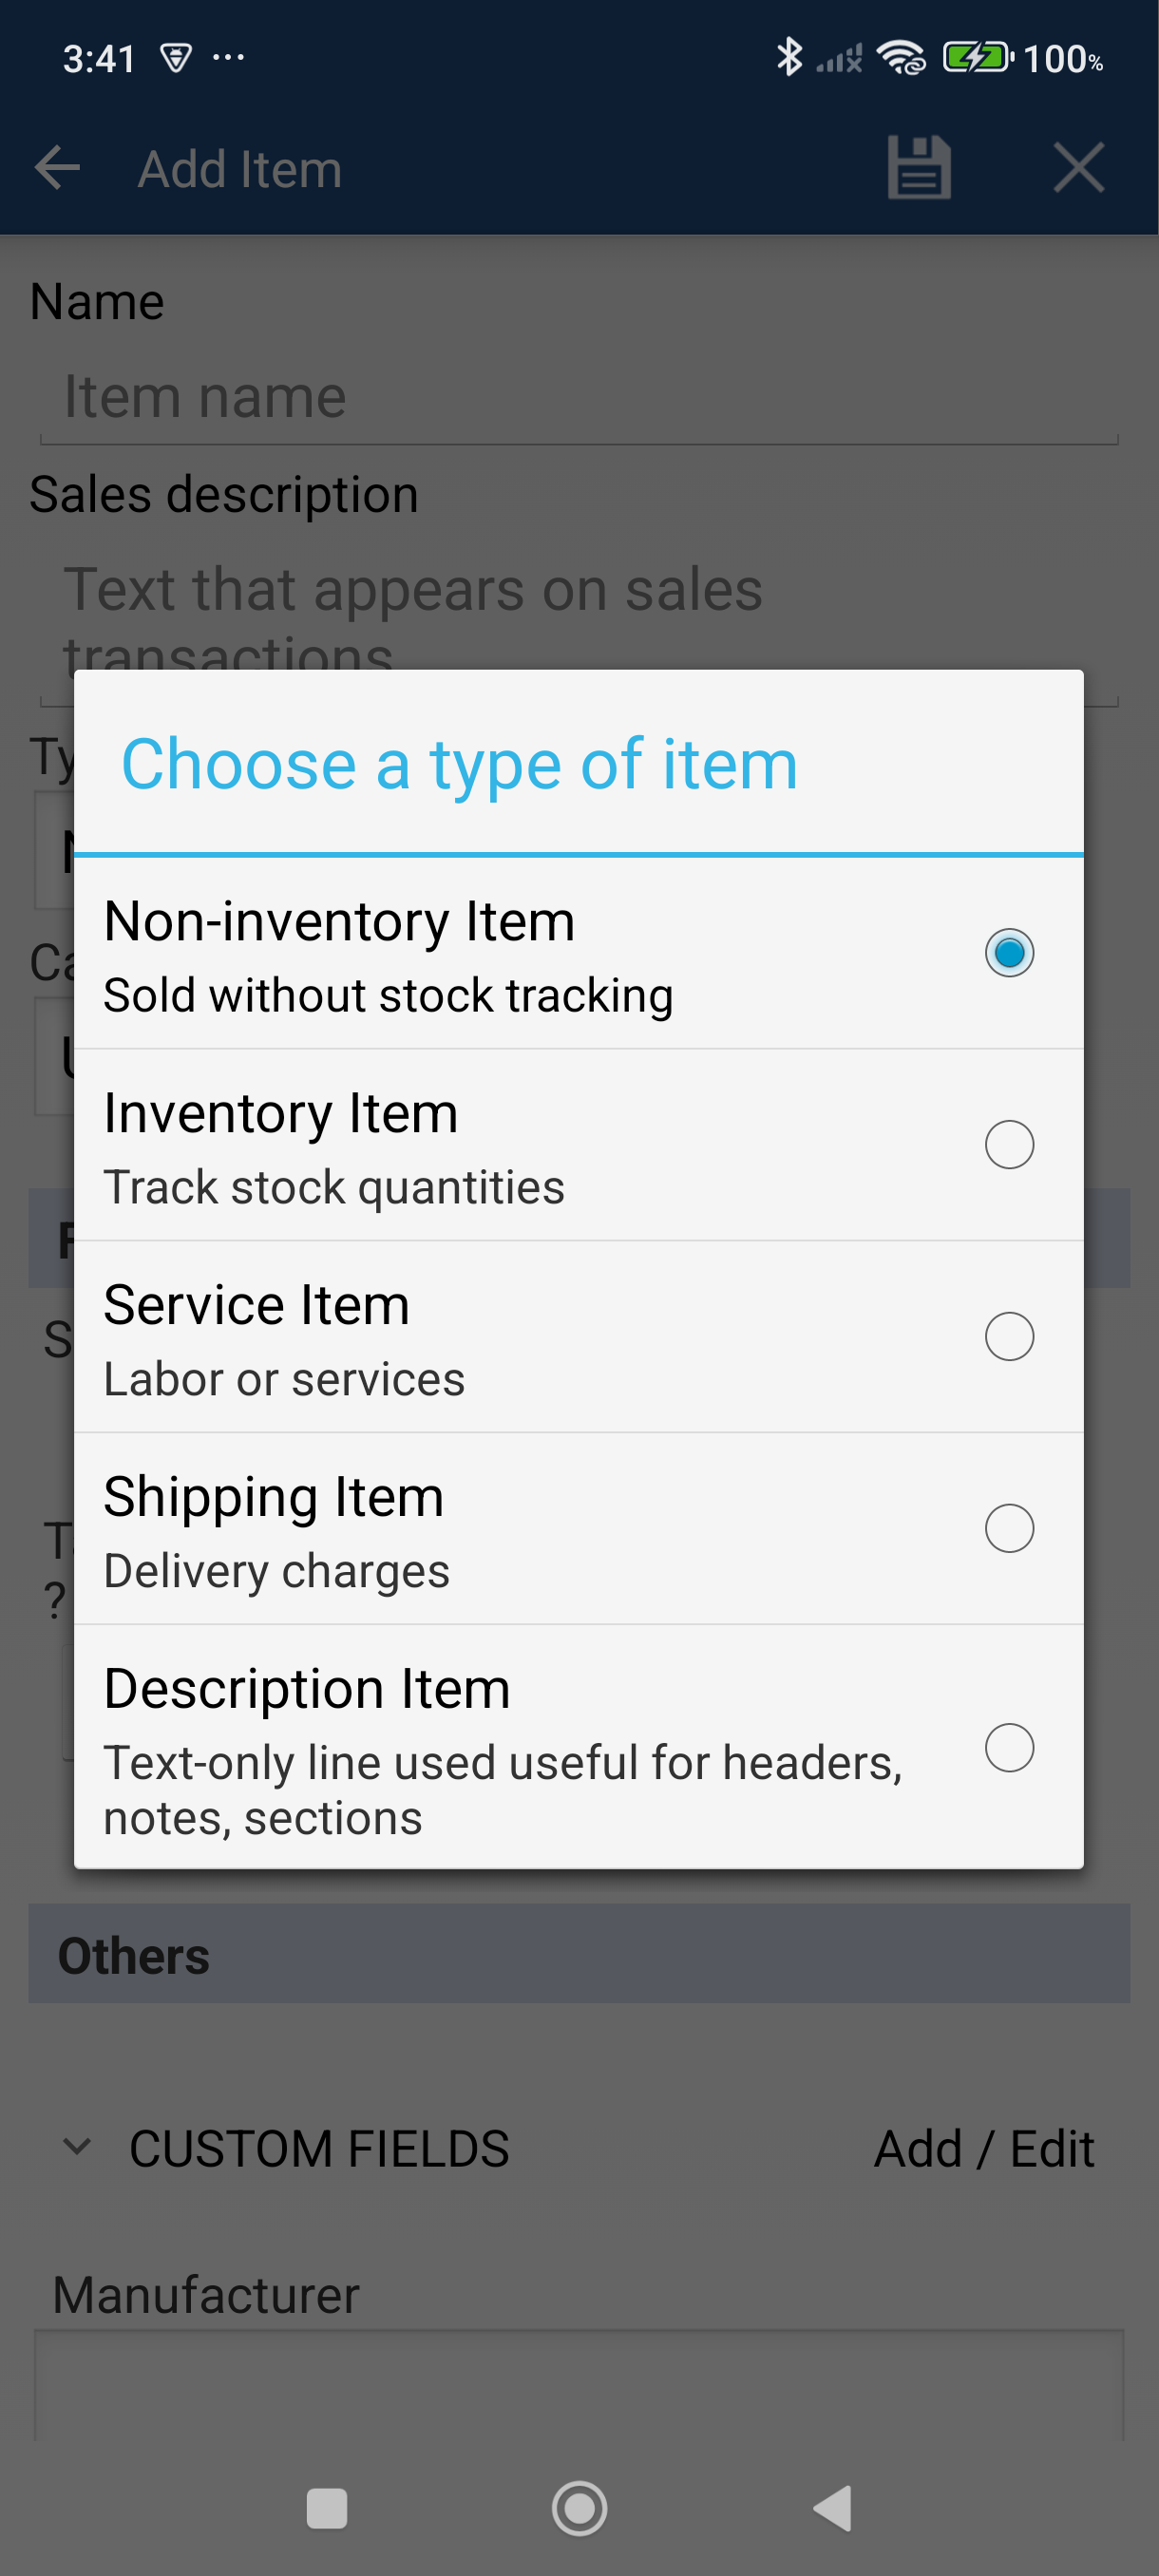
-
Tap Save. There's a save icon at the top of the screen and a Save button at the bottom of the form — either one works. You land on the item's details, ready to add to invoices.
Good to Know
- Picking Inventory Item adds an Inventory section with Stock Qty, Available Qty, and Barcode, so you can track how many you own.
- Leave Sales Price blank on a new item and the app asks "Sales Price was not entered. Keep it blank?" before saving. Tap Yes to save without a price — you'll then type the price on each invoice. Tap Cancel to go back and enter one.
- Description Items keep only Name, Sales description, Type, Active, and Category. No price, tax, or stock fields — they're pure text lines for headers, disclaimers, or dividers.
- Your Items list shows Active items by default, so an item saved with the Active box cleared won't appear until you tap the All or Inactive chip. See Items Missing From Your List? if a list looks short.
- To duplicate a similar item, open it, tap the pencil icon, and choose Copy item.
- Already have your catalog in a spreadsheet? You can load it all at once instead of typing each item — see How to Import Items from a CSV File.
Still stuck? Contact Support for help.