Want a CSV that lists exactly what you sold — one row per item, with just Date, Number, Item, Quantity, and Line amount? Build that layout once, and reuse it every time you export.
Designing and saving a layout is free; exporting with it is part of Plus.
Steps
-
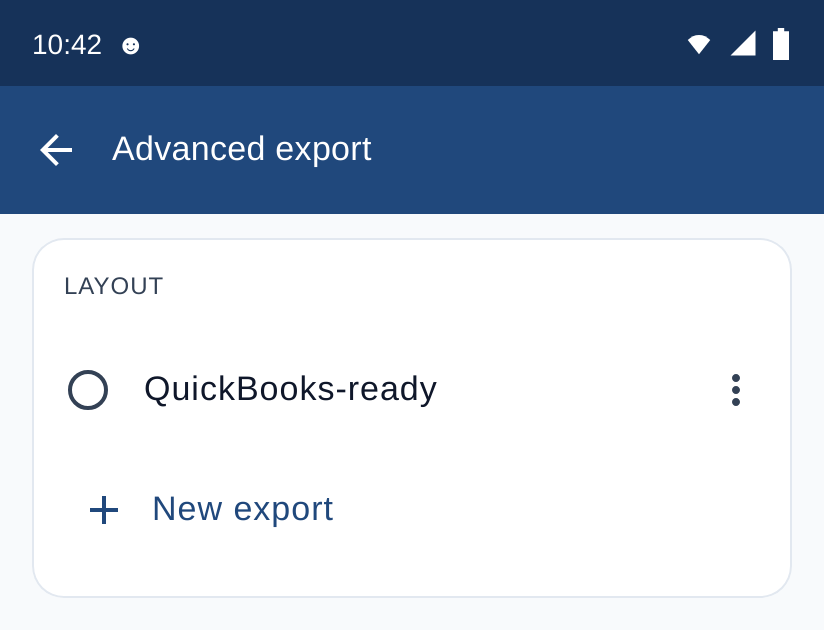
From an Invoices (or Estimates, Sales Orders, Cash Sales) list, tap the three-dot menu (⋮) → Export CSV → Advanced export. If your business has no saved layouts yet, this opens the designer directly. Otherwise, tap New export on the list. Either way, it starts pre-loaded with the same columns as the free Standard export.
-
Remove everything else. Tap + Column, open each source, and untick every column except Date, Number, Item, Quantity, and Line amount. Tap Done. (To remove just one column, tap it and choose Remove column.)
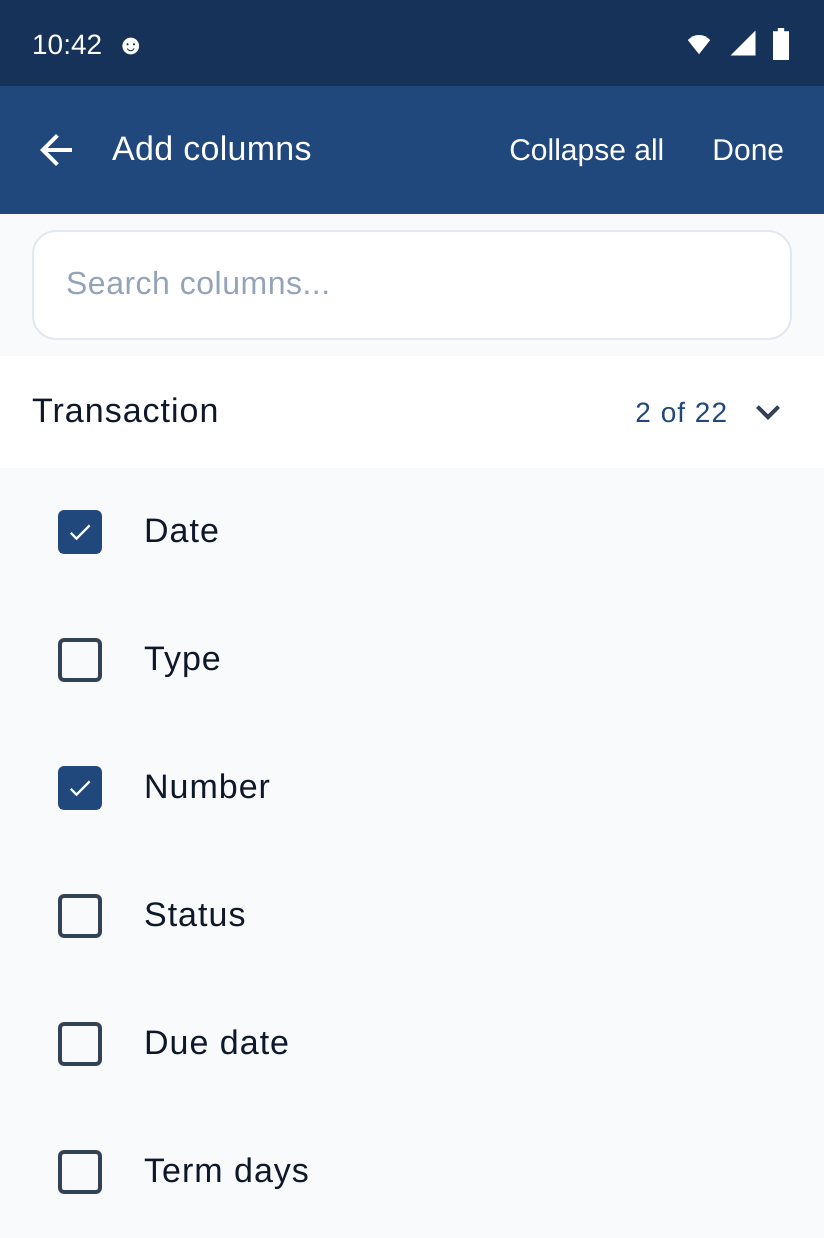
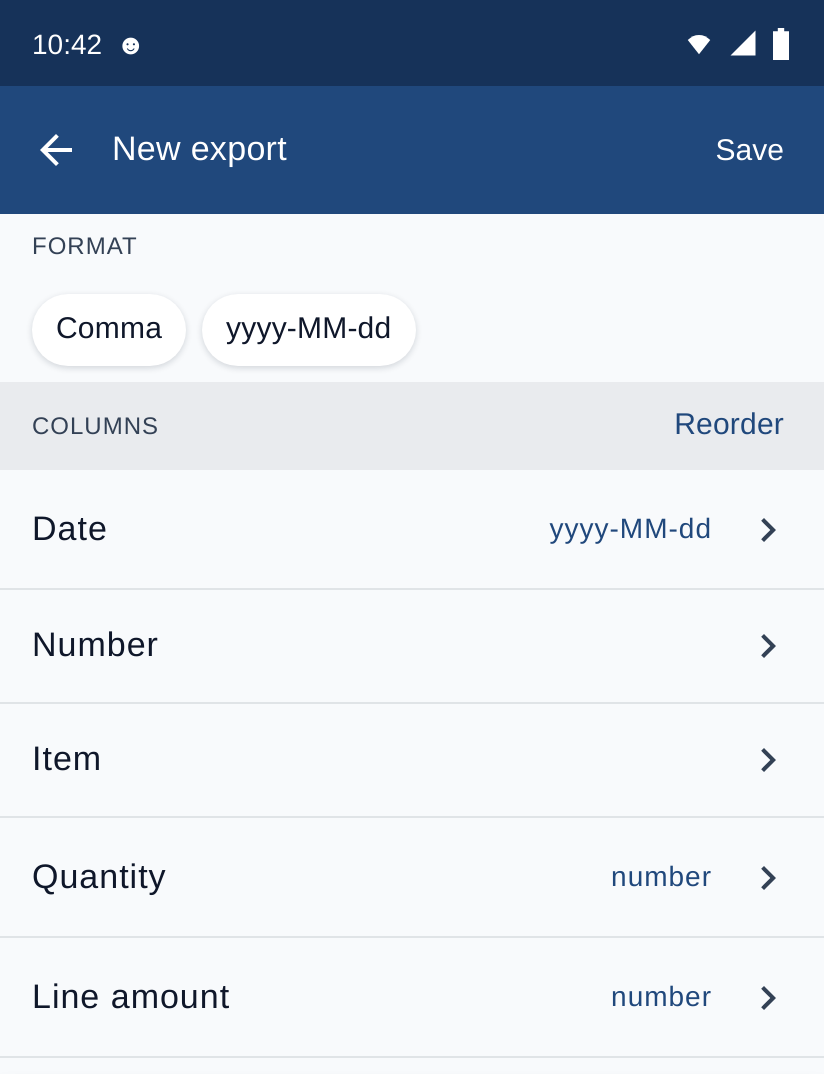
You're left with the five columns you want. The file will have one row for each item sold — an invoice with 3 items becomes 3 rows.
-
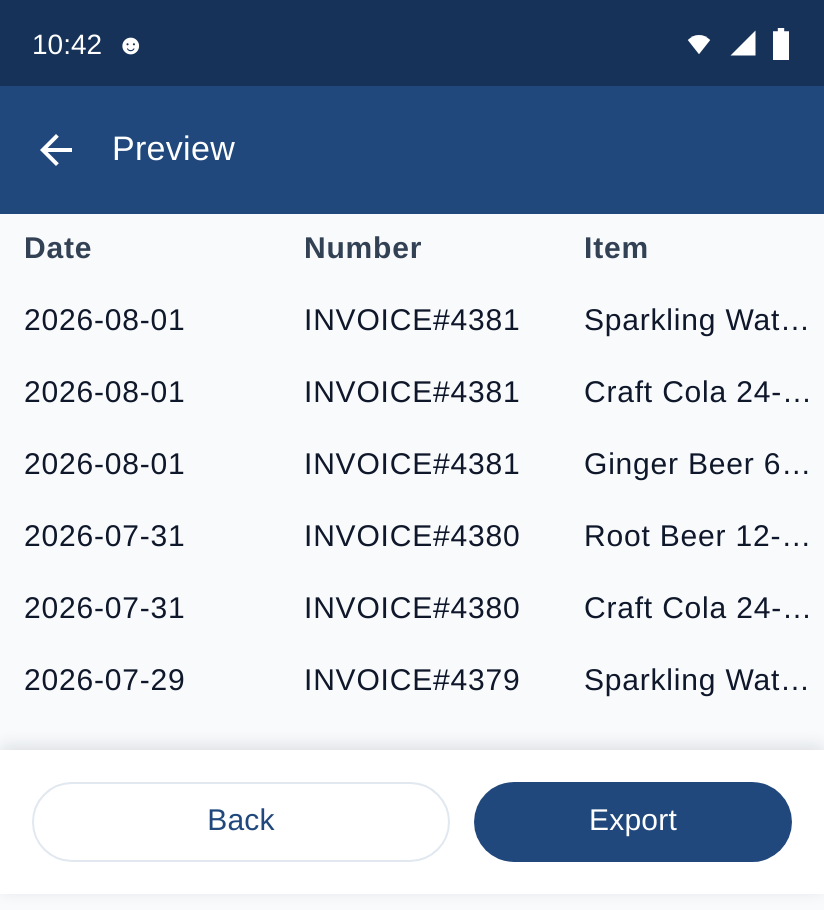
Tap Preview at the bottom to see up to 20 real rows before you export anything. Swipe sideways to see the rest of the columns.
-
Export or save.
- Plus account: tap Export on the bottom bar. No need to save first.
- Free account: tap Save at the top to keep this layout, and name it — for example What I sold. Exporting with it needs Plus (the button reads Export · Plus).
-
(Plus) On the result sheet, tap Save this export for reuse, type a name — for example What I sold — and tap Save. Your layout is ready to use again next time.
Next Time
Once a layout is saved, using it again is quick: three-dot menu (⋮) → Export CSV → Advanced export → select What I sold → Export N invoices. The button appears once a layout is selected.
More Options
- Add a column — tap + Column and browse by source: Transaction, Customer, Item, or Line item.
- Reorder columns — tap Reorder (appears once you have 2+ columns) and drag rows into place.
- Rename a column header — tap the column, then edit Header.
- Edit or delete a saved layout — open Advanced export, tap a layout's ⋮ menu.
- Advanced: change the separator or date format (the Format chips at the top); show IDs instead of names or adjust values (rounding, letter case, prefixes) by tapping a column; or add a calculated column from + Column.
Good to Know
- Saved layouts belong to the active company.
- Just need the built-in columns? See How to Export Sales to CSV.
- See also: What Reports Are Available in MobileBiz Pro?.
- Plus: Only the export step needs it — building and saving layouts is always free.
Still stuck? Contact Support for help.