You're at the store, the cases are counted, and the owner wants a copy before you drive off. Here's the on-phone part: create the sale, add the items, and save — ready to print. It works the same whether the store pays now or on account.
Part of the delivery-route guide: Set Up a Bluetooth Thermal Printer → Take the order → Print the receipt.
Steps
-
Start a new sale. Tap New on the Home screen (or the + button on the Invoices list) and pick the type.
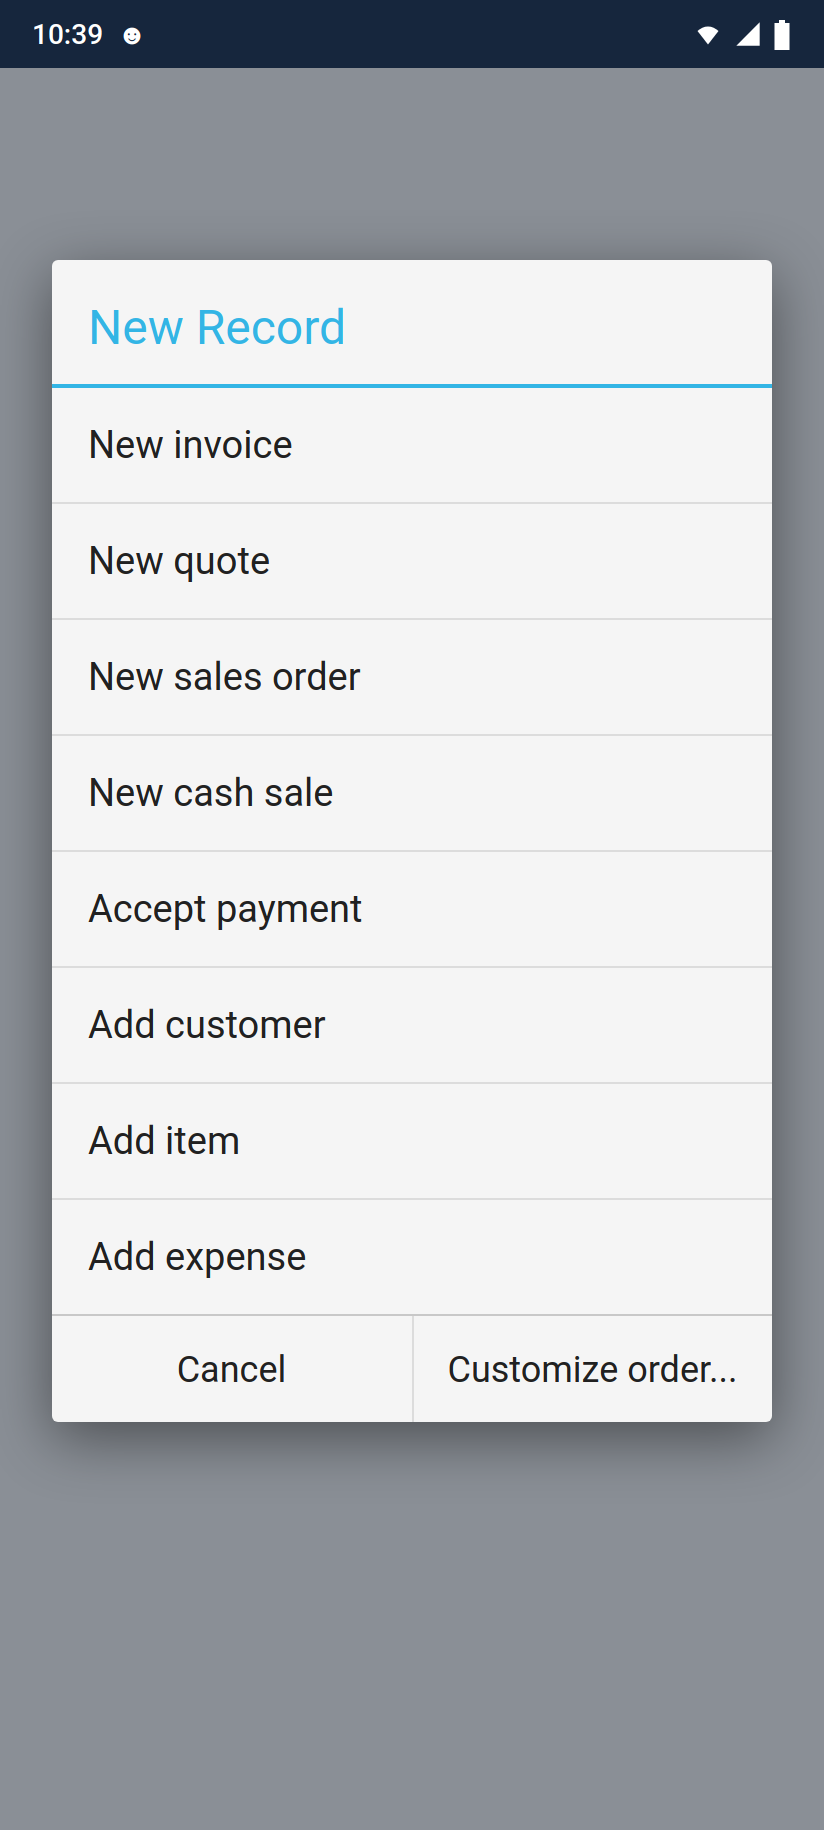
- New invoice — the store pays later, on account. The balance tracks until it's collected.
- New cash sale — the store pays on the spot. Same screens; record the cash on the sale's Payments tab, and it closes out there instead of sitting on the customer's account.
- Collecting for older deliveries too? Accept payment takes money against open invoices — see Record a Customer Payment.
This menu is yours to arrange: Customize order... at the bottom sets which entries appear and in what order, and it picks up Add project once you're using projects.
-
Fill in the header. Pick the customer — terms, due date, and the billing address fill in from their record; the number and date are already set. Adjust anything that differs today, then tap Save (the icon in the top bar, or the button at the bottom of the form).
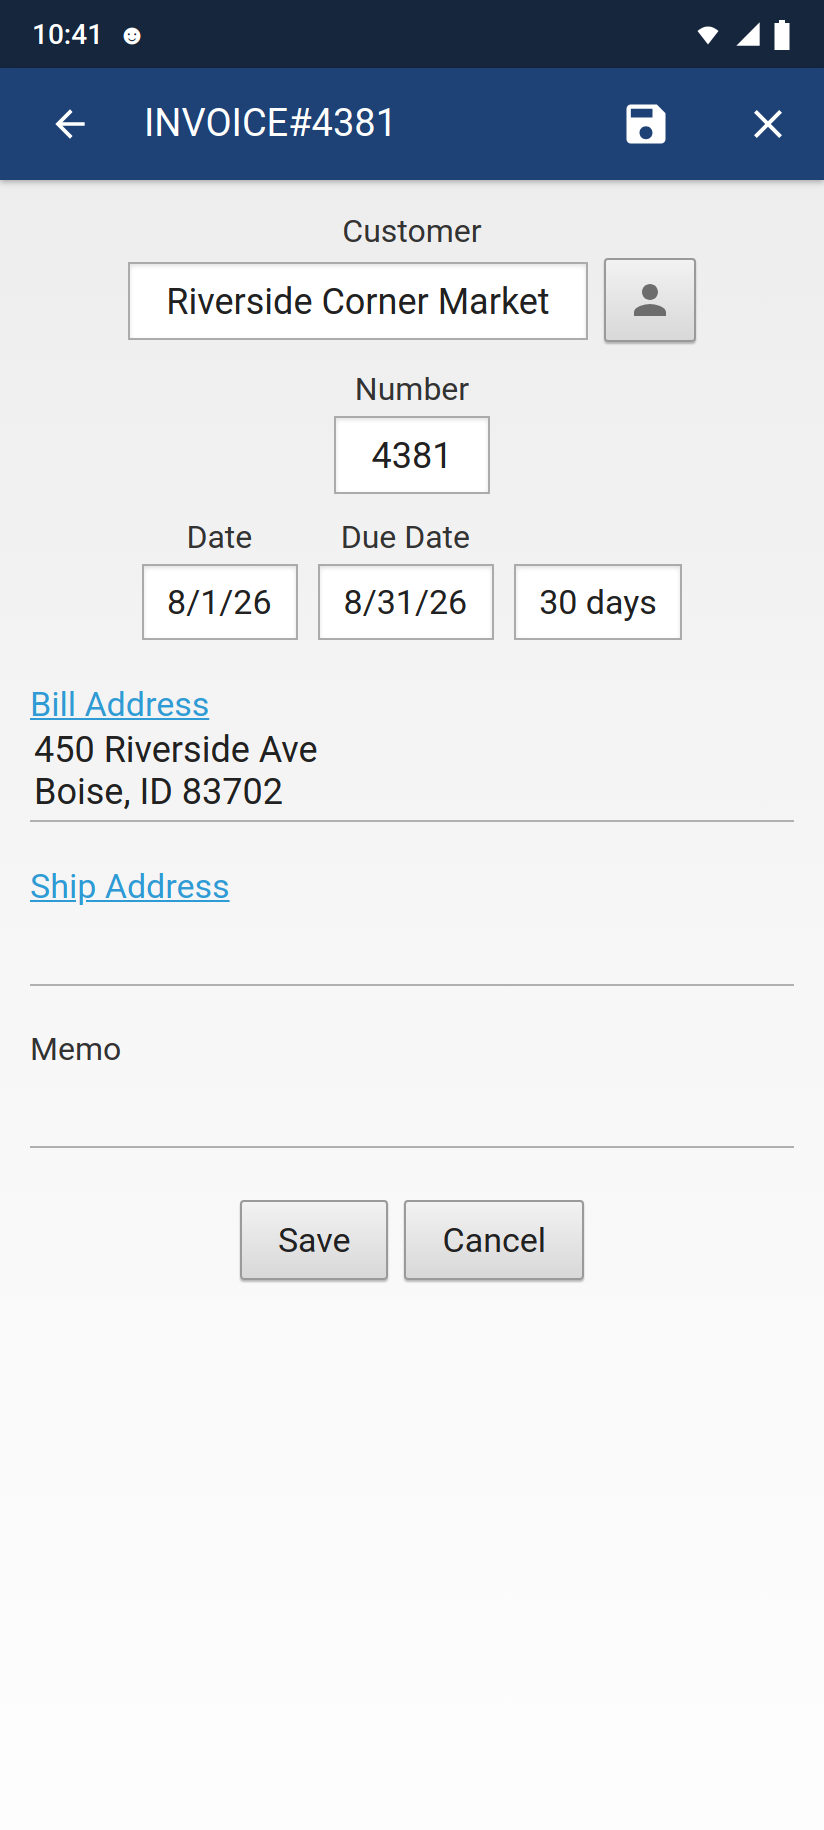
Due date comes from the customer's payment terms — here 30 days. Field-by-field detail: Create an Invoice.
-
Add the items. The invoice opens on its Items tab. Tap Add Item, pick the product, and set the quantity — the rate comes from your item list, or from the customer's price level if you've set one, and you can change either.
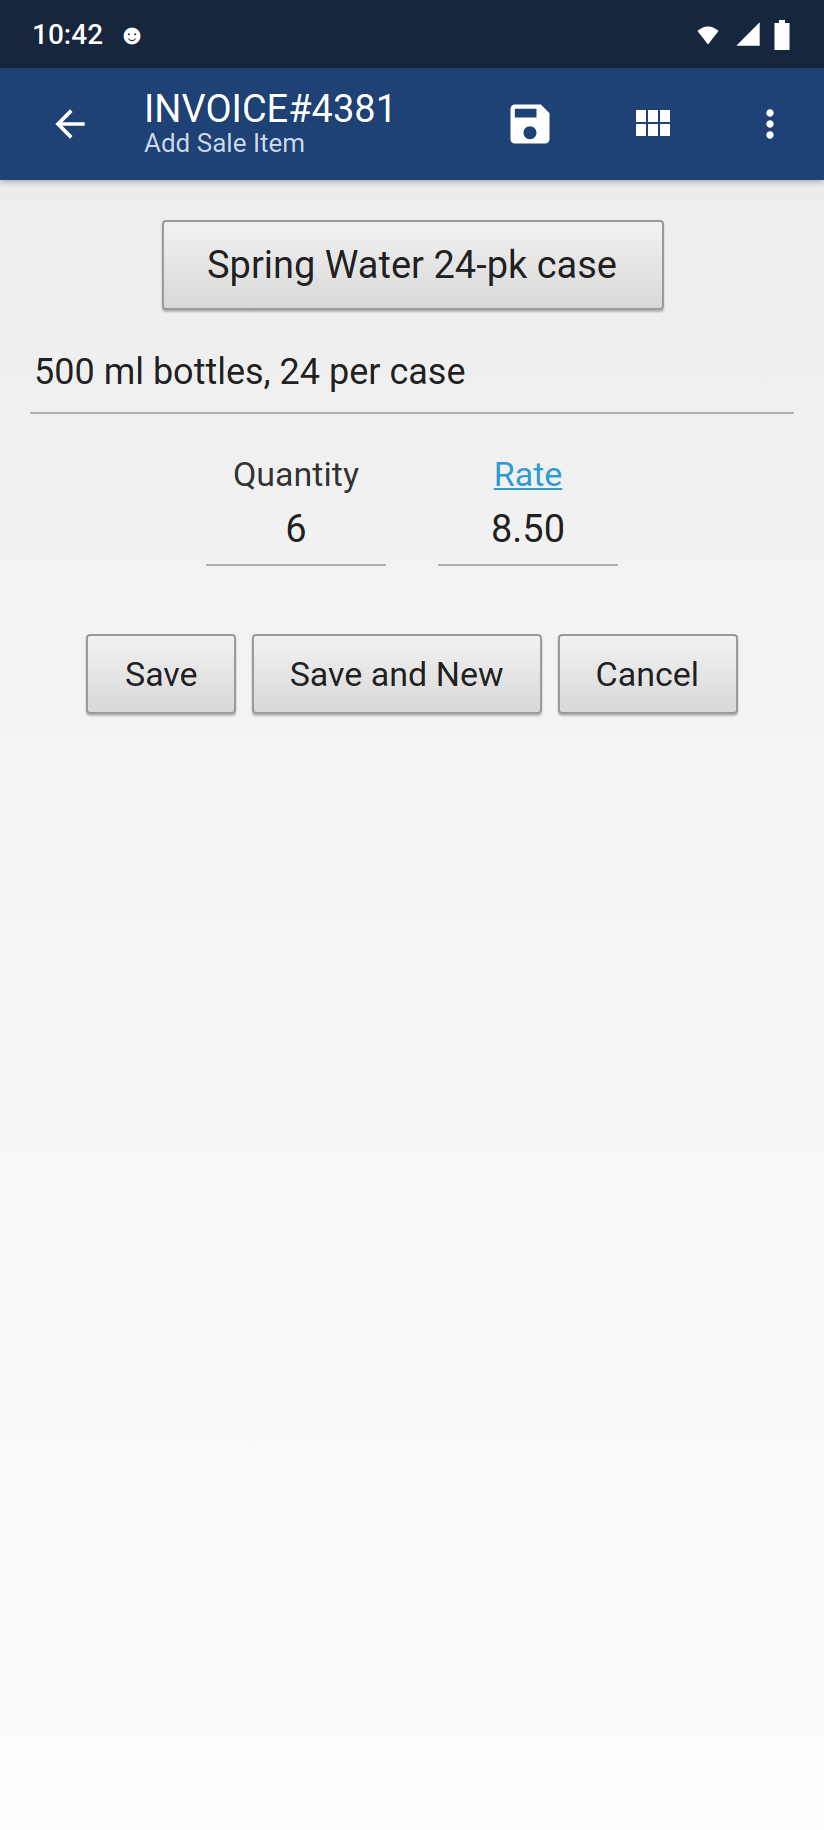
Tap Rate to see what this store paid last time. Save and New keeps you in the flow — save this line and start the next one without going back. That's one tap per case while the hand truck is still loaded.
Dropping several products at once? In the item picker, the select-multiple button next to Add New Item lets you tick a batch and add them all at one shared quantity.
-
Review and you're done. Back on the Items tab, the totals update as you go.
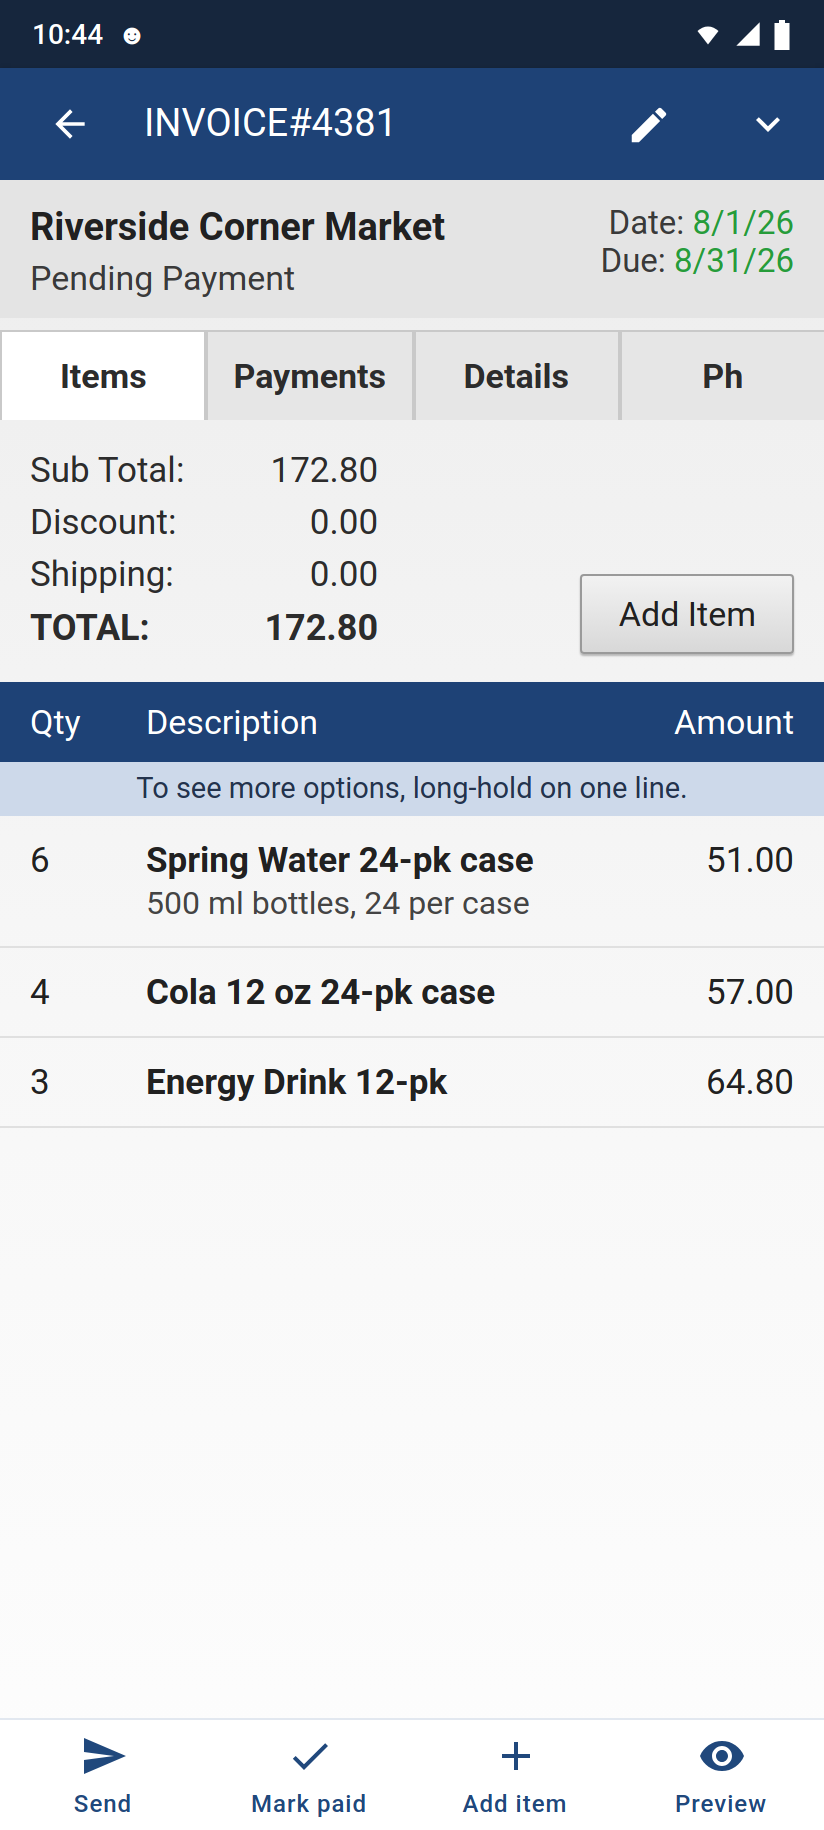
When the order is right, tap Send in the bottom bar — Print receipt lives there, alongside email, text and PDF.
Good to Know
- Long-hold a line for Edit, Copy line, Remove line, or Move up / Move down.
- Same stop every week? Edit → More... → Copy invoice starts the next one from this one, and Memorize invoice keeps it as a recurring template.
- The Payments tab records money against this sale — that's where cash at the door goes. See Record a Customer Payment.
- Discounts and shipping have their own rows — see Add Shipping Charges to an Invoice.
- Creating invoices and cash sales is free. Printing thermal receipts is part of Plus — see About Plus.
Next in This Guide
Print Receipts with a Bluetooth Thermal Printer — hand the owner a printed copy with cash change and your reorder info on it, straight from the van.
Still stuck? Contact Support for help.